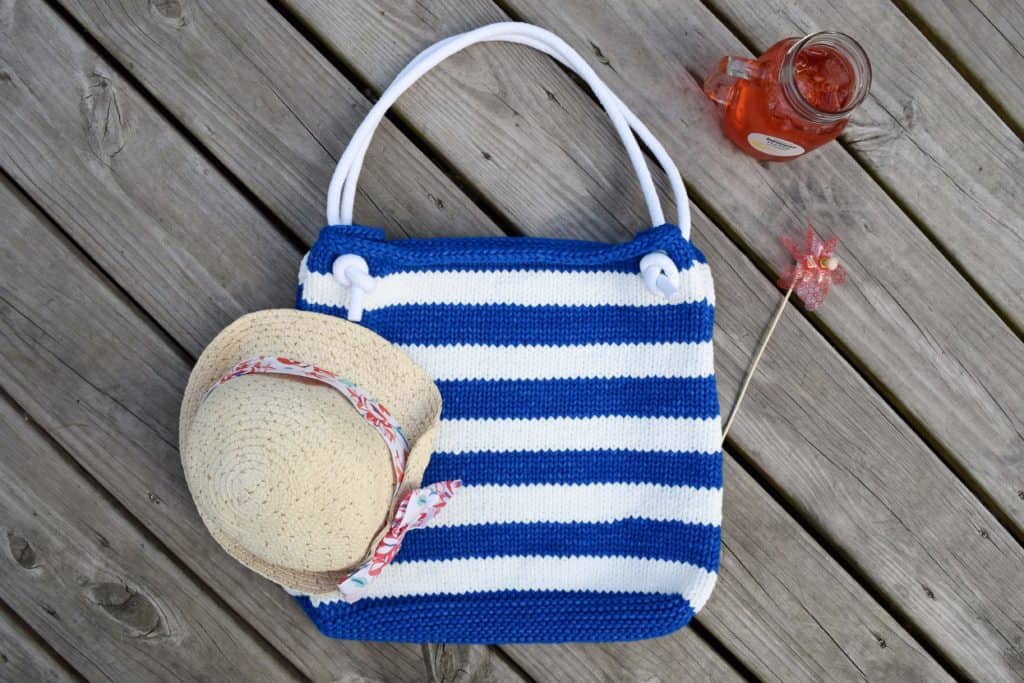
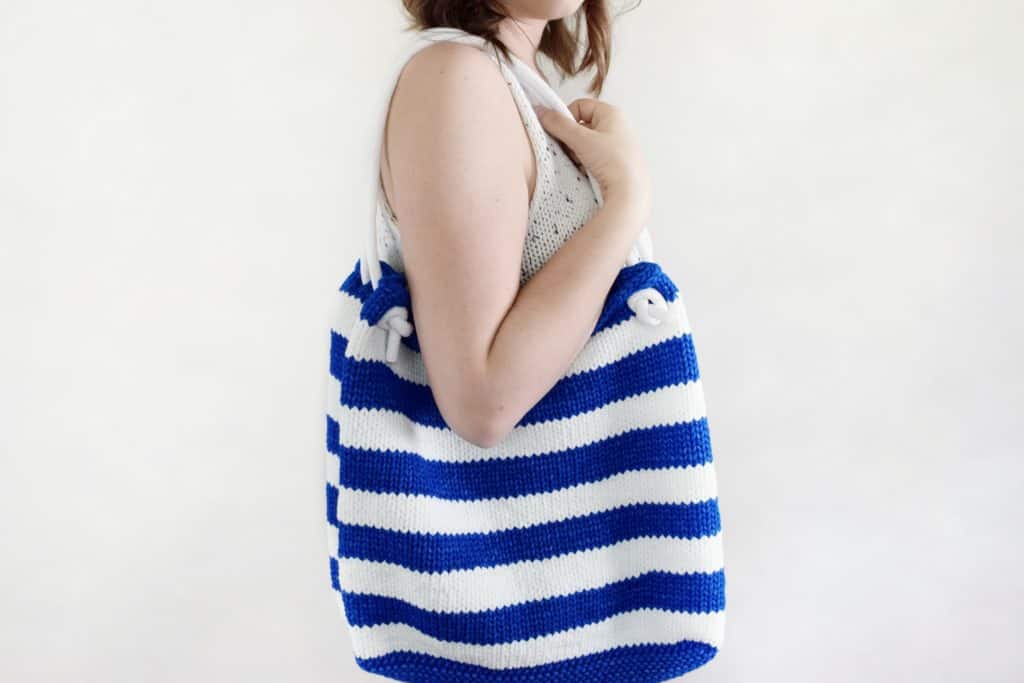
Who’s ready to hit the beach this summer? My friends at Yarnspirations and JOANN Fabrics and Crafts generously sent along a box of their new outdoor yarn to try – Bernat Maker Outdoor! I immediately thought the nautical themed colors combined with fade resistant yarn would make a perfect beach bag! We have several beach trips planned this summer, and I know this large tote will come in handy. Keep reading for the free knitting pattern for the Beachcomber Tote!
A few things about this new yarn:
- It’s the first outdoor yarn of its kind!
- It’s available only at JOANN stores and www.joann.com
- You can keep this yarn outside, as it’s fade and mold resistent (hello, outdoor throw pillows!)
- It’s available in self-striping and coordinating solid colors
Want to win the yarn to make this bag? Yarnspirations is giving away 3 prize packs! Each prize will include:
- 3 skeins of Bernat Maker Outdoor in solid
- 3 skeins of Bernat Maker Outdoor in coordinating stripes,
- Matching napkins
- Reusable Bernat branded mason jar
Now onto the pattern…
Beachcomber Tote
Click for the ad free pattern PDF
The Beachcomber Tote is knit from the bottom up, starting with a small rectangle. Stitches are picked up around each side, and the body of the tote is then knit in the round. An applied I-cord bind off gives the tote a clean and sturdy edge, and the addition of grommets keeps the simple rope handles nicely in place.
Here’s what you’ll need:
Yarn
50 yds/46 m (1 skein) Bernat Maker Outdoor (Royal Blue)
317 yds/290 m (2 skeins) Bernat Maker Outdoor Stripes (Fresh Royal Blue Stripe)
Needles
US 10/6 mm 32 in circular needles
US 11/8 mm 32 in circular needles
Notions
Locking stitch markers
Yarn needle
½ in grommet kit
2 ½ yds of ⅜ in braided rope trim
Gauge
12 ½ sts and 20 rows = 4 in in Stockinette st with larger needles
Size
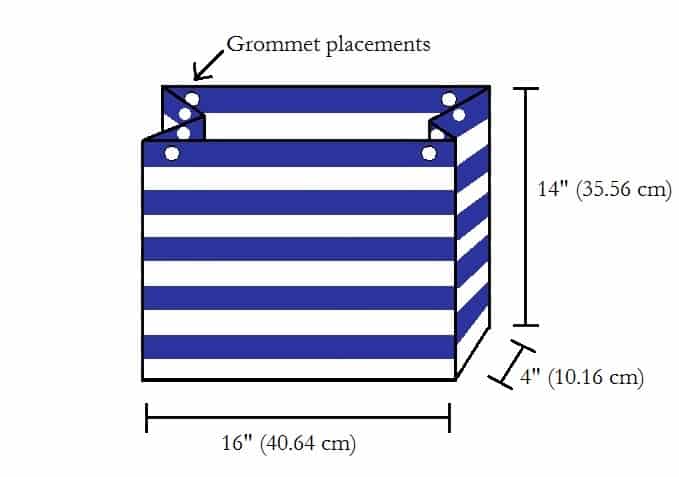
One: 16 in wide by 14 in tall when laid flat
Abbreviations
CO – cast on
k – knit
k2tog – knit 2 sts together
pm – place marker
sl – slip
st(s) – stitch(es)
ttbl – through the back loop
The following step-by-step tutorial demonstrates how to:
- Pick up stitches
- Create jogless color stripes
- Mark for handle/grommet placement
- Knit an applied I-cord bind off
- Attach grommets and handles
Pattern
Bottom:
With US 10/6 mm needles, CO 50 sts using the long tail method.
Work in garter stitch (knitting every row) until piece measures 4 in wide (about 28 rows).
Switch to US 11/8 mm needles and knit one row.
Rotate the work 90 degrees. Pick up and knit 14 sts in each garter ridge along the short side of the work. Rotate work again and pick up and knit 50 sts along the CO edge of the work. Rotate again and pick up and knit another 14 sts in each garter ridge along the short side of the work (128 sts total on needles).
Body:
Place marker, join a white end of the self-striping yarn and begin knitting in the round.
Please note: each stripe section should be about 6-7 rounds wide. If the first color of the ball does not have enough yardage, you may need to cut the yarn and rejoin to another section of white yarn. See video for further explanation.
Knit every round until there are 9 striped sections total, ending after a white stripe (5 white, 4 blue).
With blue, knit 2 rounds.
Grommet marking round:
During this round, 8 locking stitch markers will be placed on the horizontal bar between stitches as indicated. These markers will stay in the knitting (not on the needles) to mark where grommets/handles will be placed. See video for demonstration.
Next round: k6, pm, k38, pm, k8, pm, k10, pm, k8, pm, k38, pm, k8, pm, k10, pm, k2.
Knit two rounds.
I-cord bind off:
CO 3 stitches to the end of the left needle using the knitted cast on (see video).
Bind off round: *k2, k2tog ttbl. Sl 3 sts purlwise from right needle to the left needle. Repeat from * until all stitches are bound off.
Please note: At some point during the bind off you will run out of blue yarn. Rejoin the solid Royal Blue skein and continue.
Sl last 3 sts back to left needle. Cut yarn and seam the remaining 3 sts on the needle to the 3 cast on edge sts (see video).
Weave in remaining ends.
Finishing:
Fold in short ends of the bag, line up stitch markers and pinch together to attach grommets (see video). Make sure to place the right side of the grommet through the front (right side) of the bag.
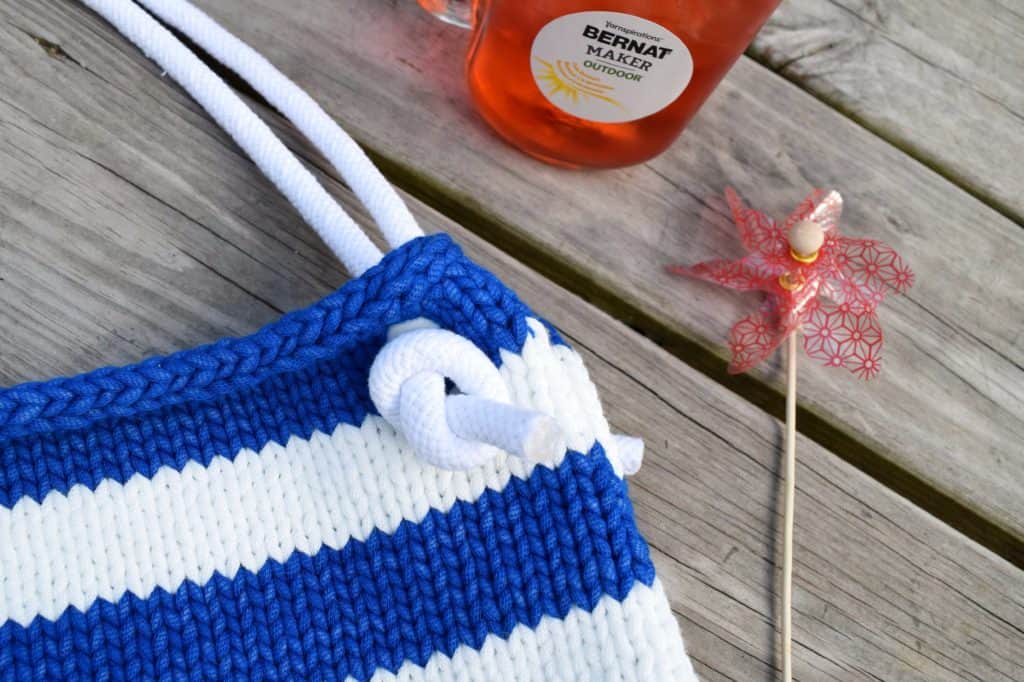
Cut two 36 ½” lengths of ⅜” braided rope for handles. Apply a small amount of hot glue to the ends of the rope (optional) and let dry. Thread the ropes through the grommets from inside the folds, and tie knots in the ends on the right side of bag (see video).
And there you have it! I hope you enjoy this pattern, and I hope your Beachcomber Tote follows you on your beach adventures this summer. Don’t forget to enter the giveaway to win all the yarn you need to make this (and then some!), and feel free to share this with your friends by pinning the image below!





I love this bag so much, I went immediately to JoAnn’s and got the yarn, came home and cast on! I’m using the aqua/turquoise and white scheme and I am loving working with this material.
We live about an hour from the coast here in SoCal and this will be perfect not only for beach days, but as a fun purse in general!
Thinking I’ll be making more of these in all the bright colors for gifts!
Thank you!
Thank you so much, Sue! It must be so nice to be close to the beach! I hope you enjoy the bag. Happy knitting! 🙂