*This post is sponsored by Yarnspirations. All opinions are my own.
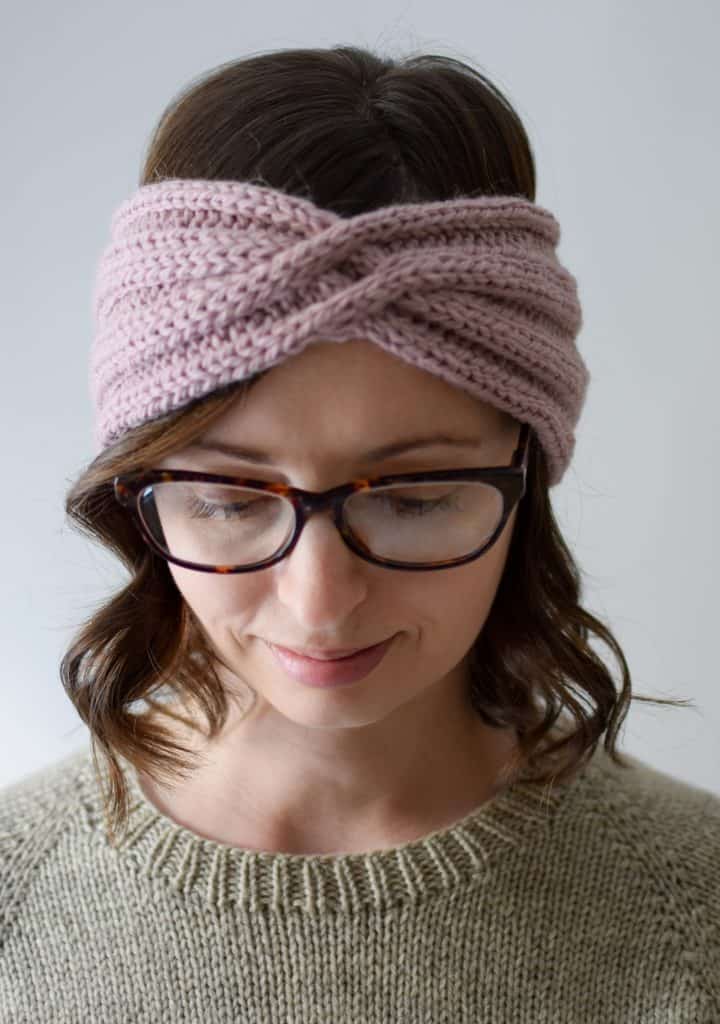
Cable Twist Headband
Happy holidays, friends! If you’re looking for a quick and easy pattern for last-minute gift giving, I have you covered! Meet the Cable Twist Headband – simple, cozy and quick!

I’m thrilled to be participating in Marly Bird’s 24 Days of Quickies project, a collection of 24 quick knit and crochet gift patterns! I’ve teamed up with 23 other designers to offer you a brand new pattern each day before Christmas! You can find the full list of designers and all of the free patterns that have been posted to date here.
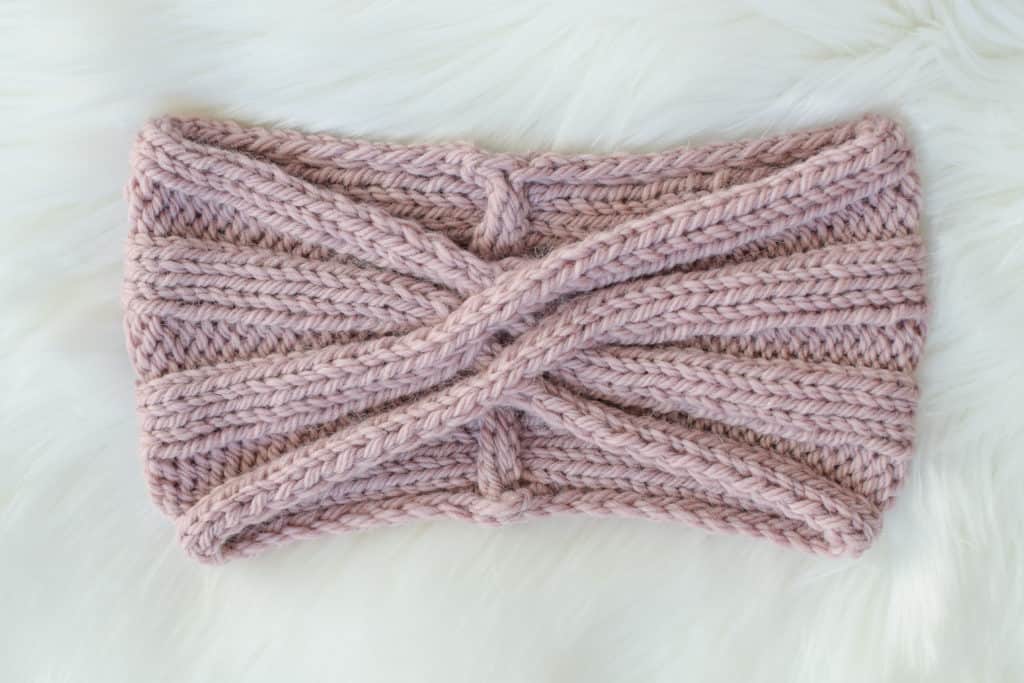
Today’s project is my Cable Twist Headband, which is shared in full in this post, or you can purchase the ad-free PDF for $3 at the link below.
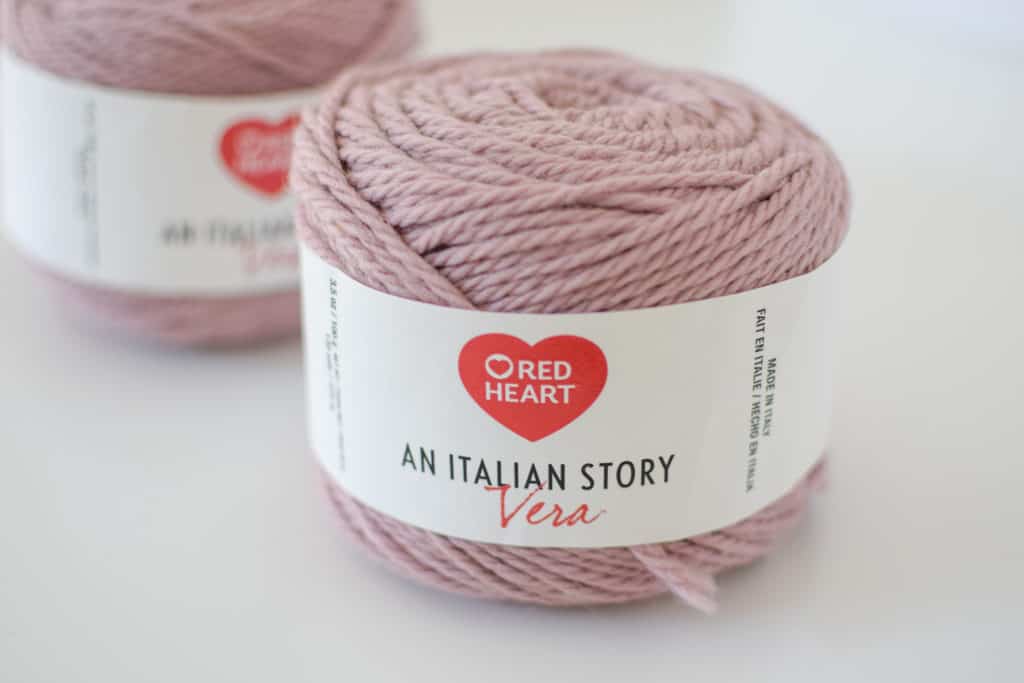
For this project, I used Red Heart An Italian Story Vera in the color Rosa. It’s a bulky weight 70% and 30% alpaca blend. Find it here!
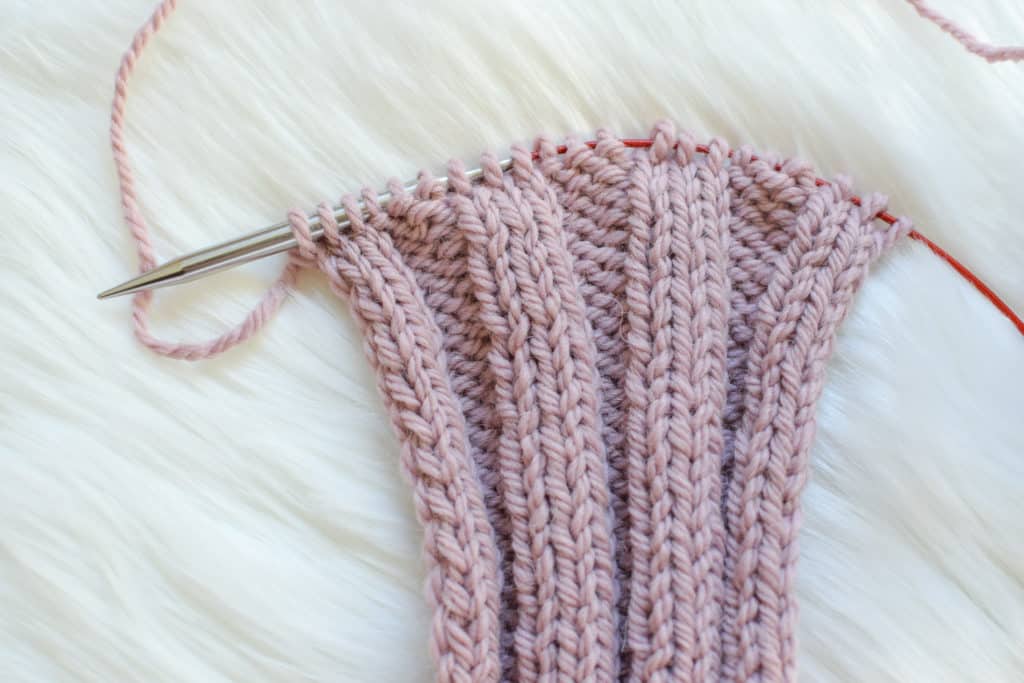
The Cable Twist Headband is knit flat, with a wide rib pattern for the main part of the body. It features an interwoven cable in the center, then both ends are seamed together to finish.
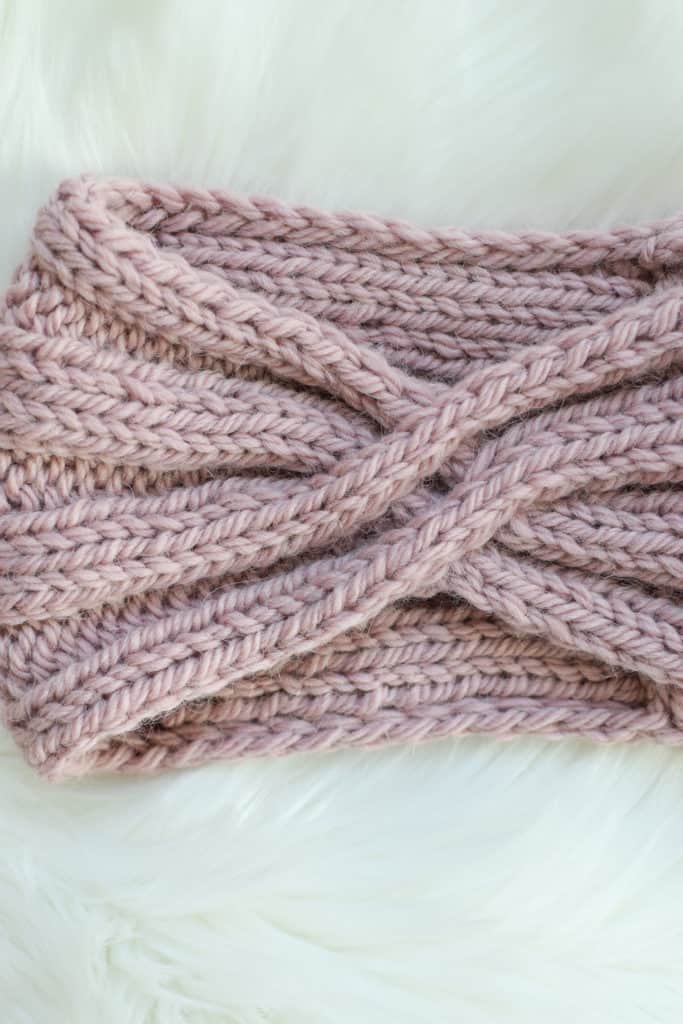
Let’s get started!
Here’s what you’ll need:
Yarn
Red Heart An Italian Story Vera 70% wool/30% Alpaca in Rosa – 56 yds/51 m
Needles
US 10/6 mm needles (straight or circular), or size needed to obtain gauge
Notions
2 x Cable needles or dpns (US 10/6 mm or smaller)
Tapestry needle for weaving in ends
Gauge
13 sts and 19 rows = 4 in/10 cm in Stockinette st
Sizes
One: Adult – to fit 21-23 in/53.5-58.5 cm head circumference
Abbreviations
C9F – cable 9 front (see video): sl 3 sts to cn in front, sl 3 sts to cn in back, k3, p3 from back cn, k3 from front cn.
cn – cable needle
CO – cast on
k – knit
p – purl
RS – right side
sl – slip
sl1k – slip 1 stitch knitwise
sl1p – slip 1 stitch purlwise
st(s) – stitch(es)
WS – wrong side
Watch the video below for a full step-by-step tutorial!
Pattern
Body:
CO 21 sts using the long tail method.
Row 1 (WS): sl1p, p2, *k3, p3. Repeat from * to end of row.
Row 2 (RS): sl1k, k2, *p3, k3. Repeat from * to end of row.
Rows 1 and 2 form ribbed pattern. Repeat rows 1 and 2 until headband measures 10 in/25.5 cm from cast on edge, ending after a WS row.
Cable section:
See chart or follow written directions below.
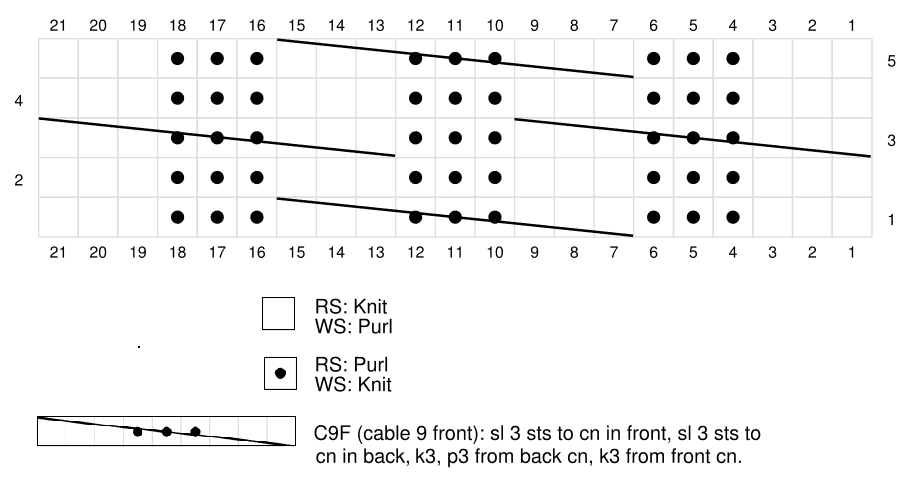
Row 1 (RS): sl1k, k2, p3, C9F, p3, k3.
Row 2 (and all WS rows): sl1p, p2, *k3, p3. Repeat from * to end of row.
Row 3: C9F, p3, C9F.
Row 5: sl1k, k2, p3, C9F, p3, k3.
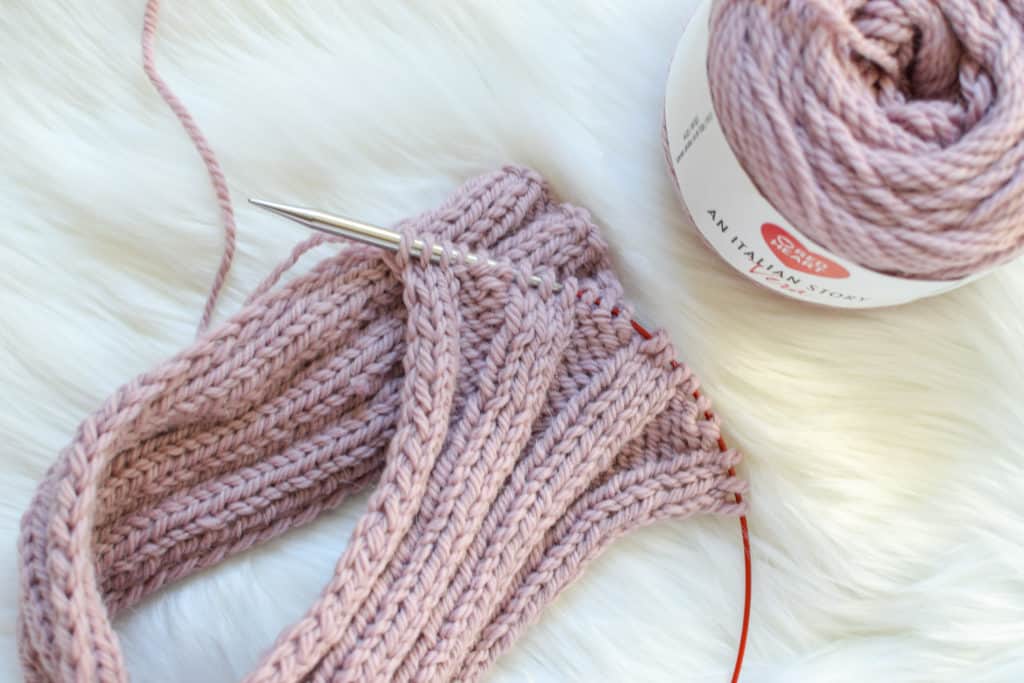
Continue working in established ribbed pattern until headband measures 20 in/50 cm long from cast on edge, ending after a WS row.
Bind off all stitches in pattern. Cut yarn, leaving a long tail. Use tail to seam headband ends together (see video). Weave in ends and block, if desired.
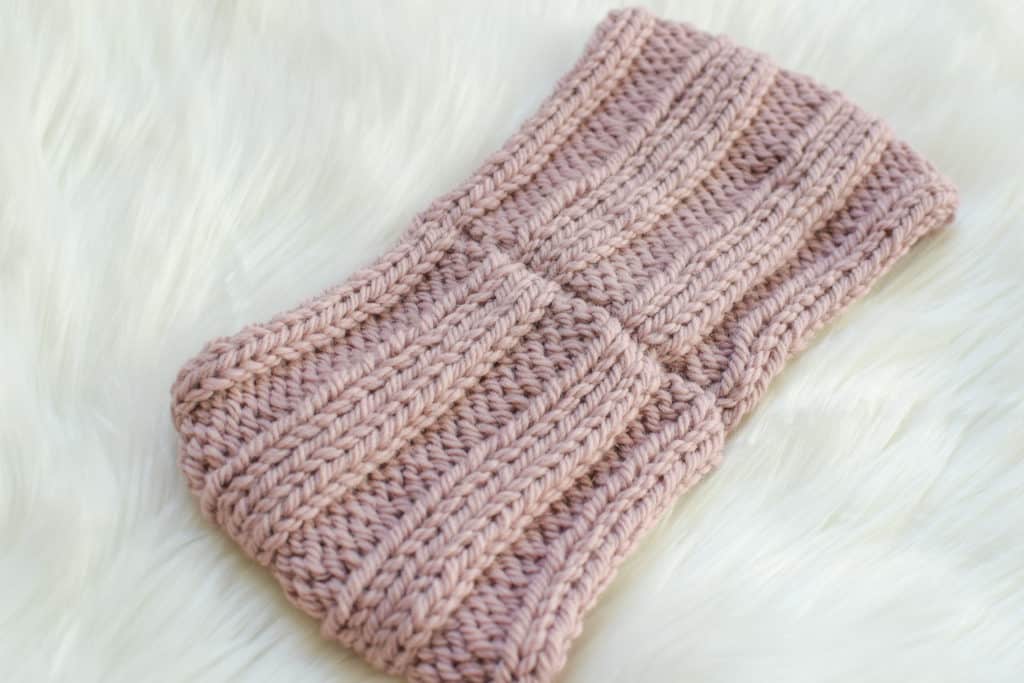
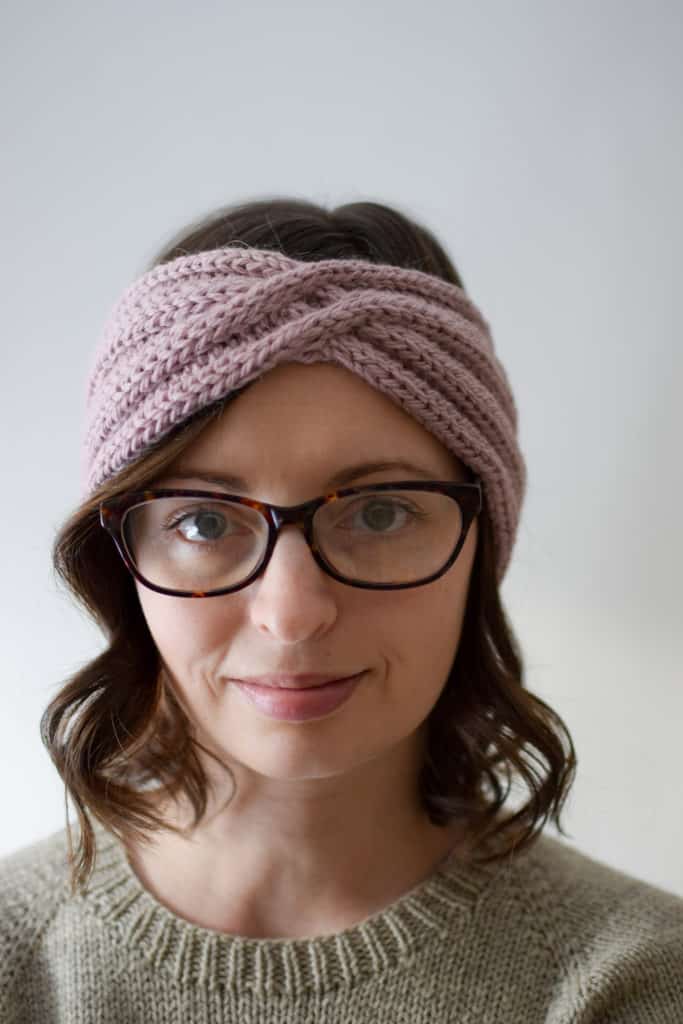
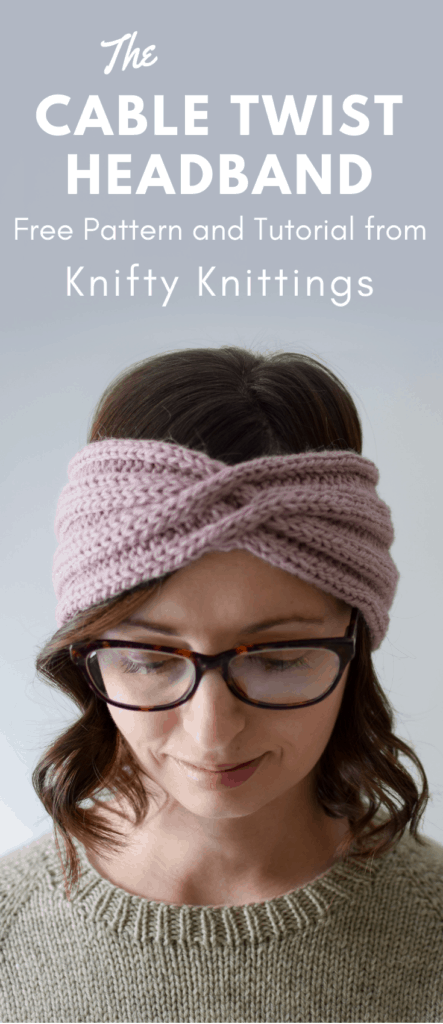
And that’s it! I hope you enjoyed this pattern, and remember to pop over to Marly Bird to find all of the 24 Days of Quickies patterns! Feel free to share with your friends by pinning the image below!





Leave a Reply