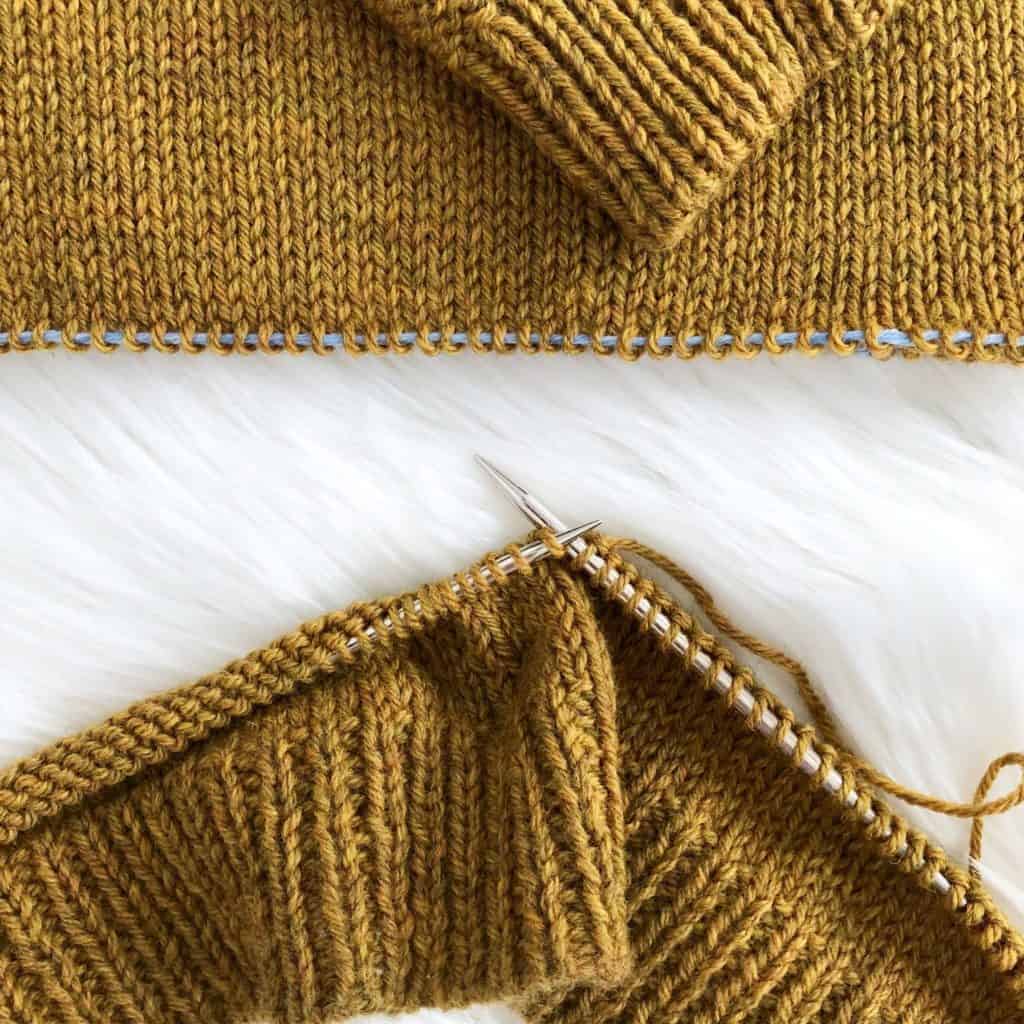
How to Add Length to a Knit Sweater
Happy Friday, friends! I’m glad you stopped by today, because I have a brand new (and slightly terrifying) knitting tutorial for ya!
In today’s post and video, I’m going to show you how I performed a little sweater surgery on a completed sweater to add in some extra length. Keep scrolling for the video tutorial!
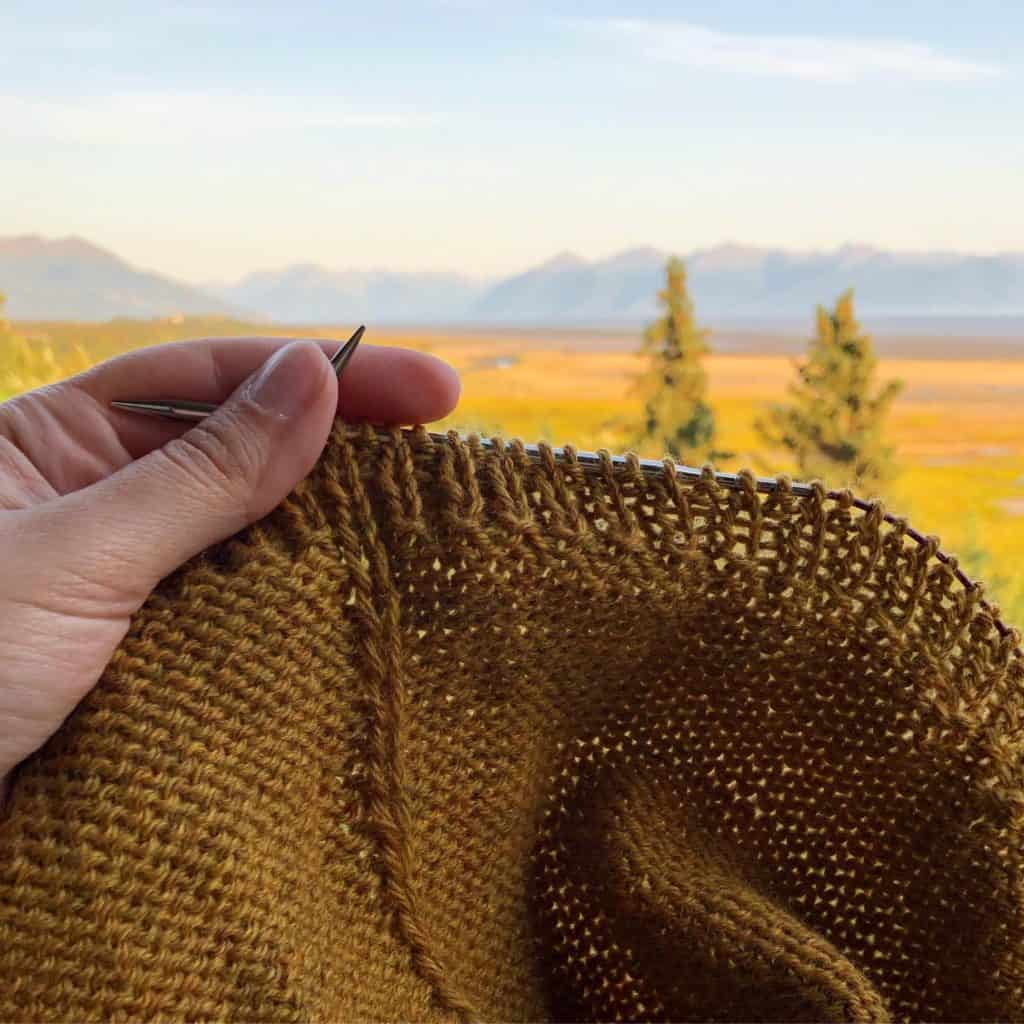
During our Summer vacation last year, I started knitting The Weekender sweater pattern by Andrea Mowry (you can find it on Ravelry here). It’s such an enjoyable knit and I highly recommend it if you’re looking for a cozy and exciting knit!
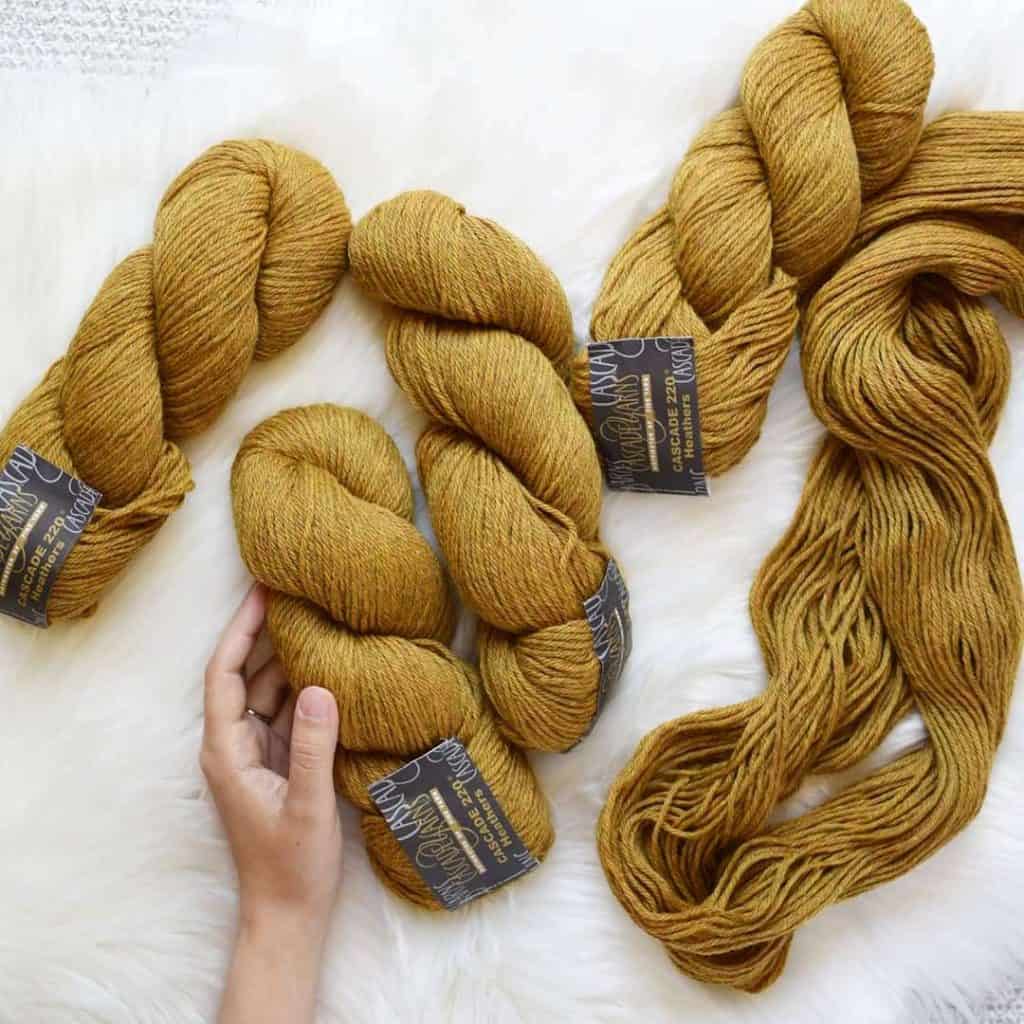
I don’t usually take the time to knit a lot of personal projects, so I was very much looking forward to this one. It took me quite a while to narrow down which yarn to use. I ended up going with Cascade 220 Heathers in Straw, which you can find here. It is a wonderful workhorse yarn that doesn’t break the bank!
I finished my sweater just in time to wear for Fall, but unfortunately I knit it far too short! I was trying for 15 inches in length, but I think I assumed it would stretch more than it would during blocking. It ended up being more like 12 inches after blocking! Far too short for a girl with an extra long torso. 😅
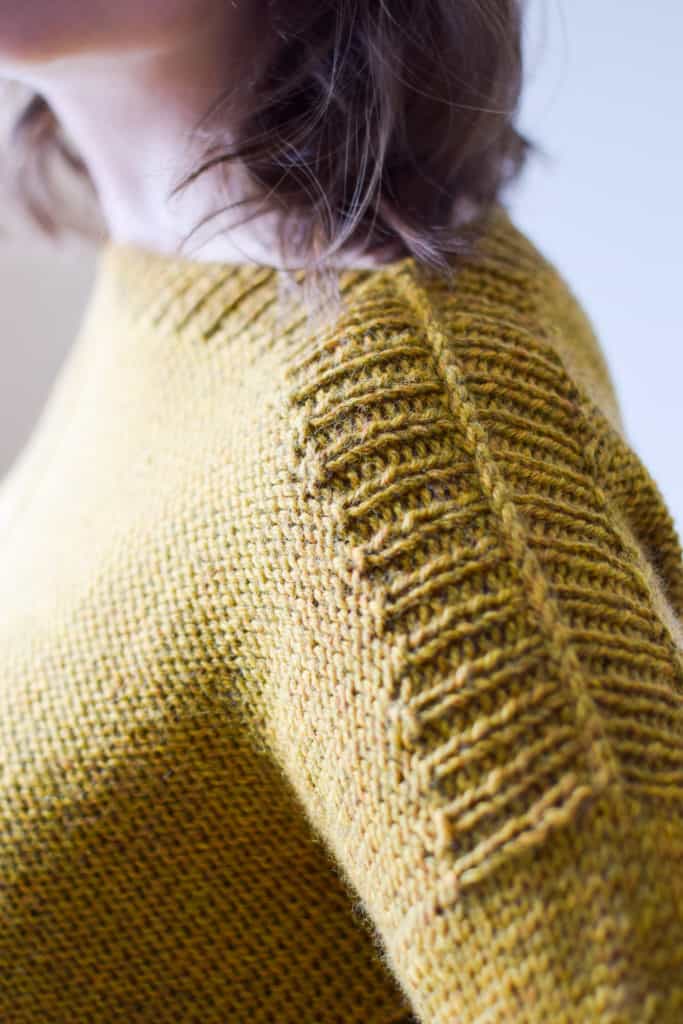
If you’re not familiar with The Weekender, it’s knit in the round from the bottom up. It begins with a beautiful tubular cast on and features a split hem. Basically, the hem is pretty and complicated and I did not want to have to knit that again!
I had a couple of options to add length to my sweater. Rip out the hem, pick up the live stitches, add more length while knitting down (instead of up) and re-knit some kind of version of the hem. Or I could do some serious sweater surgery. If I picked up the live stitches and re-knit the hem, I knew having the stitches facing the opposite direction of the rest of the sweater would drive me nuts. So I shelved the sweater for a few months until I got up the nerve to do some surgery.
My plan was to cut the sweater just above the hem, pick up the live stitches above the hem and continue knitting for a few inches. Then, I would graft the two pieces of the body back together with Kitchener stitch.

Fun fact: I’ve never performed sweater surgery before. 😬 I’ve picked up my share of live stitches, and I’m quite experienced with Kitchener stitch, so I felt relatively confident I could do this. My main fear was that there would be a clear line where the two pieces were grafted together.
I documented the whole saga in the video below, and I think it went really well! My only road block was trying to graft the slipped faux seam that runs down the center of the front and the back of The Weekender. My solution was to not worry about it until the sweater was finished, then to use a duplicate stitch to fill in the gap created from the graft.
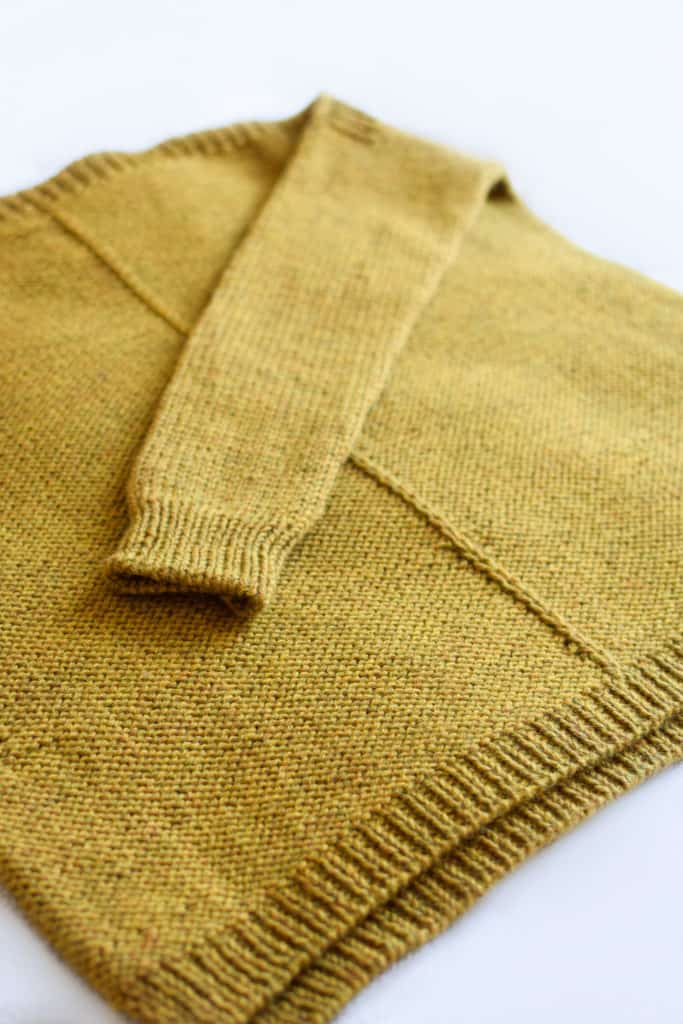
I think it turned out really well! I don’t feel like there are any real noticeable lines from the graft, and the fit is perfect! Mission accomplished.
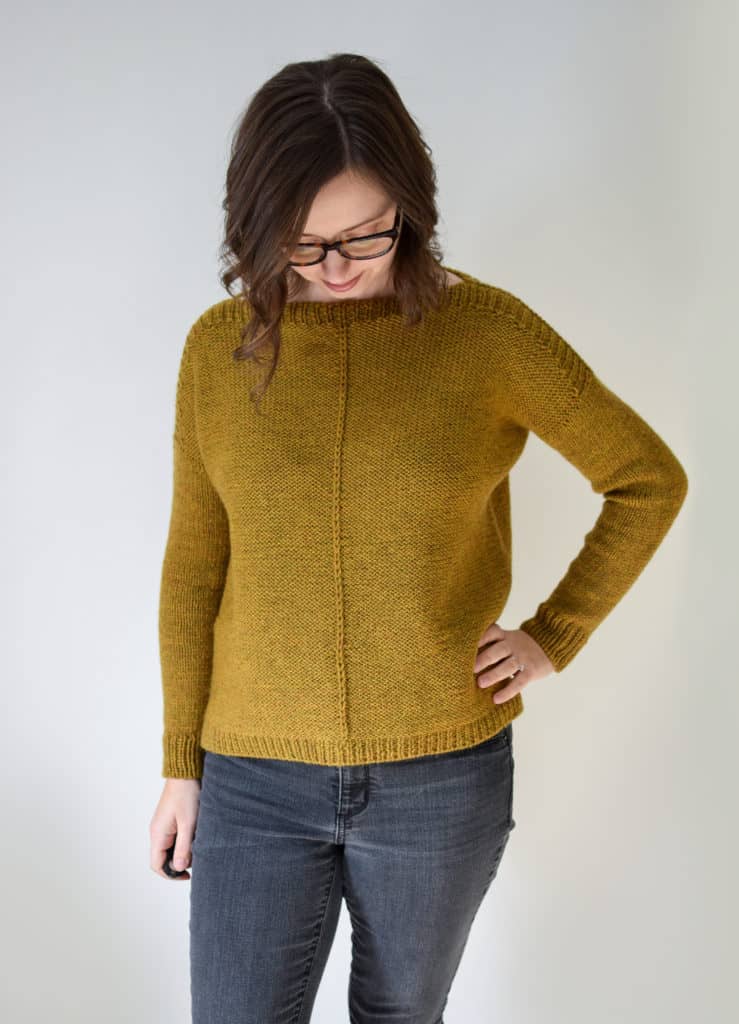
Here are some of my tips and takeaways:
- Definitely utilize lifelines. I’m usually one to wing it, but when it comes to grafting I do not want to have any dropped stitches to worry about.
- Make sure you’re picking up the right leg of each stitch when placing the lifeline. This will ensure the stitches aren’t twisted.
- Leave at least one full round between two lifelines so you have a little bit to unravel.
- You may notice in the video after I place the stitches on my needle, I un-knit (or tink) backwards for several stitches. This is so I can have a long enough tail from the “old” yarn to weave in.
- When grafting with Kitchener stitch, I do this very loosely. My preferred method is to go back and tighten up those stitches so they match the rest of my sweater’s gauge. Not too tight, not too loose!
Without further ado, here is the full step-by-step video!
I hope you found this tutorial useful, or at least interesting! I would love if you would share with your friends by pinning the image below!


Wow Destiny
How to add length to a sweater. I truly learned something today. I have been knitting and crocheting for years and never saw anything like this. Very smart. I will certainly try this technique Thanks for the video
I’m a newcomer on kniftyknitting
Claire
Thank you so much, Claire! Welcome to the site! 🙂
FANTASTIC tutorial!! Very clear and comprehensive!! Many thanks.
Thank you Judy! Happy knitting!
You are brilliant! I just finished The Weekender myself and it’s a little shorter than I would like. Even at 15”. However, I haven’t blocked it yet so there is hope. But I’m keeping this tutorial on speed dial.
Great tutorial! I just finished a linen tank top that i thought would be long enough but sadly, is definitely not. I’ll be needing to do my first knitting surgery and (thankfully) now have a path forward! thank you so much for putting out this information.
The sleeves of my latest sweater being about four inches too short wasn’t as much of a disaster as I thought it would be. Your tutorial was easy to follow and gave me confidence. I liked that there wasn’t much talking=just clear instruction.