I-cord

How to knit an I-cord edge

How to knit an i-cord edge - knitting tutorial from www.kniftyknittings.com    #knitting #knittingtutorials

How to knit an I-cord edge

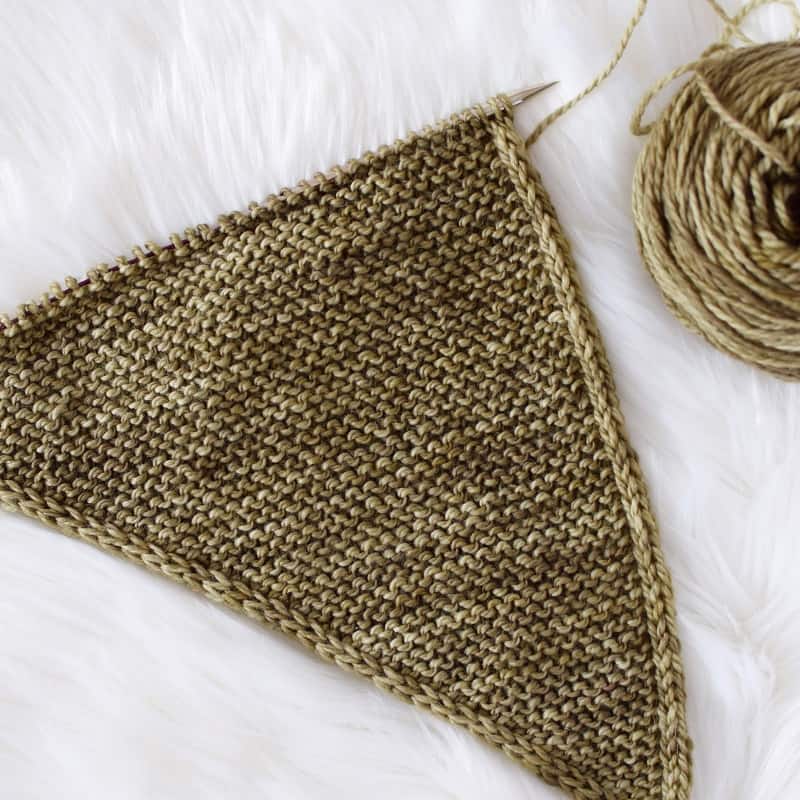
Hey friends! For today’s Tips and Tricks Tuesday, I’m going to show you how to knit an I-cord edge.

A few people asked me how I got such a tidy looking edge on my new shawl design (work in progress), so I thought I’d share a quick tutorial.

Here’s how to work it:

On the right side: Knit 3, work in pattern until last 3 sts, slip 3 sts purlwise with yarn in back.

Wrong side: Purl 3 (pulling yarn snug), work in pattern until last 3 sts, slip 3 sts purlwise with yarn in front.

Then just repeat those two rows!

Check out the full video tutorial below:

Feel free to share this tutorial with your friends by pinning the image below.
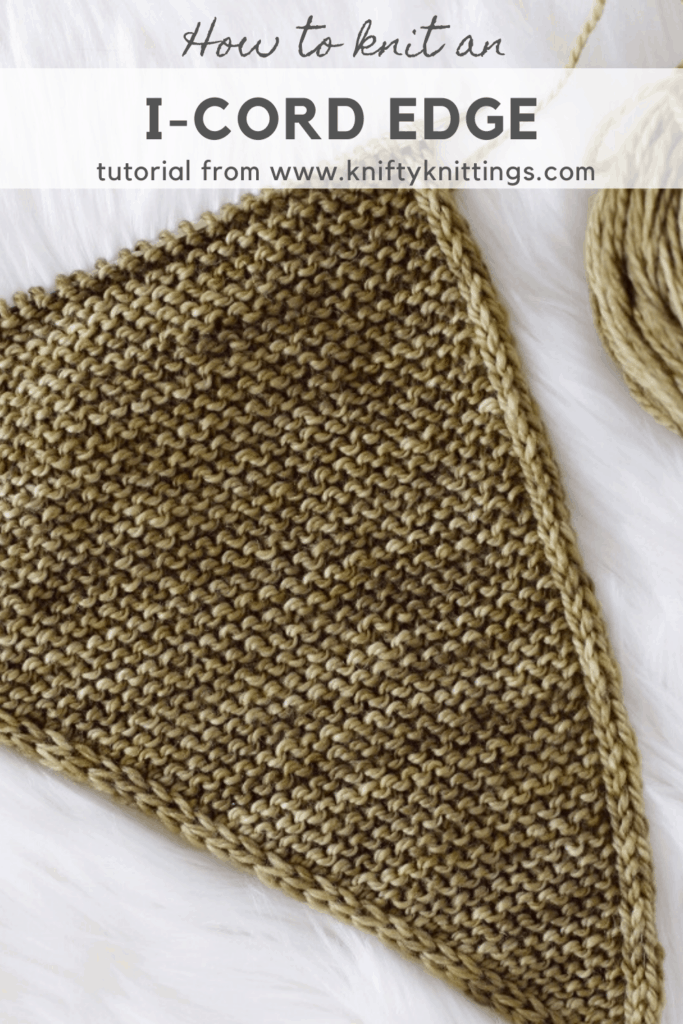
How to knit an i-cord edge - knitting tutorial from www.kniftyknittings.com #knitting #knittingtutorials

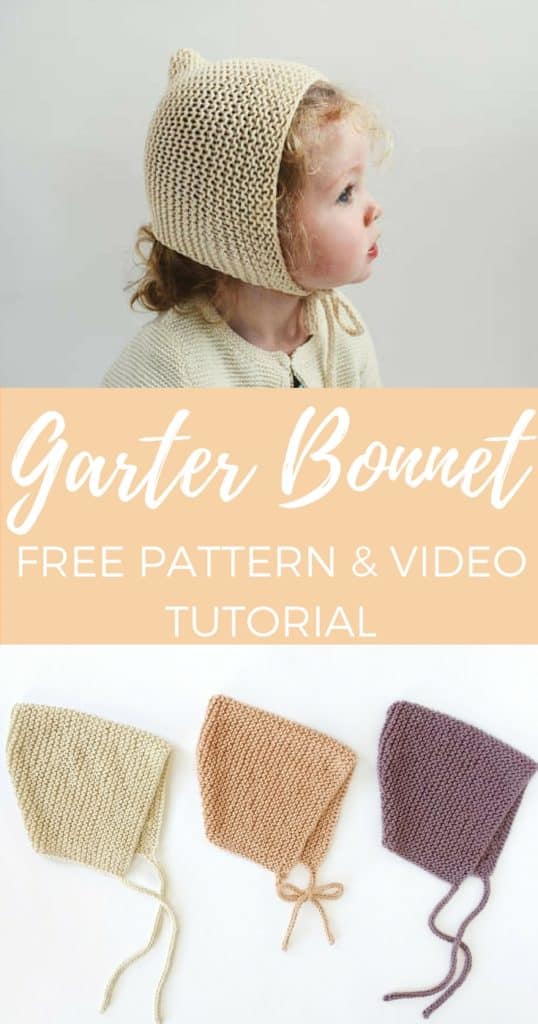
Spring Garter Bonnet – Free Pattern

toddler wearing spring garter bonnet

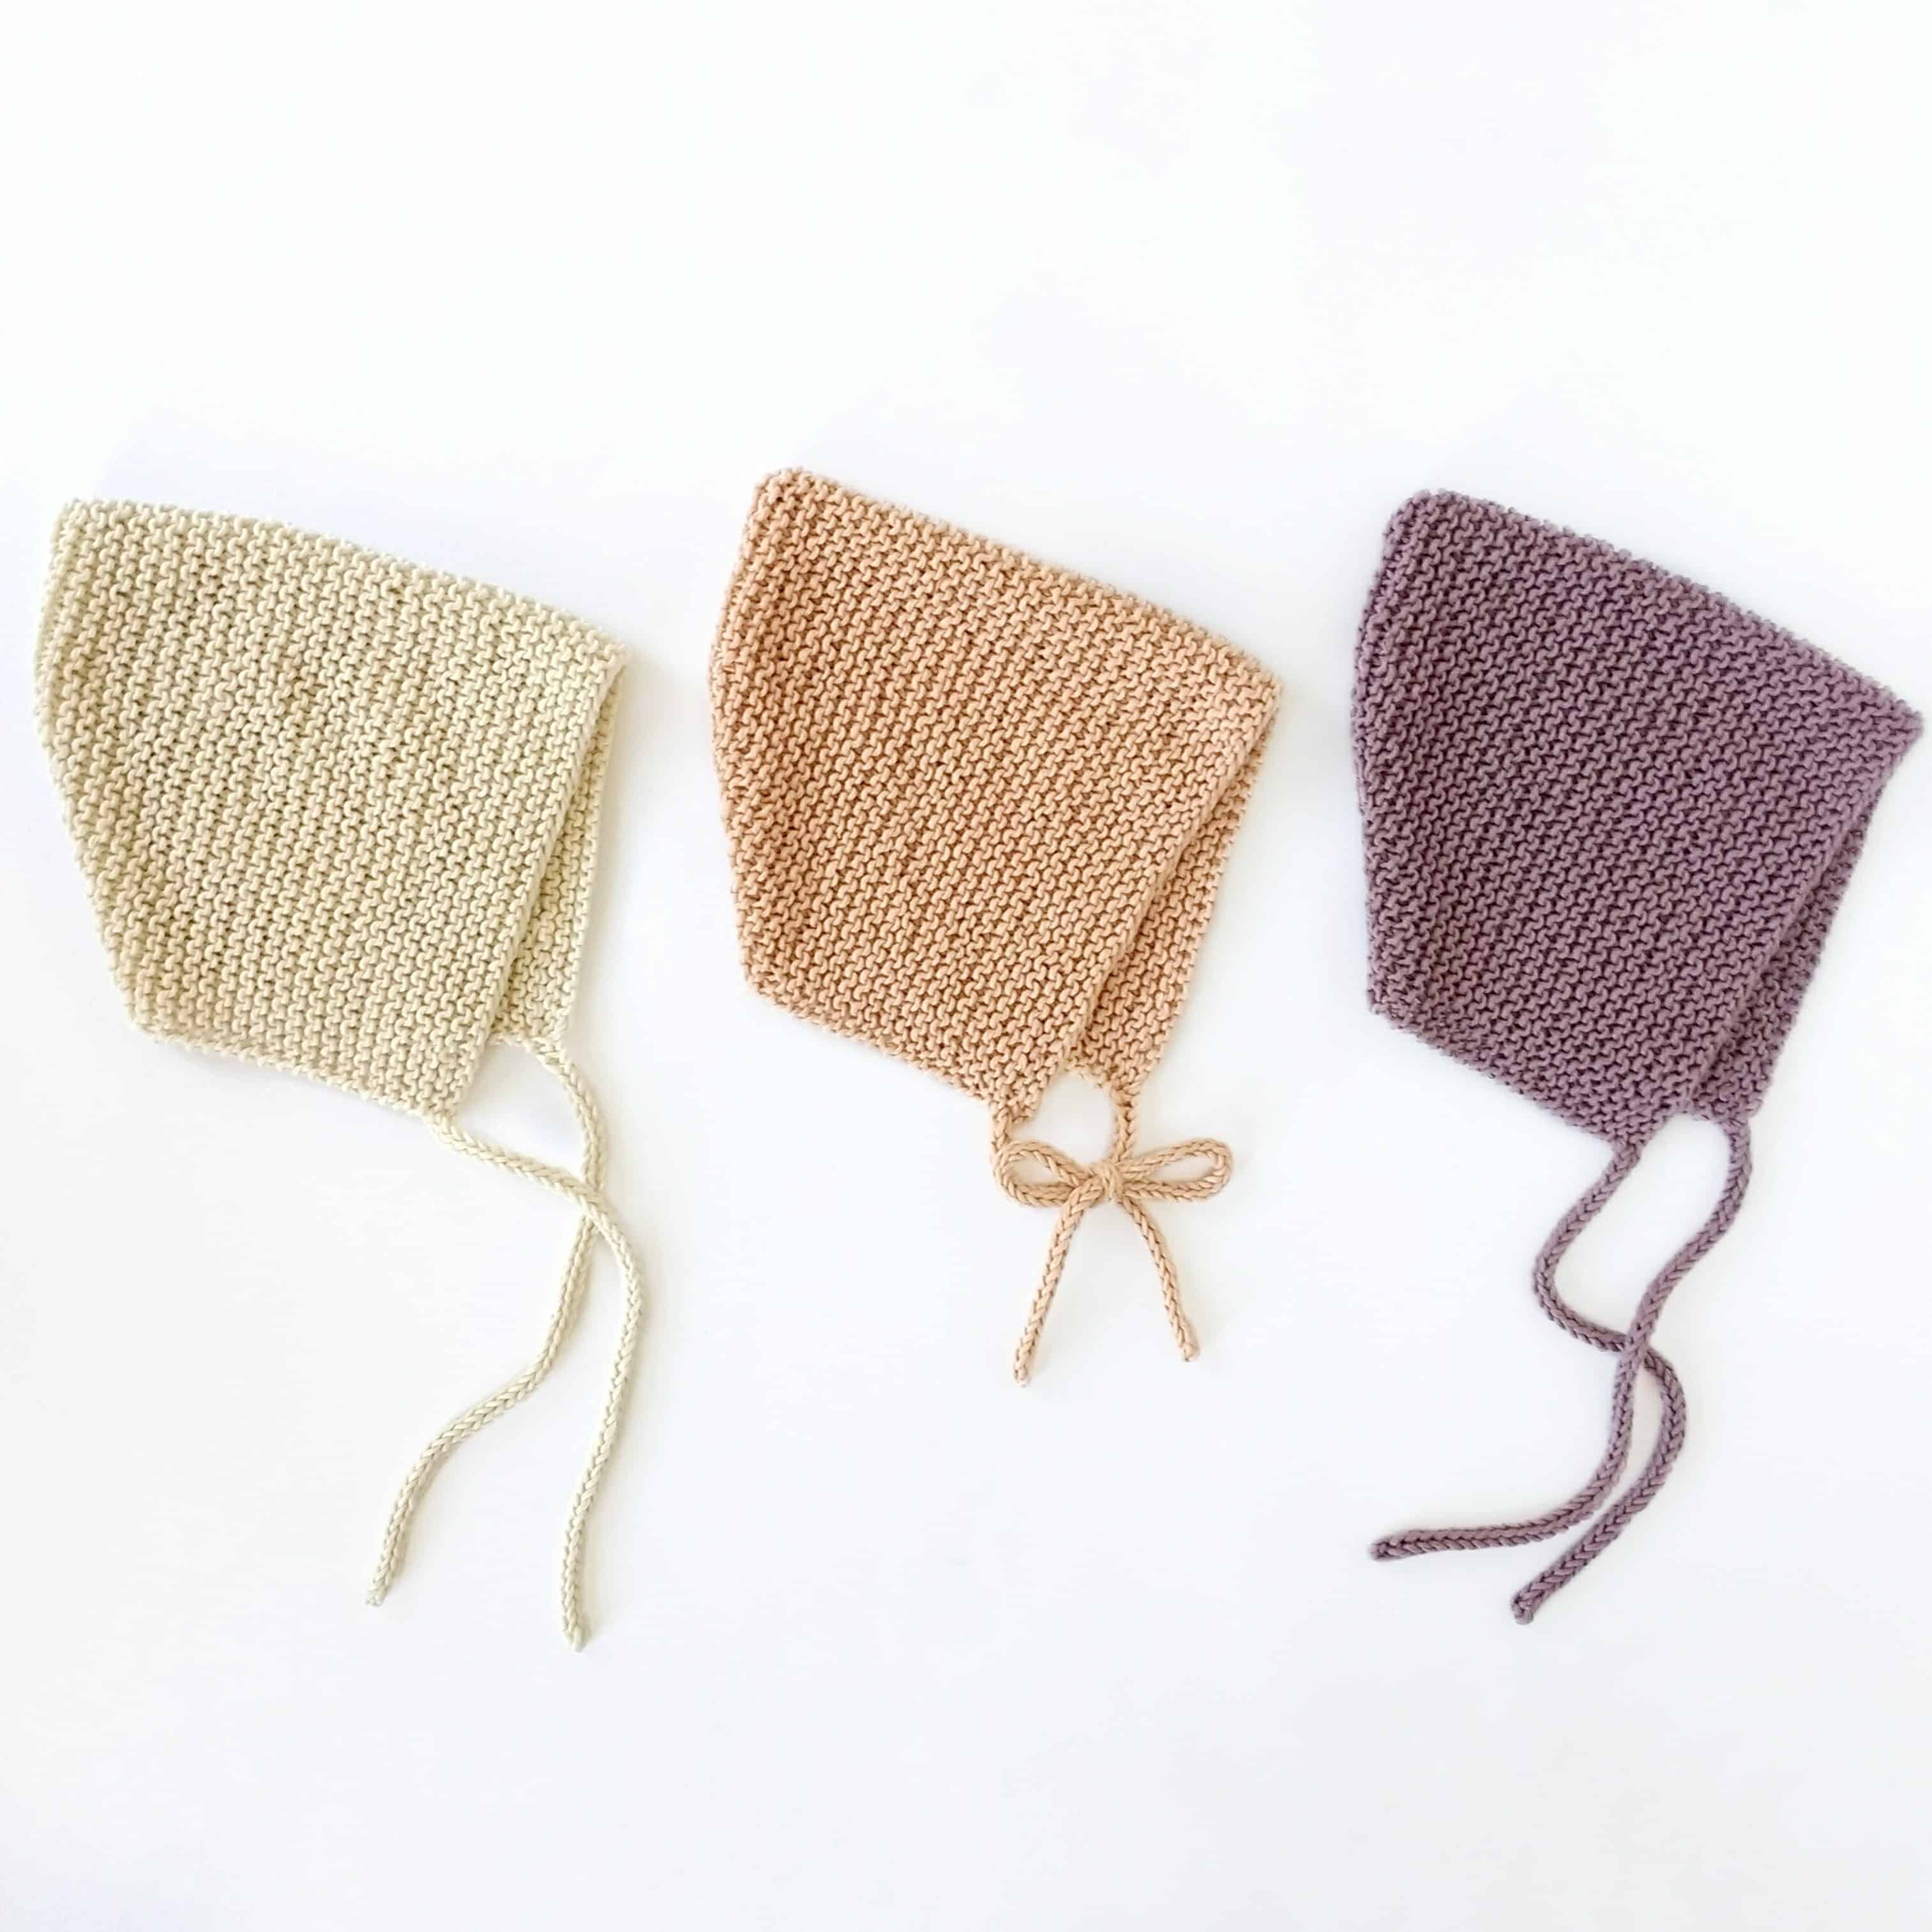
For me, nothing spells spring quite like little ones all dressed up in adorable bonnets! Easter is only a week away, so I thought I’d share with you my favorite stash busting knit bonnet pattern.

The Garter Bonnet uses just 48-80 yards of worsted weight cotton (I used We Are Knitters Pima Cotton, but any similar weight should work fine), and it’s written for newborn through toddler sizes.

This sweet pixie bonnet is knit flat in one piece, with short row shaping for the back of the neck. The live stitches are grafted together seamlessly in the back, and it’s adorned with delicate I-cord ties.

You can find the printable ad-free PDF here (thank you for your support!).

Add it to your Ravelry queue for later here.

Share with your friends – pin the image below!

The following video tutorials have been provided for reference:

How to work short rows in garter stitch
Grafting garter stitch
How to knit an I-cord

Yarn

48-80 yds/44-74 m The Pima Cotton by We Are Knitters (shown in natural) or similar worsted weight yarn

Needles

US 8/5.0 mm 16 or 24 in circular needles

*straight needles may be used, though you will also need two double pointed needles for the I-cord.

Notions

Tapestry needle for grafting and weaving in ends

Gauge

15 sts and 31 rows = 4in/10cm in garter st

Sizes

Newborn-3 months [3-6 months, 6-9 months, 9-12 months, 1-3 years] to fit head circumferences:
14-15 [15-16, 16-17, 17-18, 18-19.5]

Abbreviations

CO – cast on
k – knit
p – purl
sl – slip
st(s) – stitch(es)
w&t – wrap and turn: slip st purlwise to right needle, bring yarn to front, slip stitch back to left needle and turn work (see video).

Pattern

Body:

Using the long tail method, CO 40 [46, 50, 54, 60] sts. Work in garter stitch (knitting every row) until bonnet measures 4 [4.75, 5, 5, 5] in from cast on edge.

Short Rows:

1st row: Knit across to the last 2 sts of the row, w&t.
2nd row: Knit across to the last 2 sts of the row, w&t.

3rd row: Knit to 2 sts before last wrapped st, w&t.
4th row: Knit to 2 sts before last wrapped st, w&t.

Repeat previous two rows 2 [3, 4, 5, 6] times more, for a total of 8 [10, 12, 14, 16] wraps.

Next row: knit across.

Next row: knit halfway across the row (20 [23, 25, 27, 30] sts). Stop here, and see video for grafting garter stitch with Kitchener stitch.

Grafting:

Cut yarn, leaving a long tail, and thread onto a tapestry needle. Hold needles parallel with the working yarn coming from the back needle. Insert tapestry needle into the first st of the front needle knitwise, and slip it off the needle.

Go into the second stitch on the same needle purlwise, and leave it on the needle. Work the first 2 sts of the back needle in the same manner (knit off, purl on).

Repeat the previous 2 steps until one st remains on each needle. Sl the last st off the front needle knitwise. Sl the last st off the back needle knitwise.

I-cord:

Using the same circular needle OR US 8/5.0 mm double pointed needles, pick up and knit 3 sts at the bottom corner of the bonnet. Without turning the work, slide the 3 sts to the other end of the needle and knit them again.

Continue knitting the I-cord until it measures 8 [8½ , 9, 9½, 10] in long. Knit these 3 sts together. Cut yarn and pull through the last st. Weave end back through the center of I-cord. Repeat for the other side of the bonnet.

Weave in ends and block, if desired.

I can’t wait to see which colors you choose! Feel free to tag me on Instagram and use the hashtag #kniftyknittings. Sign up for my newsletter below to be the first to hear about new patterns, tutorials and more!

Copyright © 2025 · Theme by 17th Avenue