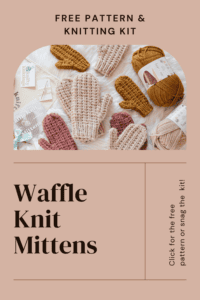
Hey friends! Who’s ready to knit these warm and cozy Waffle Knit Mittens? 🙋♀️
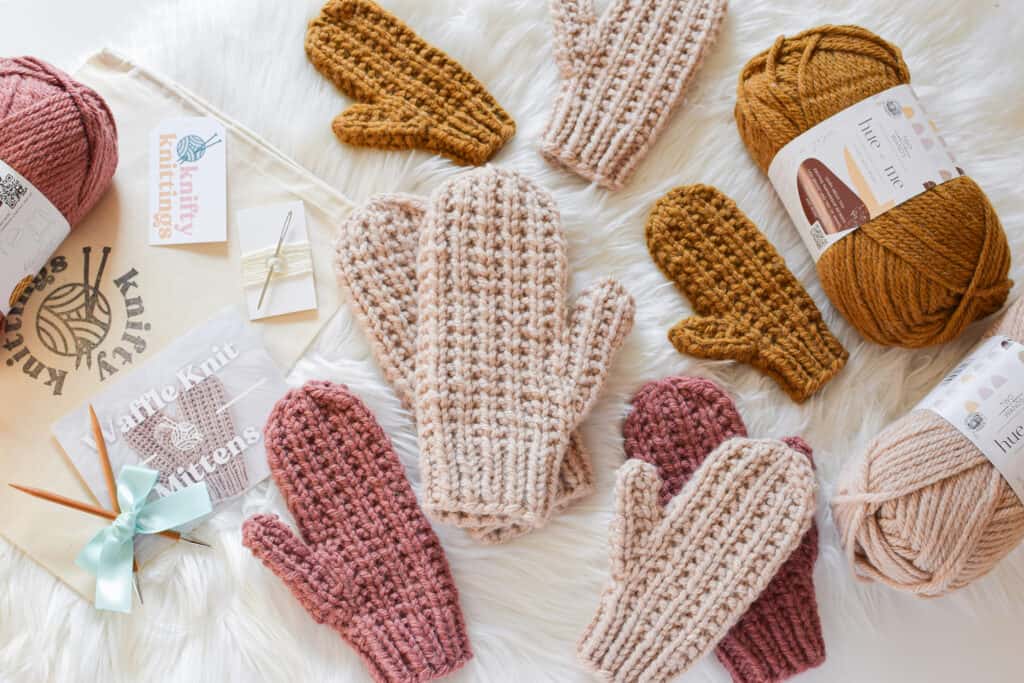
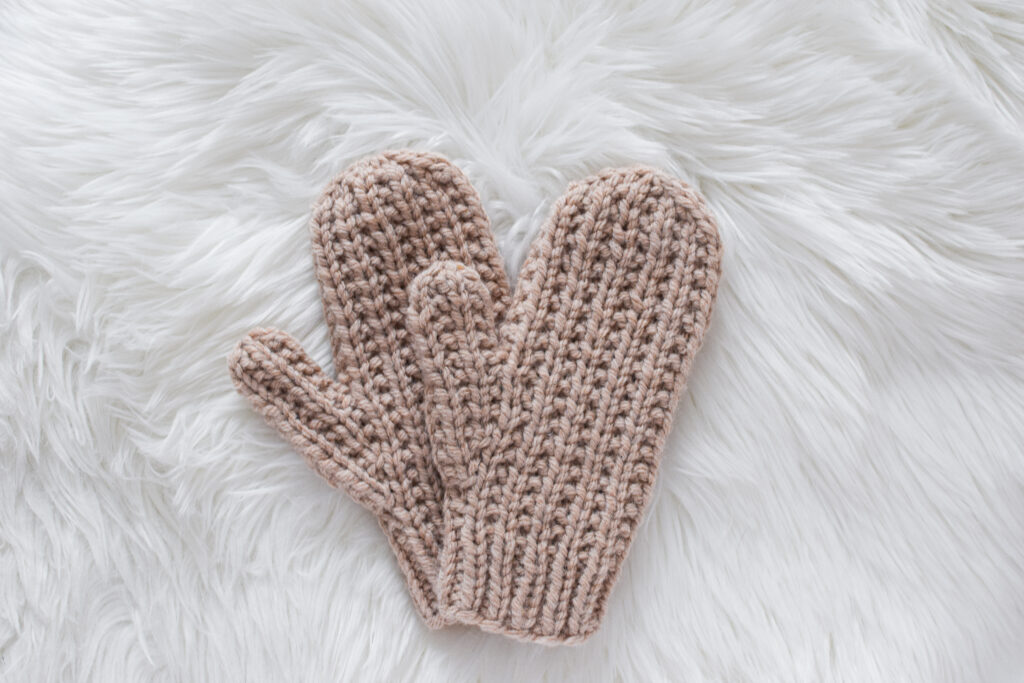
The Waffle Knit Mittens pattern offers a cozy and stylish accessory for colder days, combining the texture of the waffle stitch with the convenience of the magic loop knitting method. If you’ve been around for a bit, you may recognize these as my Broken Rib Mittens I made a while back for a sponsored post. Now, I’ve revamped the pattern using my favorite chunky weight yarn, Hue + Me, and included 4 different sizes for the whole fam!
The free pattern in this blog post will get you started knitting the Waffle Knit Mittens. However, for those who prefer a little more guidance, additional video tutorials that provide a step-by-step guide can be accessed through the purchase of the PDF knitting pattern OR the all inclusive knitting kit! Keep scrolling for the free pattern, or visit these links to purchase the printable PDF or kit.
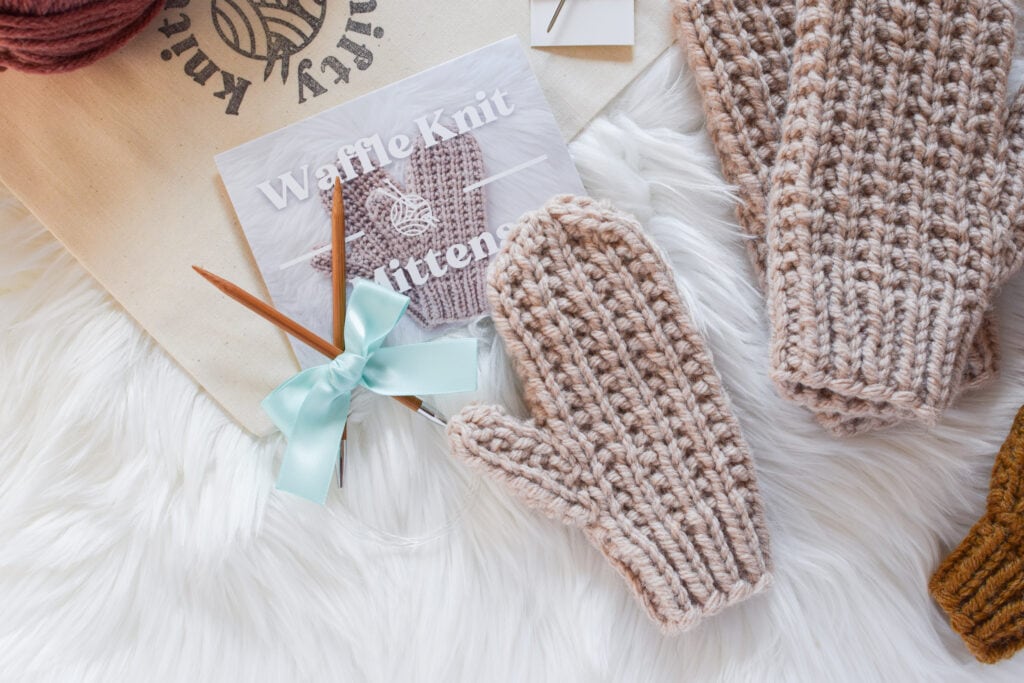
About the kit
The curated kit includes everything you need to get started. Additionally, the video tutorials will walk you through each step on how to knit the Waffle Knit Mittens.
– 1 skein of Lion Brand Hue + Me yarn (80% acrylic/20% wool)
– US 9/5.5 mm 40″ circular knitting needles (optional)
– Yarn needle
– 2 stitch markers
– Scrap yarn
– Written pattern
– Video library access
– All packaged in a hand stamped project bag
This is a level 4 (intermediate to advanced) knitting kit. You should be familiar and confident with the knit and purl stitches, how to knit in the round using the magic loop method, and also basic increases and decreases.
About the pattern
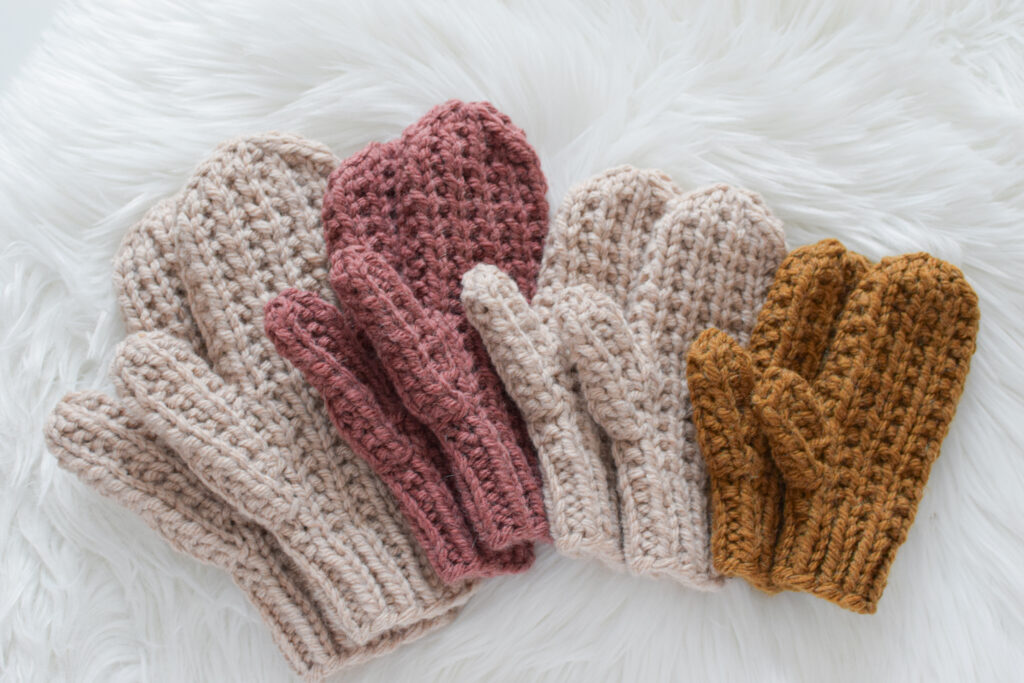
This pattern is written in four sizes, ranging from child to adult. Particularly, the smallest size instructions are presented first, followed by the larger sizes enclosed in parentheses. It is knit using the magic loop method, though dpns can be substituted with the stitches divided equally across four needles.
Let’s get started!
Here’s are the details:
Yarn
39 (55) 60 (85) yds/36 (50.5) 55 (78) m Lion Brand Hue + Me or similar chunky (category 5) yarn
Needles
US 9/5.5 mm 40 in circular needle
(or size needed to obtain gauge)
Optional: Double pointed needles may also be used
Notions
2 Stitch markers
Tapestry needle for weaving in ends
Scrap yarn
Gauge
12 sts and 22 rnds = 4 in/10 cm in pattern
Sizes
Child S (Child M) Teen (Adult)
To fit age: 2-6 years (6-10 years) Teen (Adult)
To fit hand circumference: 6 (7) 7 (7.5) in/15.25 (17.75) 17.75 (19) cm
Abbreviations
CO – cast on
k – knit
k2tog – knit 2 together
m1L – make 1 left leaning increase
m1R – make 1 right leaning increase
p – purl
pm – place marker
rnd(s) – round(s)
sl – slip
sm – slip marker
ssk – slip, slip, knit slipped sts together
st(s) – stitch(es)
Pattern
Cuff:
Please note: Double pointed needles may also be used by dividing stitches evenly over 4 needles.
Using the magic loop method, CO 16 (20) 20 (24) sts with the long tail cast on and join in the rnd, being careful not to twist sts.
Work in k1, p1 rib for 6 (7) 7 (8) rnds.
Begin working in waffle knit pattern:
1st rnd: Knit.
2nd rnd: *k1, p1, repeat from * to end of rnd.
These 2 rnds form waffle knit pattern.
Repeat previous 2 rnds 0 (1) 1 (1) times more.
Thumb Gusset:
1st rnd: k7 (9) 9 (11) sts, (now there is 1 st left on the front needle), pm, m1R, k1, m1L, pm, k to end of rnd (2 sts increased).
2nd rnd: *k1, p1, repeat from * to 1 st before m, k1, sm, k1, p1, k1, sm, *k1, p1, repeat from * to end of rnd.
3rd rnd: k to marker, sm, m1R, k to next marker, m1L, sm, k to end of rnd (2 sts increased).
4th rnd: *k1, p1, repeat from * to end of rnd.
5th rnd: Repeat rnd 3 (2 sts increased).
6th rnd: *k1, p1, repeat from * to 1 st before m, k1, sm, [k1, p1] 3 times, k1, sm, *k1, p1, repeat from * to end of rnd.
Child S – continue to separate for thumb.
Child M and Teen sizes only:
7th rnd: Knit.
8th rnd: Repeat rnd 6
Teen size only:
Repeat rnds 7 and 8 once more.
Adult size only:
7th rnd: k to marker, sm, m1R, k to next marker, m1L, sm, k to end of rnd (2 sts increased).
8th rnd: *k1, p1, repeat from * to end of rnd.
9th rnd: Knit.
10th and 11th rnds: Repeat rnds 8 and 9.
12th rnd: *k1, p1, repeat from * to end of rnd.
Separate for thumb – All sizes:
Next rnd: k to marker and remove marker, place 7 (7) 7 (9) gusset sts onto scrap yarn. Remove next marker. Cast on 1 st using the backwards loop cast on. 8 (10) 10 (12) sts should be on each needle. k to end of rnd.
Next rnd: *k1, p1, repeat from * to end of rnd.
Next rnd: Knit.
Repeat previous 2 rnds until mitten measures 4.5 (5) 5.75 (6.5) in/11.5 (13) 14.5 (16.5) cm from the top of the cuff OR until the mitten measures .5 (.75) .75 (1) in/1.25 (2) 2 (2.5) cm less than desired length, ending after a k1, p1 rnd.
Decreases:
1st rnd: *ssk, k4 (6) 6 (8) sts, k2tog, repeat from * once more (4 sts decreased).
2nd rnd: *ssk, [p1, k1] 1 (2) 2 (3) times, k2tog, repeat from * once more (4 sts decreased).
Child M, Teen and Adult sizes only:
3rd rnd: *ssk, k(2) 2 (4) sts, k2tog, repeat from * once more (4 sts decreased).
Adult size only:
4th rnd: *ssk, p1, k1, k2tog, repeat from * once more (4 sts decreased).
All sizes:
Cut yarn, leaving an 8 in tail. Weave tail through remaining 8 sts and draw to close top of mitten.
Thumb:
Place the 7 (7) 7 (9) sts from scrap yarn onto needles. Pick up and knit 1 st from the cast on st edge.
1st rnd: Knit.
Child S, Child M and Teen sizes only:
2nd rnd: *p1, k1, repeat from * to end of rnd.
Adult size only:
2nd rnd: *k1, p1, repeat from * to end of rnd.
All sizes:
Repeat previous 2 rnds 1 (2) 3 (4) times more.
Next rnd: *ssk, k 0 (0) 0 (1), k2tog, repeat from * once more.
Cut yarn, weave tail through remaining 4 (4) 4 (6) sts and draw to close top of thumb.
Turn mitten inside out, weave in all ends, and use the tail from the picked up st to close the gap near the base of the thumb. Repeat all steps for the second mitten.

I hope you enjoy knitting the Waffle Knit Mittens! Also, feel free to share it by pinning the image below. I’d love to see your projects on Instagram! Use the #kniftyknittings hashtag and feel free to tag me @kniftyknittings. Check out the matching headband kit here!
