lion brand yarn

The Daybreak Tee – Free Pattern

The Daybreak Tee - free knitting pattern and tutorial from www.kniftyknittings.com #knittingpattern #knitting

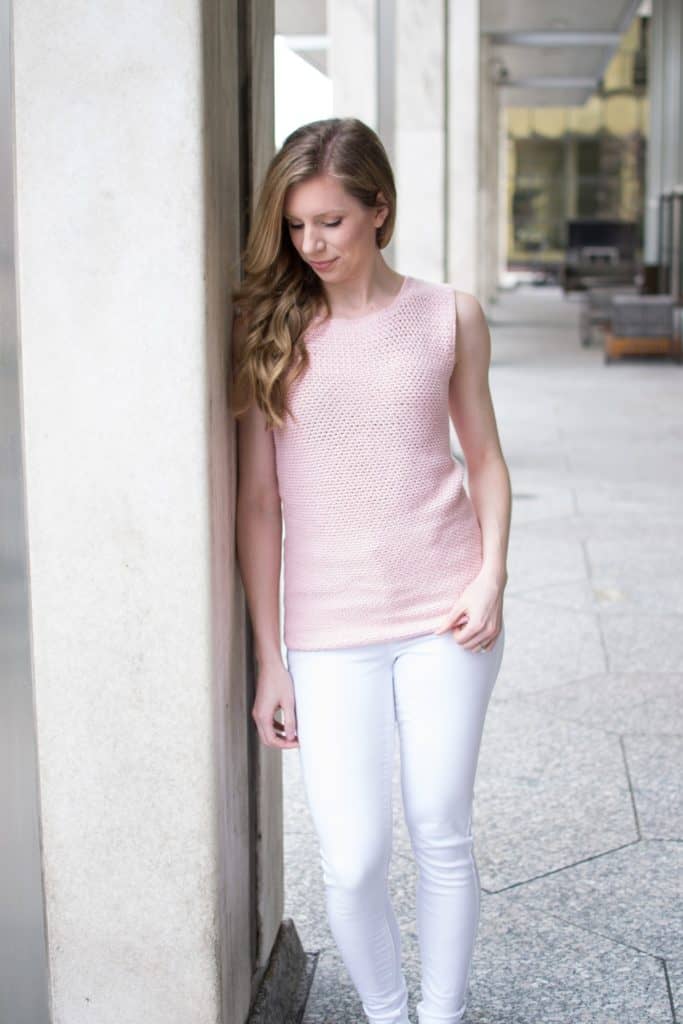
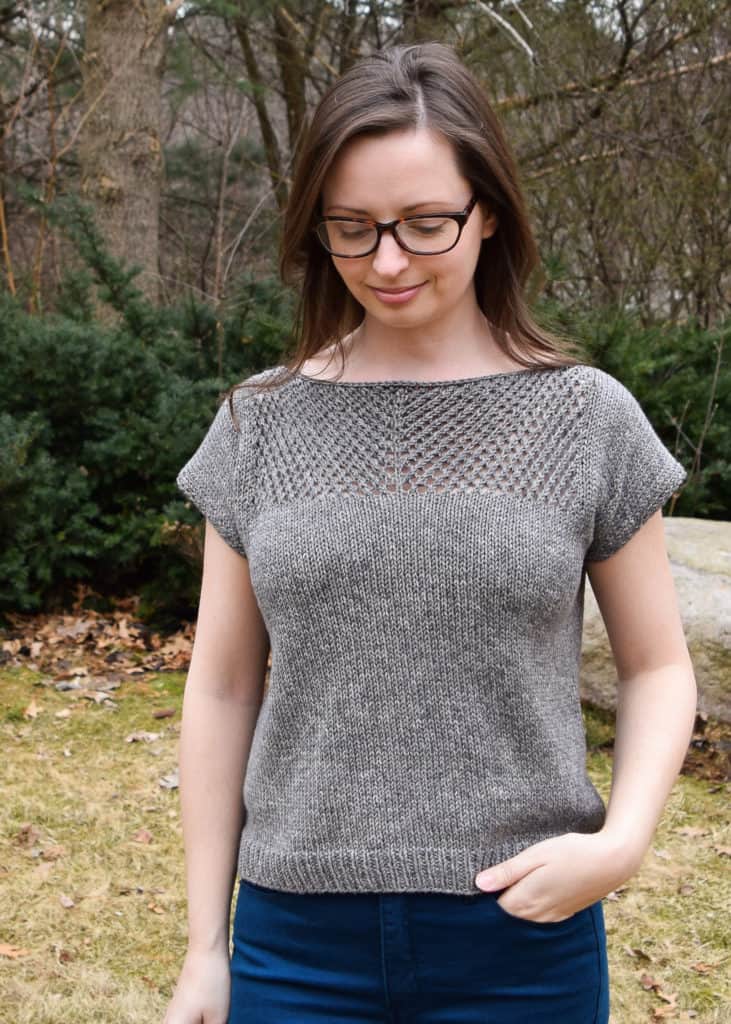
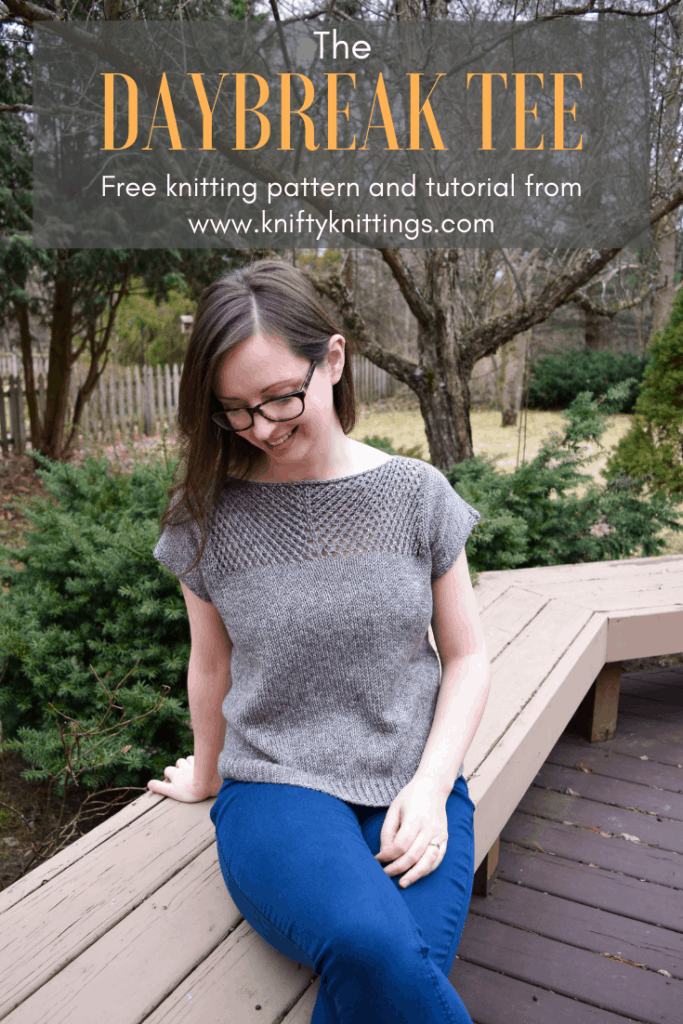
The Daybreak Tee

Friends, I can’t even contain my excitement! Not only do I have a new free pattern for you today, but it’s included as one of the 12 New Must-Have Cotton Kits from Lion Brand Yarn! It might seem like a small thing, but I’m so honored to be included alongside 11 other designers that I have long admired and looked up to, and some that I’m lucky enough to call friends.

Okay okay, enough with the sap. Please let me introduce to you, the Daybreak Tee! For the free pattern, please continue scrolling. You may also purchase the ad-free printable PDF here, or purchase the kit directly from Lion Brand here (it’s a steal, friends!).
The Daybreak Tee - free knitting pattern and tutorial from www.kniftyknittings.com #knittingpattern #knitting

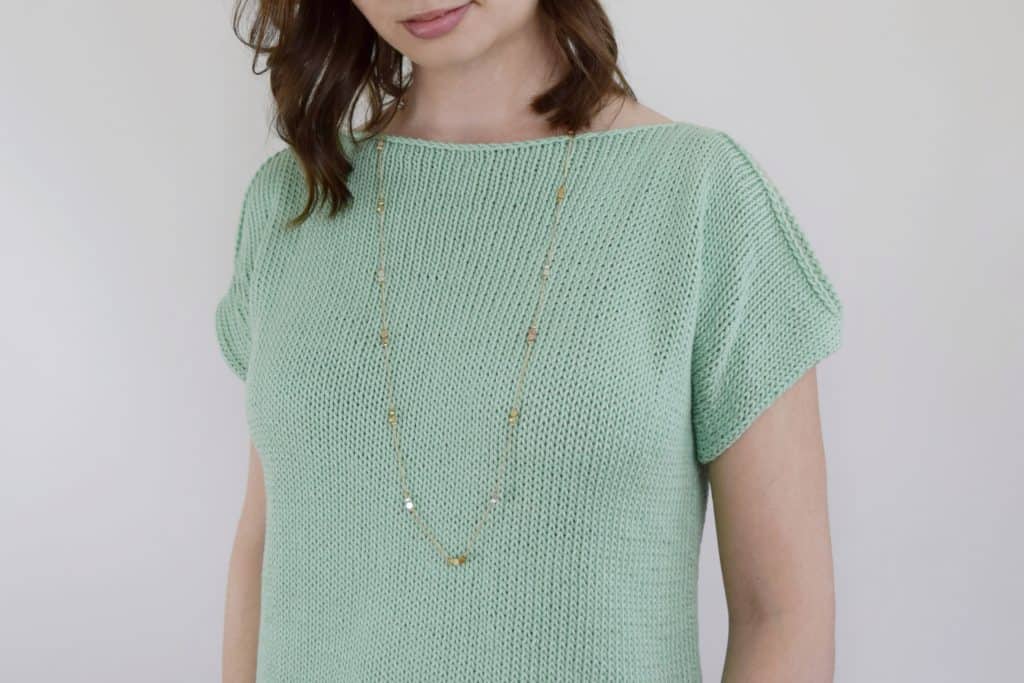
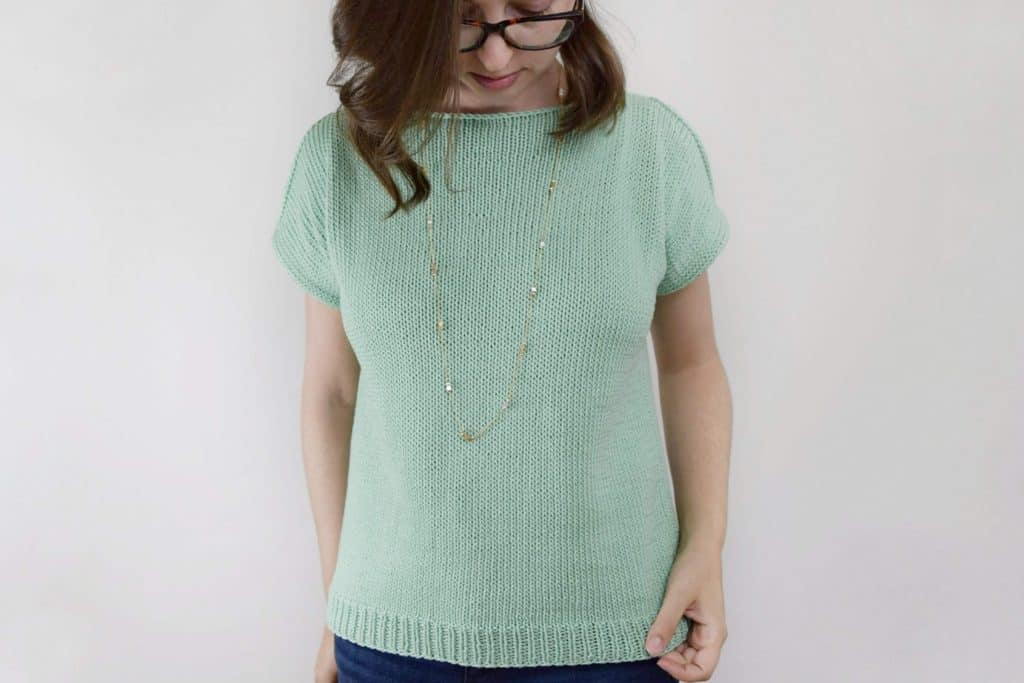
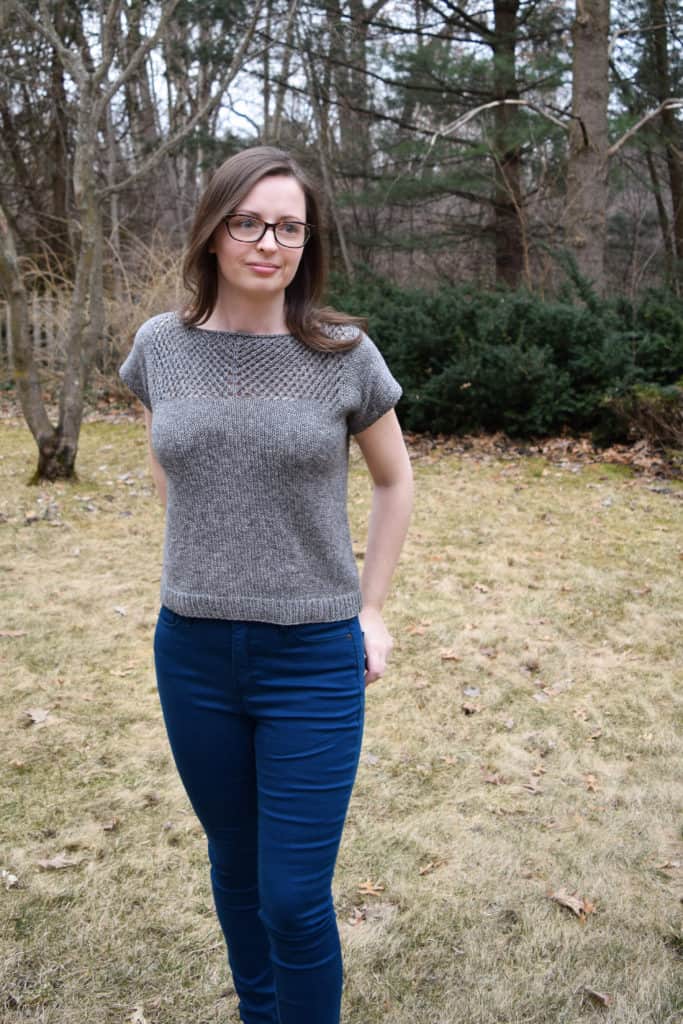
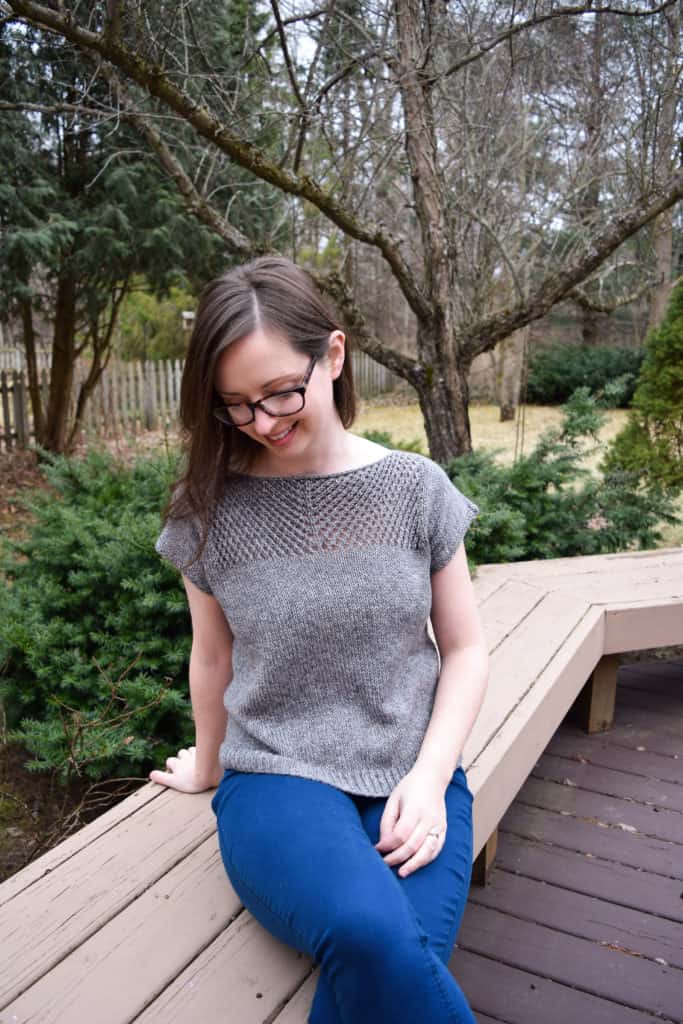
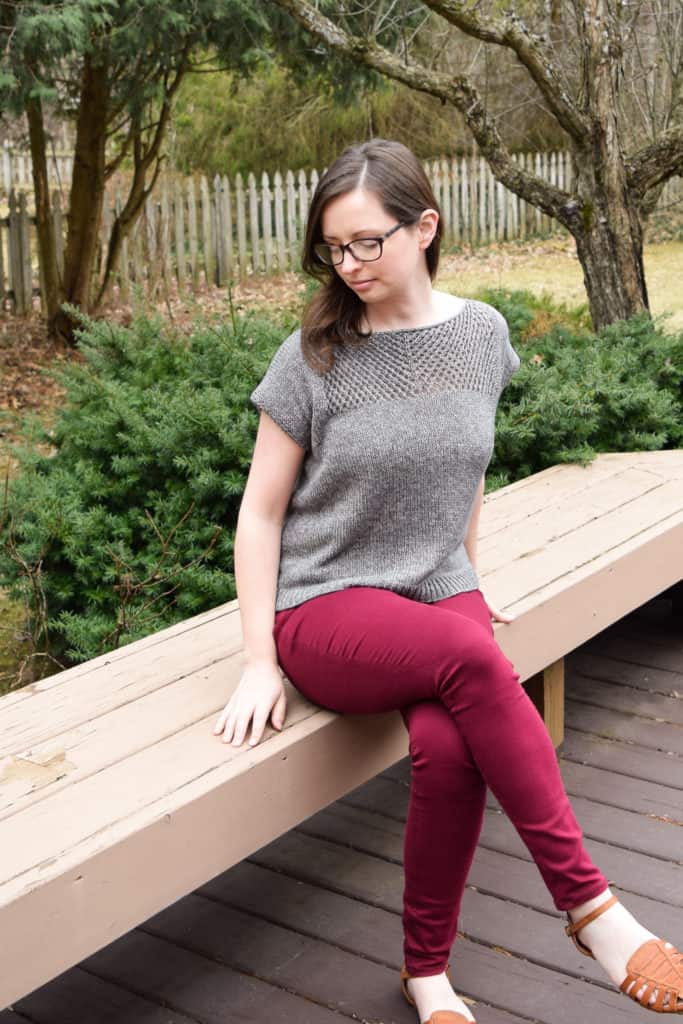
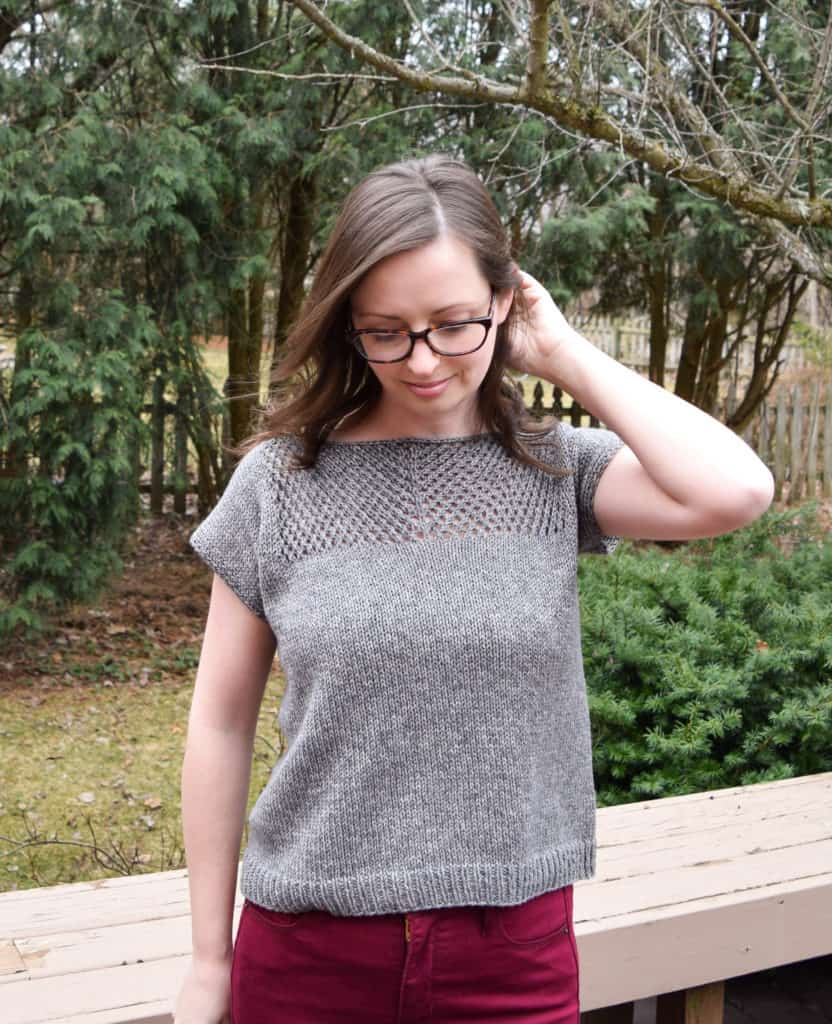
The Daybreak Tee is a slightly cropped tee with 1-3 inches of positive ease for a flattering fit. It is knit simply in the round from the bottom up, then the front and back are separated and worked flat.

The sleeves are created by casting on a few extra stitches. The shoulders are finished with a 3 needle bind off, and minimal seaming is required for under the arms.
The Daybreak Tee - free knitting pattern and tutorial from www.kniftyknittings.com #knittingpattern #knitting

I believe this pattern would be perfect for an adventurous beginner, but if you’re on the fence about the skill level feel free to take a peek at the included 45 minute step-by-step video tutorial, or continue scrolling to view the free pattern!

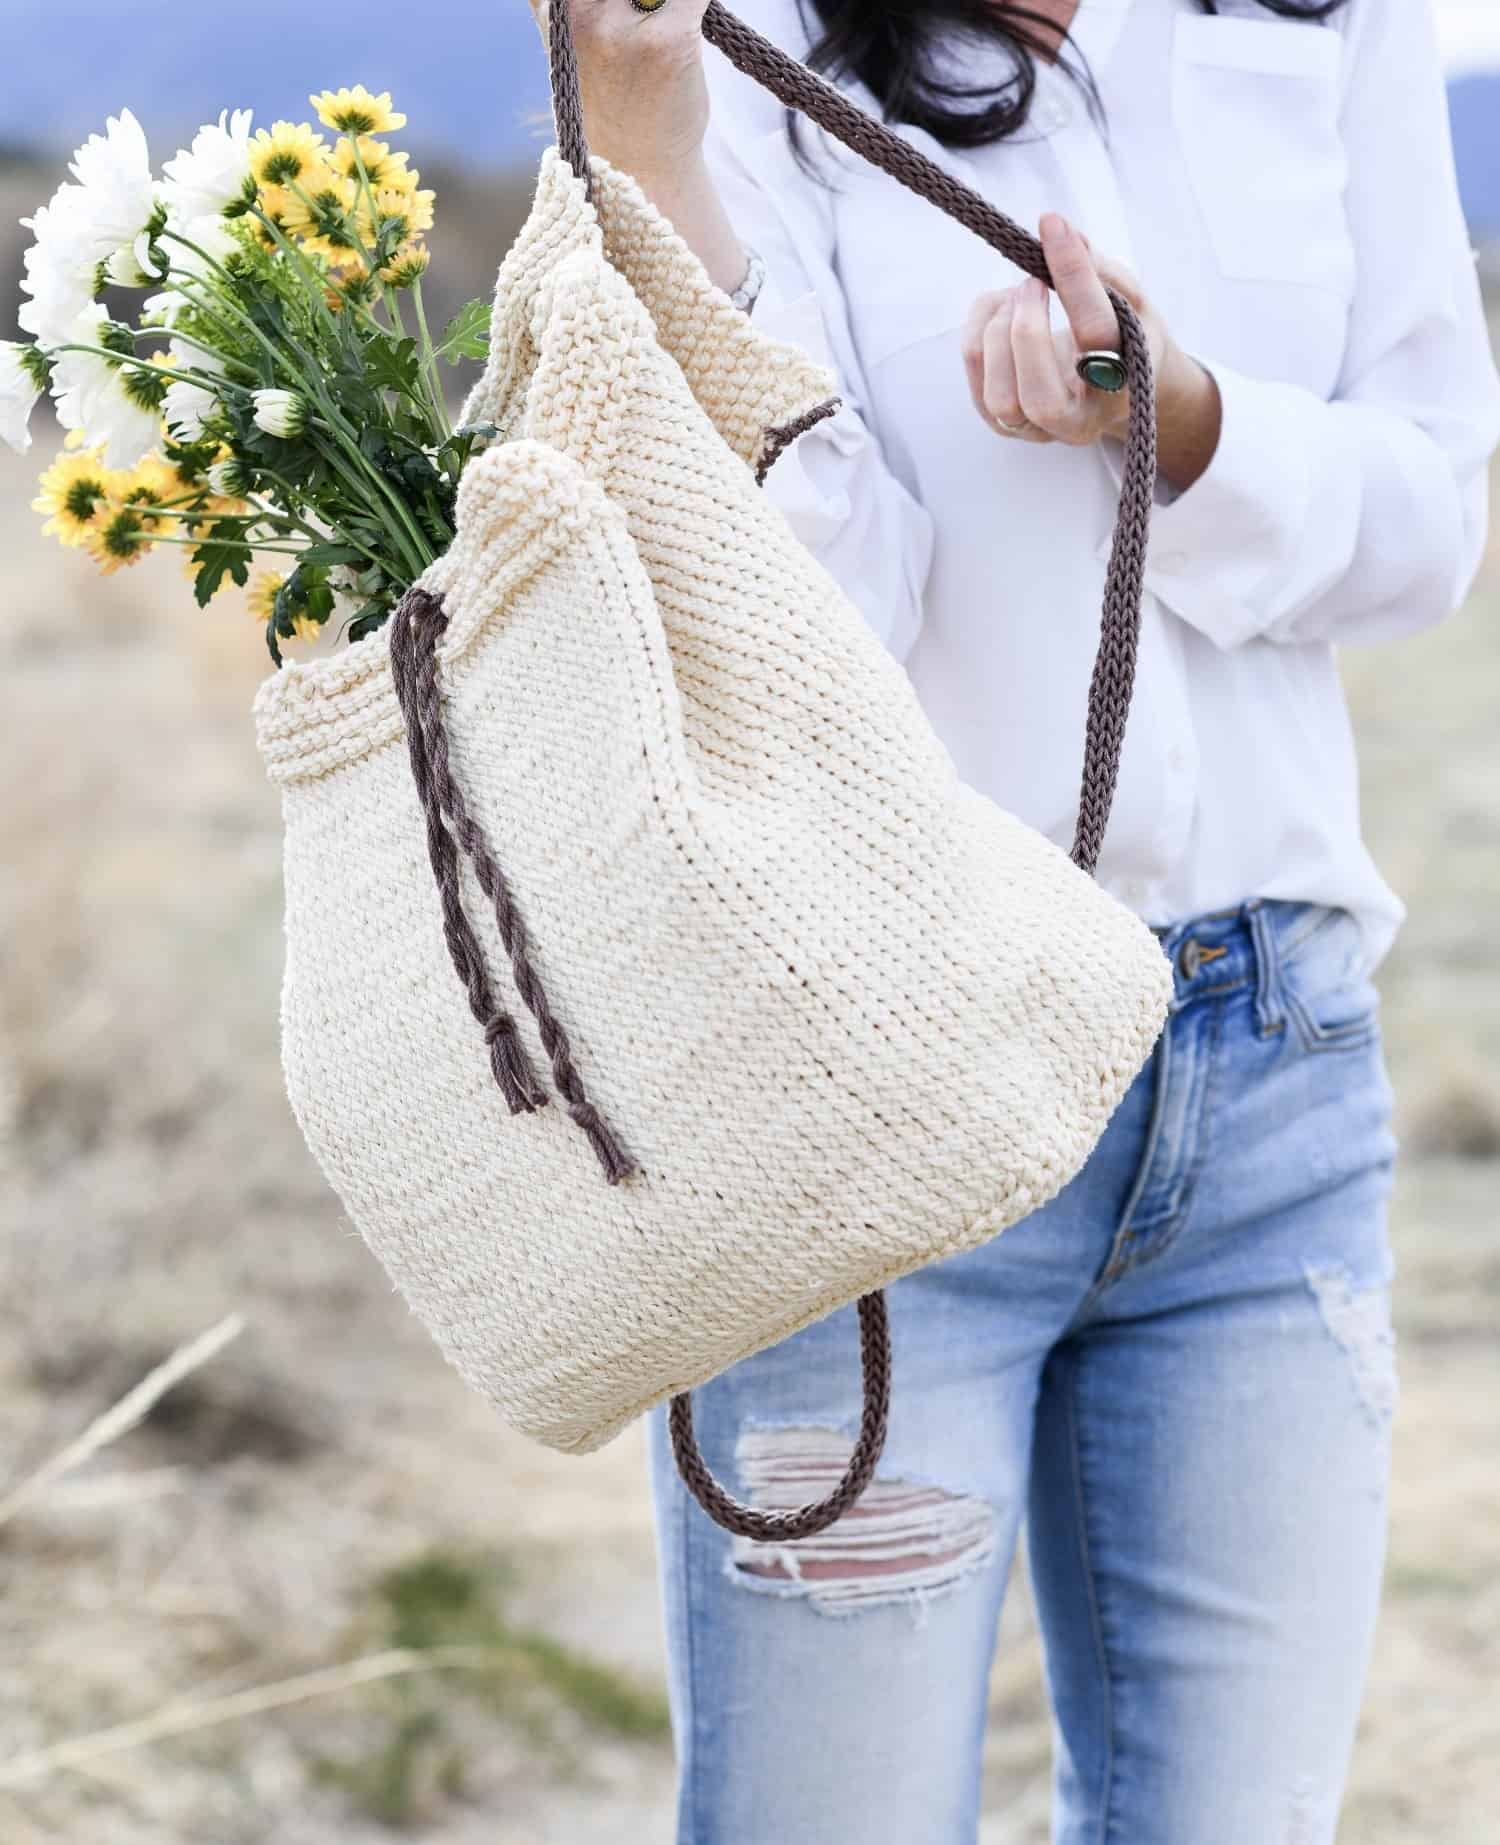
Can we take a minute to talk about some of the other kits included in the Must-Have Cotton Kits promo?? There is a great variety of both knit and crochet kits in this one. Here are just a few of my favorites (click the individual photos for the kits):

Click here to see all 12 New Must-Have Cotton Kits!
The Daybreak Tee - free knitting pattern and tutorial from www.kniftyknittings.com #knittingpattern #knitting

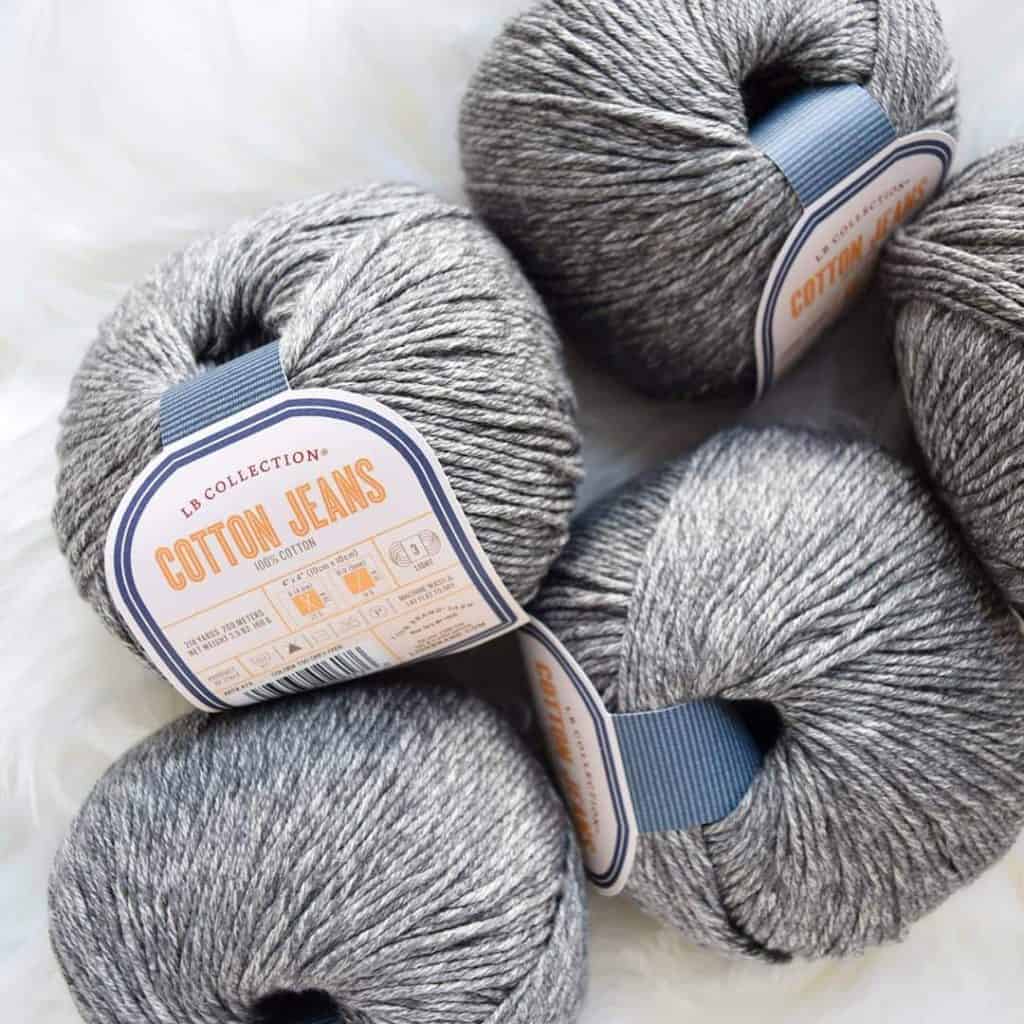
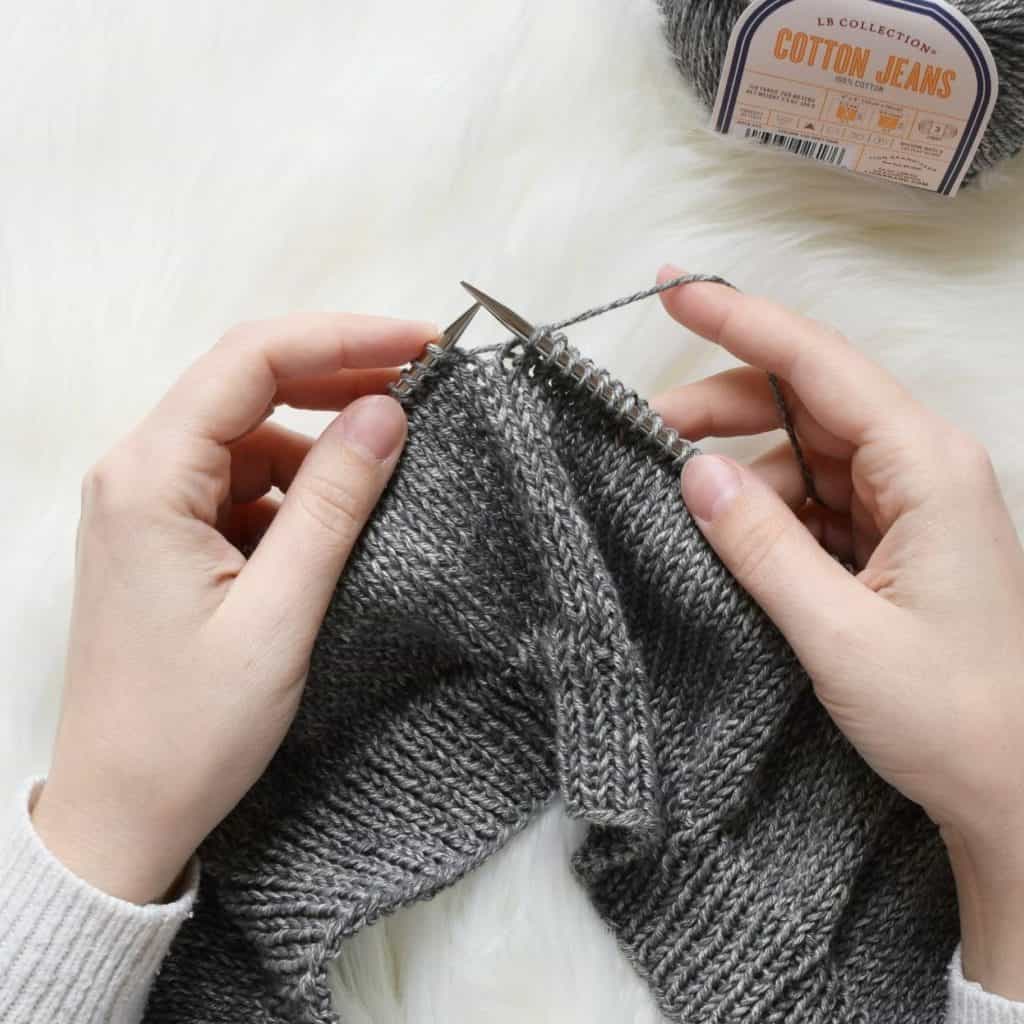
I used LB Collection Cotton Jeans in the color Grey Fade. This DK weight 100% cotton is so soft, drapey, and not splitty. It was lovely to work with!
The Daybreak Tee - free knitting pattern and tutorial from www.kniftyknittings.com #knittingpattern #knitting
Let’s get to the pattern, shall we?
Please see the following video tutorial for step-by-step instructions:

Yarn

3 (3, 3, 4, 4, 4) skeins LB Collection Cotton Jeans 100% cotton (218 yds/200 m per 100 g)
457 (532, 599, 672, 748, 825) yds/418 (487, 548, 615, 684, 755) m

Needles

US 6/4 mm 32 in circular needle
US 7/4.50 mm 32 in circular needle
*or size needed to obtain gauge

Notions

Stitch markers
Spare US 7/4.50 mm needle for 3 needle bind off
Yarn needle for weaving in ends and seaming

Gauge

18 sts and 25 rows = 4 in/10 cm in Stockinette stitch with US 7/4.50 mm needles (blocked)
*Take time to check gauge to ensure an accurate fit

Sizes

XS (S, M, L, XL, 2X)
To fit bust:
28-30 (32-34, 36-38, 40-42, 44-46, 48-50) in/71-76 (81.5-86.5, 91.5-96.5, 101.5-106.5, 112-117, 122-127) cm
Finished garment circumference:
31 (35, 39, 43, 47, 51) in/78.5 (89, 99, 109, 119.5, 129.5) cm

Abbreviations

CO – cast on
k – knit
k2tog – knit 2 sts together
p – purl
pm – place marker
RS – right side of work
sl – slip
sl1k – slip 1 st knitwise, with yarn in back
sl1p – slip 1 st purlwise, with yarn in front
sm – slip marker
ssk – slip 1 st knitwise, slip 1 st purlwise, knit these 2 stitches together through back loops
st(s) – stitch(es)
St st – Stockinette stitch
WS – wrong side of work
yo – yarn over

The Daybreak Tee - free knitting pattern and tutorial from www.kniftyknittings.com #knittingpattern #knitting

Pattern

Body

With US 6/4 mm 32 in circular needles, CO 138 (158, 174, 194, 210, 230) sts with the long tail method. Pm and join in the round, being careful not to twist sts.

Round 1: *k1, p1. Repeat from * to end of round.

Repeat round 1, working in k1 p1 rib, for 1.5 (1.5, 1.75, 1.75, 2, 2) in/4 (4, 4.5, 4.5, 5, 5) cm.

Next Round: Switch to US 7/4.50 mm 32 in circular needles and k to end of round.

Continue in St st (knitting every round), until work measures 13.5 (13.5, 13.25, 13, 12.75, 12.5) in/ 34.5 (34.5, 33.5, 33, 32.5, 32) cm from cast on edge, or until desired length from underarm.

Sleeves (Front)

The front and back will now be separated and worked flat.

Next round: sl 69 (79, 87, 97, 105, 115) sts to waste yarn. Cable CO 7 (8, 8, 9, 10, 11) sts.

Next row (WS): sl1p, k1, p1, k1, p to end of row. Cable CO 7 (8, 8, 9, 10, 11) sts. [83 (95, 103, 115, 125, 137) sts on needle]

Next row (RS): sl1k, p1, k1, p1, k to last 4 sts, p1, k1, p1, k1.

Next row (WS): sl1p, k1, p1, k1, p to last 4 sts, k1, p1, k1, p1.

Repeat previous 2 rows once (once, once, twice, twice, twice) more.

Lace setup row: sl1k, p1, k1, p1, k12 (16, 20, 24, 29, 33), pm, k25 (27, 27, 29, 29, 31), pm, k1, pm, k25 (27, 27, 29, 29, 31), pm, k12 (16, 20, 24, 29, 33), p1, k1, p1, k1.

Next row: sl1p, k1, p1, k1, p to last 4 sts (while slipping markers), k1, p1, k1, p1.
The Daybreak Tee - free knitting pattern and tutorial from www.kniftyknittings.com #knittingpattern #knitting

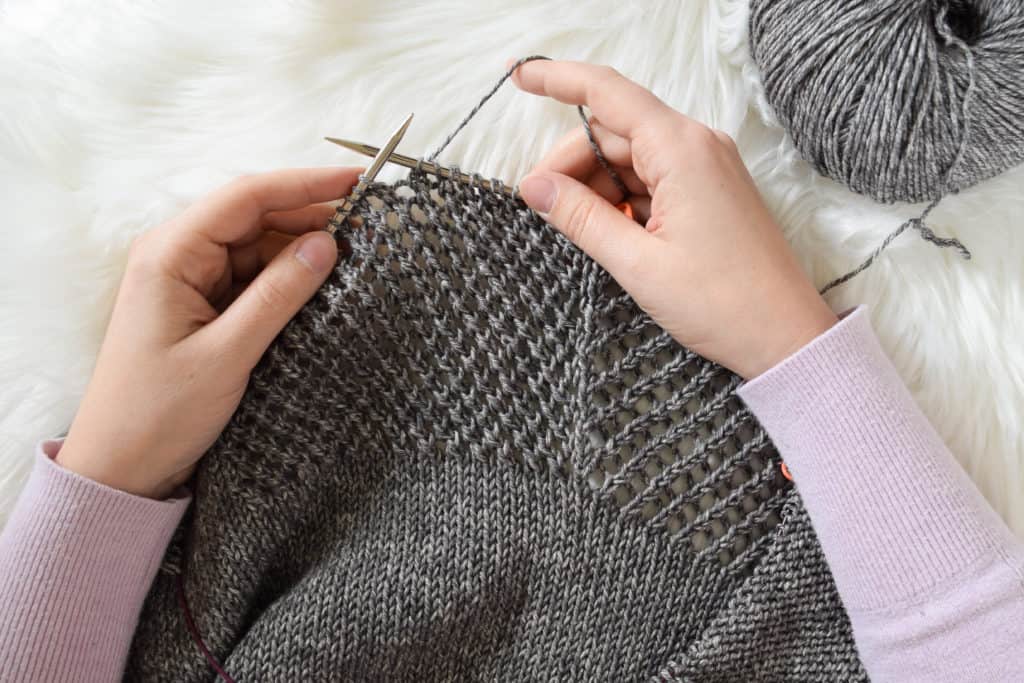
Begin Lace

Row 1 (RS): sl1k, p1, k1, p1, k to first marker, sm, k1 *k2tog, yo, repeat from * to next marker, sm, k1, sm, *yo, ssk, repeat from * to 1 st before last marker, k1, sm, k to last 4 sts, p1, k1, p1, k1.

Row 2 (WS): sl1p, k1, p1, k1, p to last 4 sts, k1, p1, k1, p1.

Row 3: sl1k, p1, k1, p1, k to first marker, sm, *k2tog, yo, repeat from * to 1 st before next marker, k1, sm, k1, sm, k1, *yo, ssk, repeat from * to last marker, sm, k to last 4 sts, p1, k1, p1, k1.

Row 4: sl1p, k1, p1, k1, p to last 4 sts, k1, p1, k1, p1.

Repeat rows 1-4 until front measures 6 (6.5, 7, 7.5, 8, 8.5) in/15 (16.5, 18, 19, 20.5, 21.5) cm from cable CO edge, ending after a WS row. [total length 19.5 (20, 20.25, 20.5, 20.75, 21) in/49.5 (51, 51.5, 52, 52.5, 53.5) cm]

Next Row (RS): k1, p1, k1, p1, k17 (22, 26, 30, 35, 40) sts, bind off 41 (43, 43, 47, 47, 49) sts, k17 (22, 26, 30, 35, 40) sts, p1, k1, p1, k1. Cut yarn, leaving an extra long tail. Sl live sts to waste yarn or spare needle.
The Daybreak Tee - free knitting pattern and tutorial from www.kniftyknittings.com #knittingpattern #knitting

Sleeves (Back)

Sl back sts to needle. Join yarn at back left and cable CO 7 (8, 8, 9, 10, 11) sts.

Next row (WS): sl1p, k1, p1, k1, p to end of row. Cable CO 7 (8, 8, 9, 10, 11) sts. [83 (95, 103, 115, 125, 137) sts on needle]

Row 1 (RS): sl1k, p1, k1, p1, k to last 4 sts, p1, k1, p1, k1.

Row 2 (WS): sl1p, k1, p1, k1, p to last 4 sts, k1, p1, k1, p1.

Repeat previous two rows until back measures 6 (6.5, 7, 7.5, 8, 8.5) in/15 (16.5, 18, 19, 20.5, 21.5) cm from cable CO edge, ending after a WS row. total length 19.5 (20, 20.25, 20.5, 20.75, 21) in/49.5 (51, 51.5, 52, 52.5, 53.5) cm]

Next Row (RS): k1, p1, k1, p1, k17 (22, 26, 30, 35, 40) sts, bind off 41 (43, 43, 47, 47, 49) sts, k17 (22, 26, 30, 35, 40) sts, p1, k1, p1, k1. Do not cut yarn.
The Daybreak Tee - free knitting pattern and tutorial from www.kniftyknittings.com #knittingpattern #knitting

Finishing

Turn garment inside out and transfer front sts to spare needle if held on waste yarn. Align shoulders together. Starting at either shoulder, hold front and back needles parallel and bind off with a spare US 7/4.50 mm needle using the 3 needle bind off method (see video). Repeat for the opposite shoulder.

Seam the 7 (8, 8, 9, 10, 11) sts from each panel at both underarms.

Weave in all ends, and block.
The Daybreak Tee - free knitting pattern and tutorial from www.kniftyknittings.com #knittingpattern #knitting

That’s all there is to it! I hope you enjoy knitting the Daybreak Tee! Remember, you can find this pattern in the full kit from Lion Brand here or as a printable PDF here. Pin the image above to save it for later, or add it to your Ravelry queue here!


Latticework Scarf – Free Pattern

Latticework Scarf - Free knitting pattern from www.kniftyknittings.com

Hello again, friends! I hope your new year has been treating you well! I’ve been hard at work on several new patterns – some of which I can’t share about just yet, but I promise they will be worth the wait!

Today I’m so excited to share with you my newest pattern in collaboration with Lion Brand Yarn:

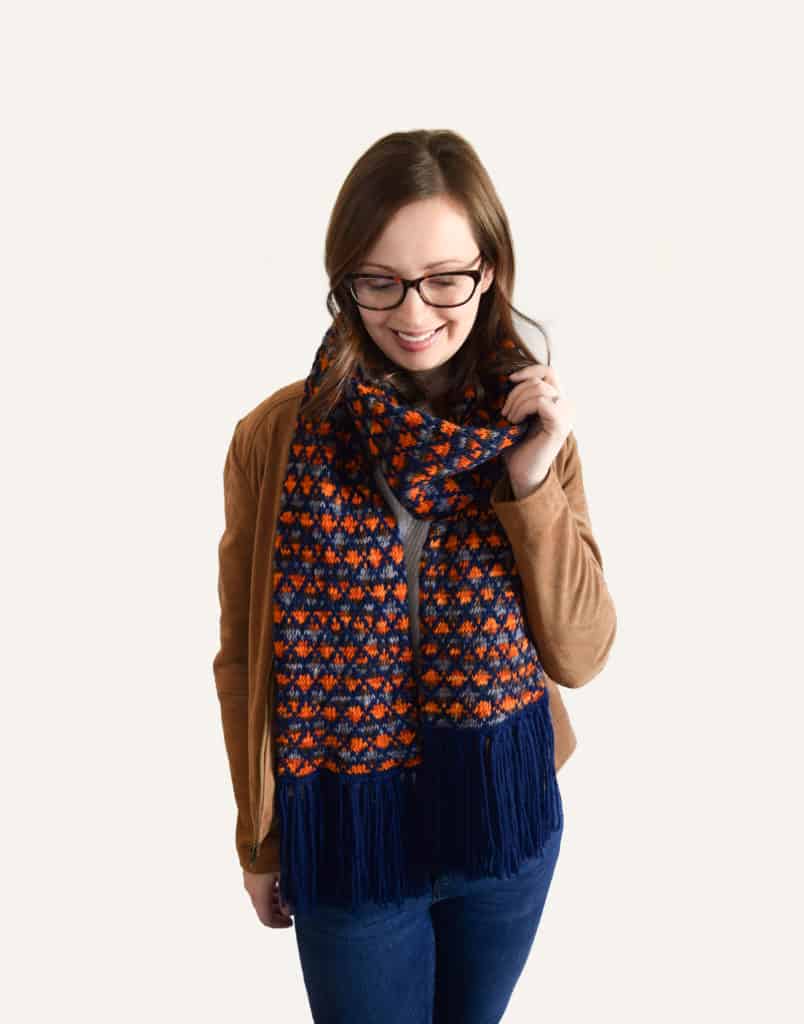
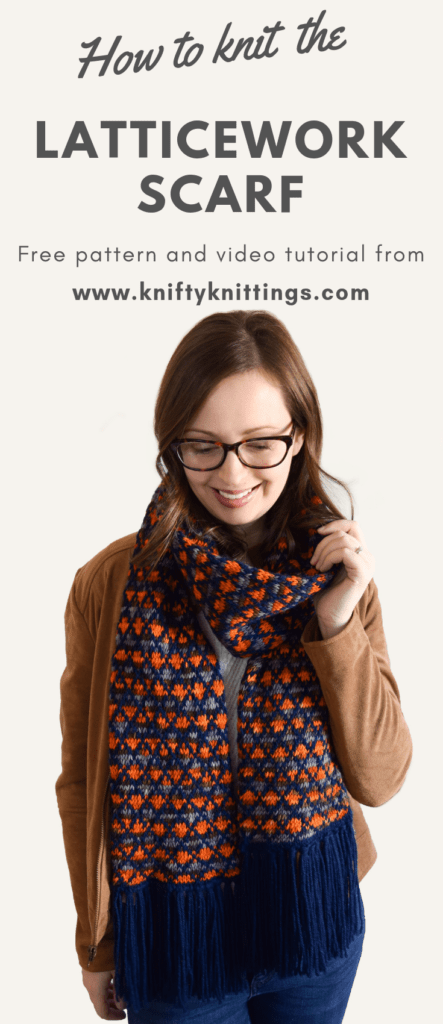
The Latticework Scarf

Latticework Scarf - Free knitting pattern from www.kniftyknittings.com

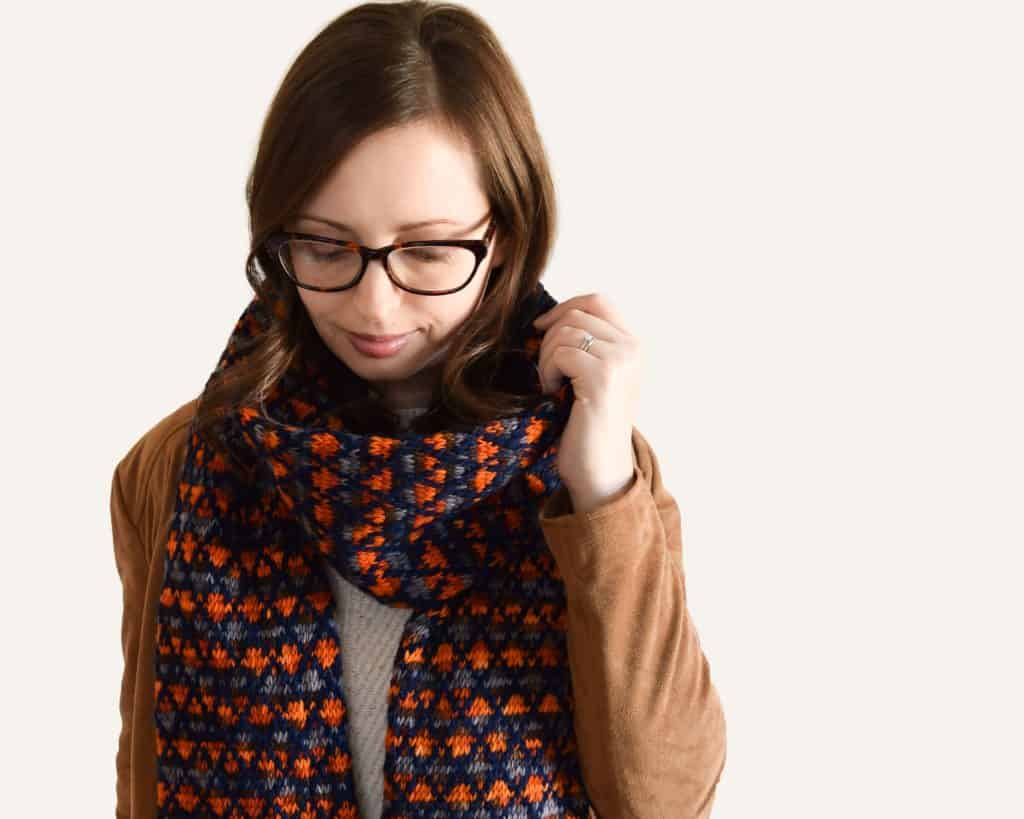
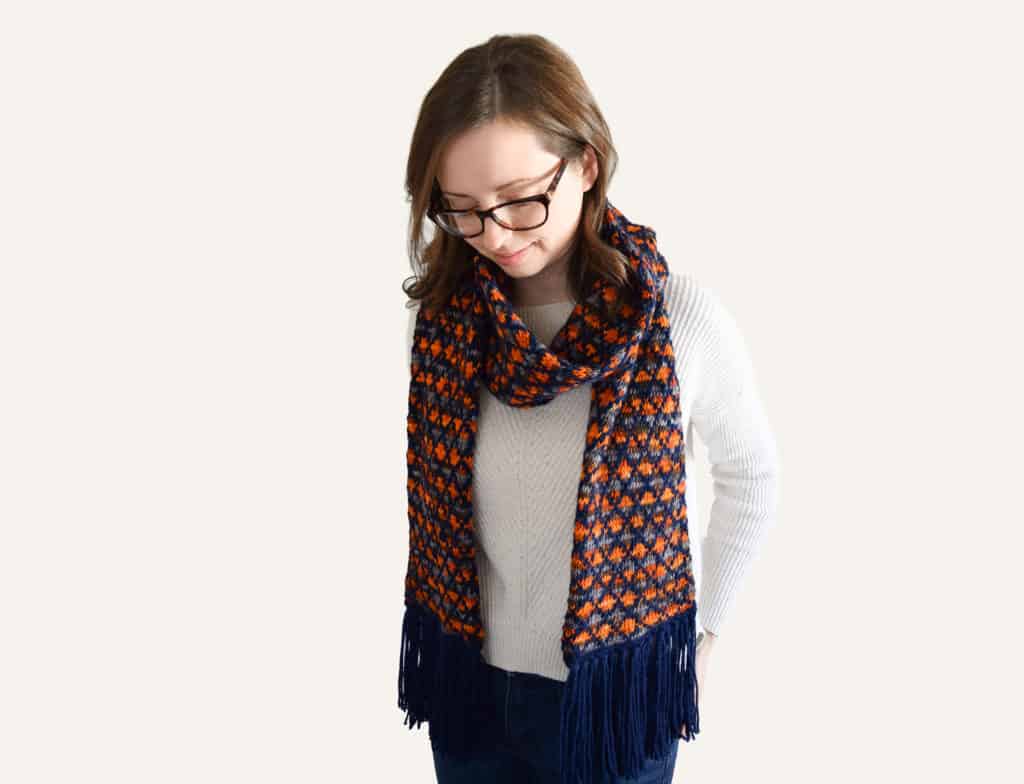
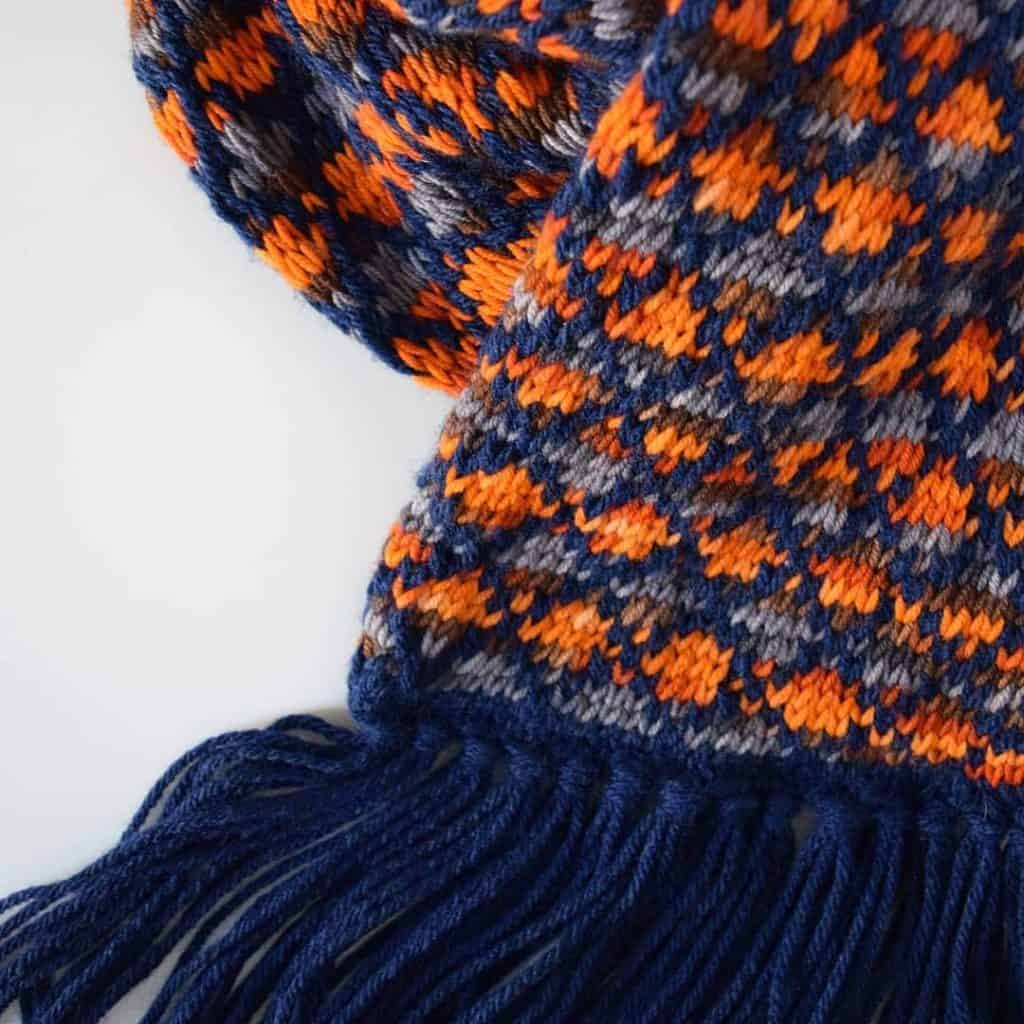
It’s a tubular scarf knit entirely in the round, which means it’s reversible and doubly warm. I used a variegated yarn with a coordinating solid, which I love the look of. I think it gives a little more structure and balance to just a variegated yarn alone.

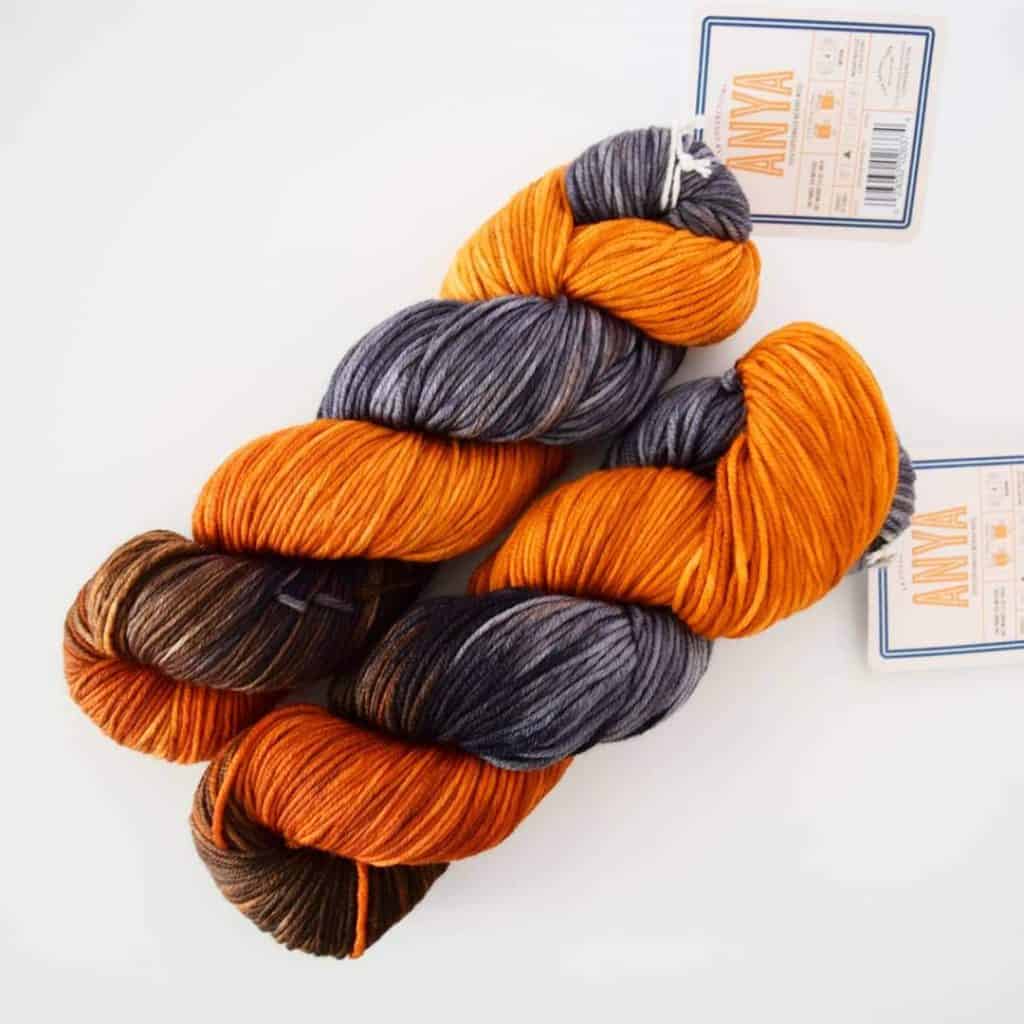
Both of the yarns used are from Lion Brand. The solid color is Wool-Ease in Navy, and the variegated color is LB Collection Anya Hand-Dyed Superwash Merino Yarn in Trick or Treat. Both are a medium worsted weight yarn.

Latticework Scarf - Free knitting pattern from www.kniftyknittings.com

The Latticework scarf features a very simple 6 round repeat that I think is easy to memorize once you get the hang of it. I’ve included a video tutorial below that walks you through each step, and shows you how to read a colorwork chart if you’re unfamiliar.

Continue reading below for the full pattern. Visit the links below to purchase a printable PDF of this pattern, or save it to your Ravelry queue for later.

Latticework Scarf - Free knitting pattern from www.kniftyknittings.com

Here’s what you’ll need to get started:

Yarn

  • 2 skeins Lion Brand Yarns Wool – Ease in Navy, or 314 yds/288 m worsted weight (medium 4) yarn
  • 2 skeins LB Collection Anya Hand-Dyed Superwash Merino in Trick or Treat, or 387 yds/354 m worsted weight (medium 4) yarn

Needles

Notions

  • Stitch marker
  • Tapestry needle for weaving in ends
  • 6.0 mm crochet hook for adding fringe

Gauge

23 sts and 18 rounds = 4 in/10 cm in pattern (blocked)

Size

One: 6 in wide by 80 in long (excluding fringe)

Abbreviations

  • C1 – color 1 (navy)
  • C2 – color 2 (trick or treat)
  • CO – cast on
  • k – knit
  • pm – place marker
  • st(s) – stitch(es)

Pattern

With C1, CO 72 sts. Pm and join in the round, being careful not to twist sts. Knit one round.

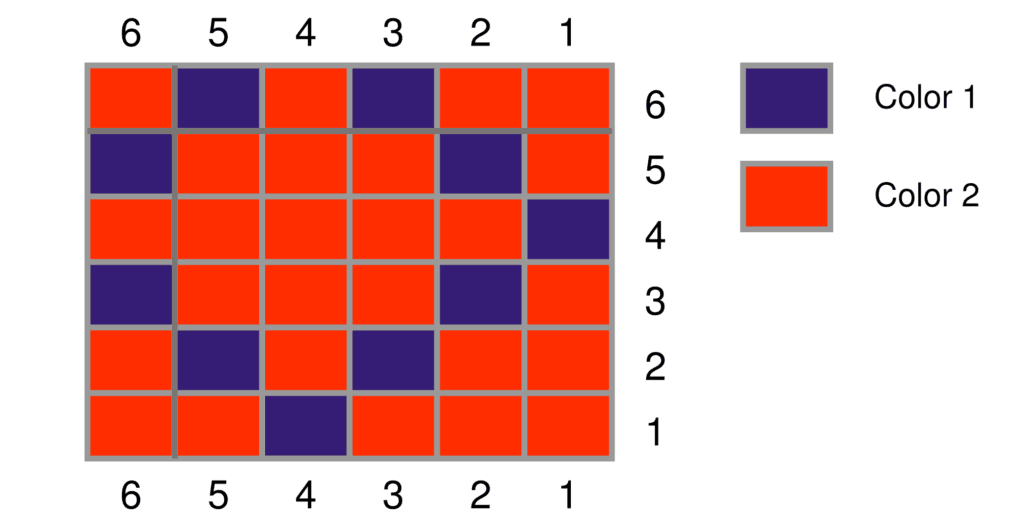
Join C2. See colorwork chart, or follow written directions below:

Round 1: *k3 with C2, k1 with C1, k2 with C2. Repeat from * to end of round.

Round 2: *k2 with C2, k1 with C1, k1 with C2, k1 with C1, k1 with C2. Repeat from * to end of round.

Round 3: *k1 with C2, k1 with C1, k3 with C2, k1 with C1. Repeat from * to end of round.

Round 4: *k1 with C1, k5 with C2. Repeat from * to end of round.

Round 5: *k1 with C2, k1 with C1, k3 with C2, k1 with C1. Repeat from * to end of round.

Round 6: *k2 with C2, k1 with C1, k1 with C2, k1 with C1, k1 with C2. Repeat from * to end of round.

Repeat rounds 1-6 until scarf measures approximately 80 in when gently stretched. End after a round 1 repeat.

Knit one round with C1. Bind off all stitches. Weave in ends and block.

Latticework Scarf - Free knitting pattern from www.kniftyknittings.com
Colorwork chart is read right to left, from bottom to top.

For the fringe, cut 4 strands of yarn, 17 in long. Insert a crochet hook through the front and back edge of an end of the scarf (see video). Fold the lengths of yarn in half, hook with the crochet hook and pull partway through the edge stitch. Then, pull the ends of the yarn through the loop. Continue adding fringe to every third edge stitch. Repeat for the opposite end of the scarf. Steam and trim fringe, if desired.

Latticework Scarf - Free knitting pattern from www.kniftyknittings.com

I hope you enjoy this pattern, and I’d love to see what color combinations you come up with! Feel free to tag @kniftyknittings on Instagram. If you love this pattern, please spread the word by pinning the image below!

To stay up to date on new pattern releases and giveaways, subscribe to my newsletter below!

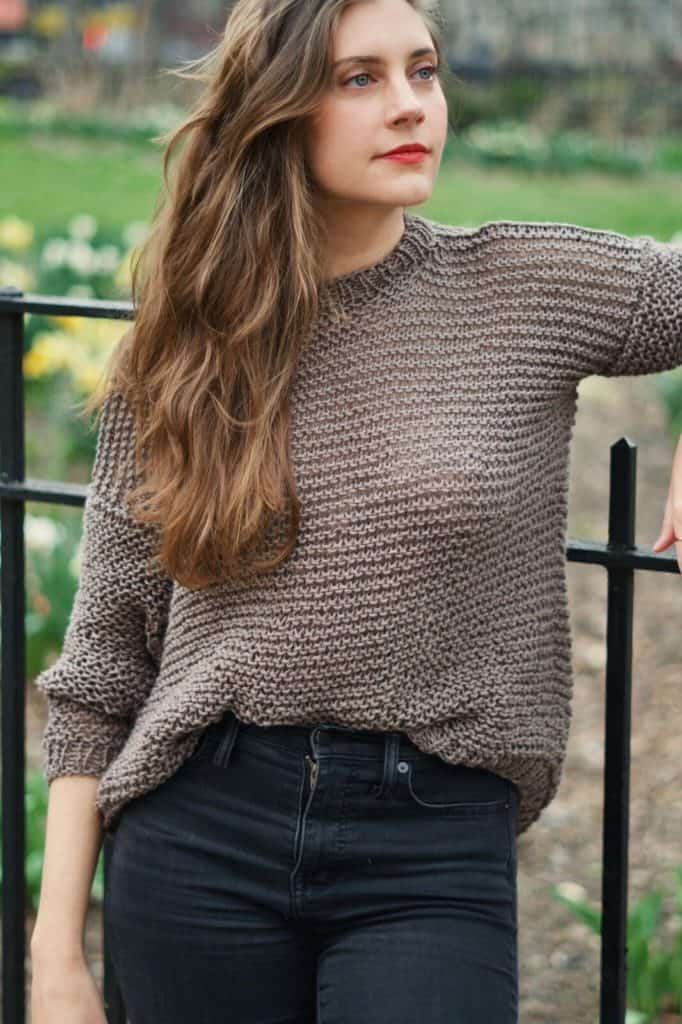
The Peek-A-Boo Tee – Free Pattern

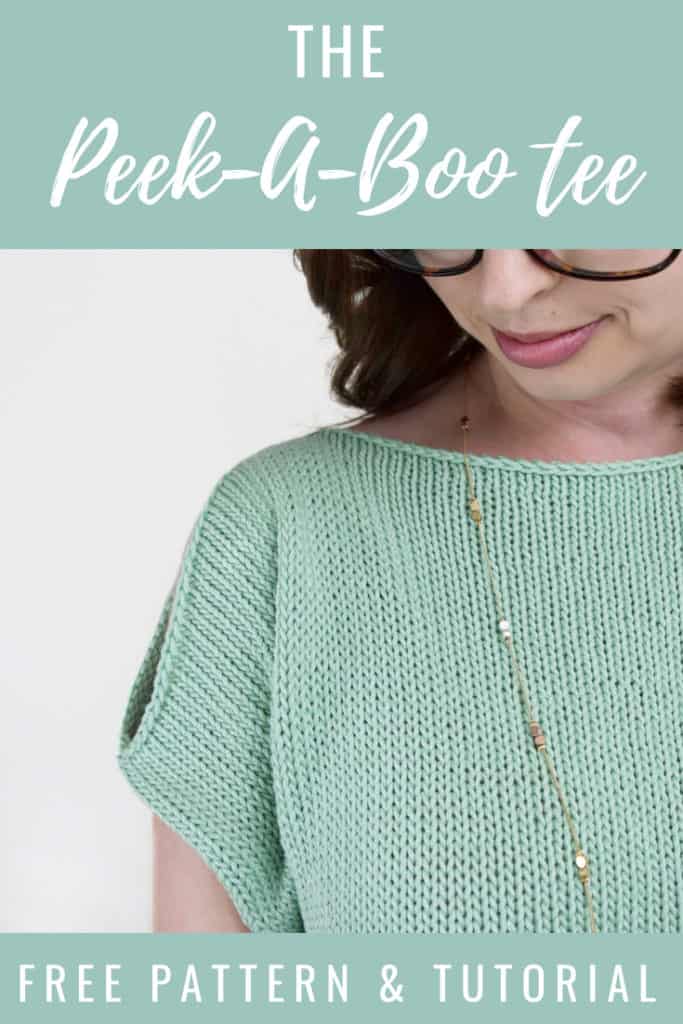
The Peek-A-Boo Tee - Free knitting pattern and tutorial from www.kniftyknittings.com! #knitting #knittingpattern #freepattern

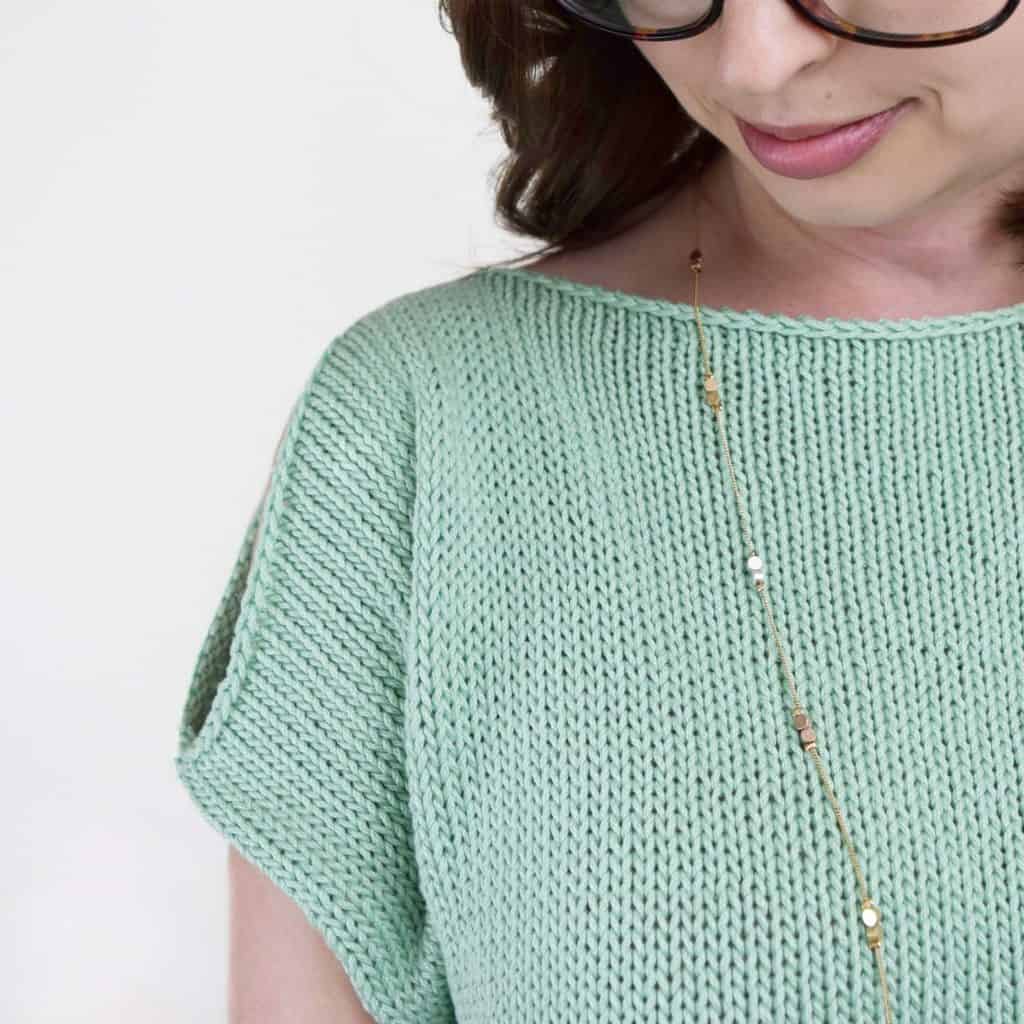
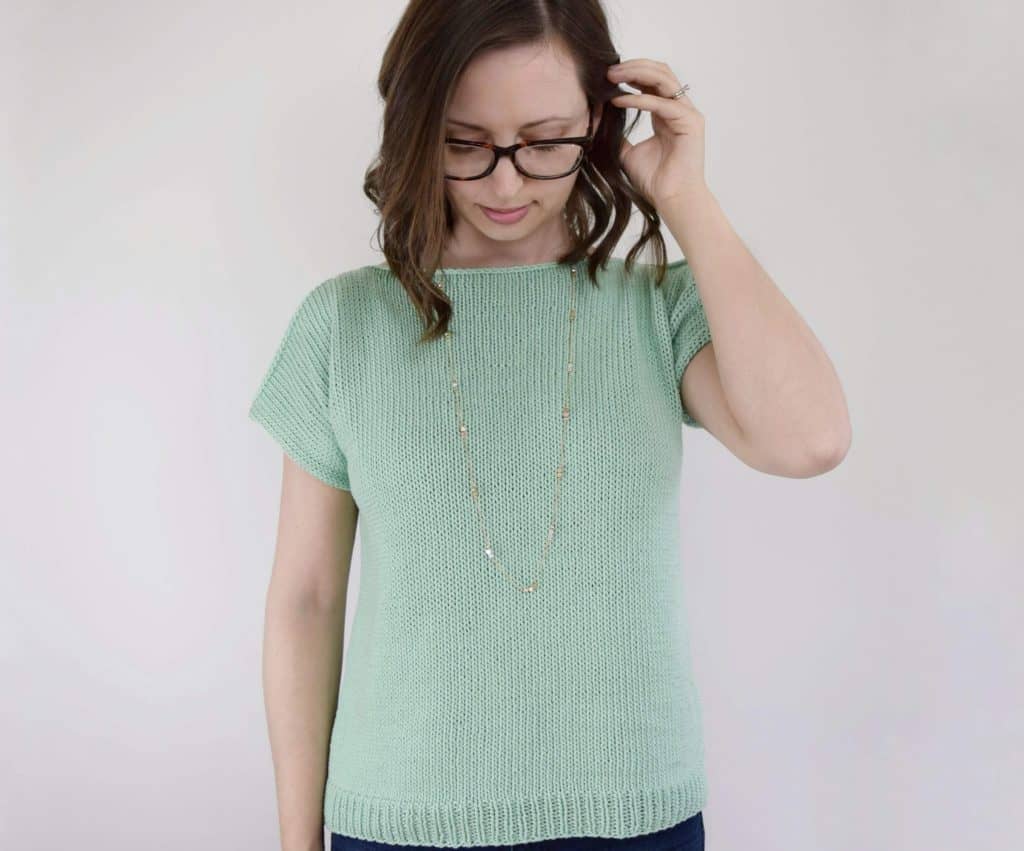
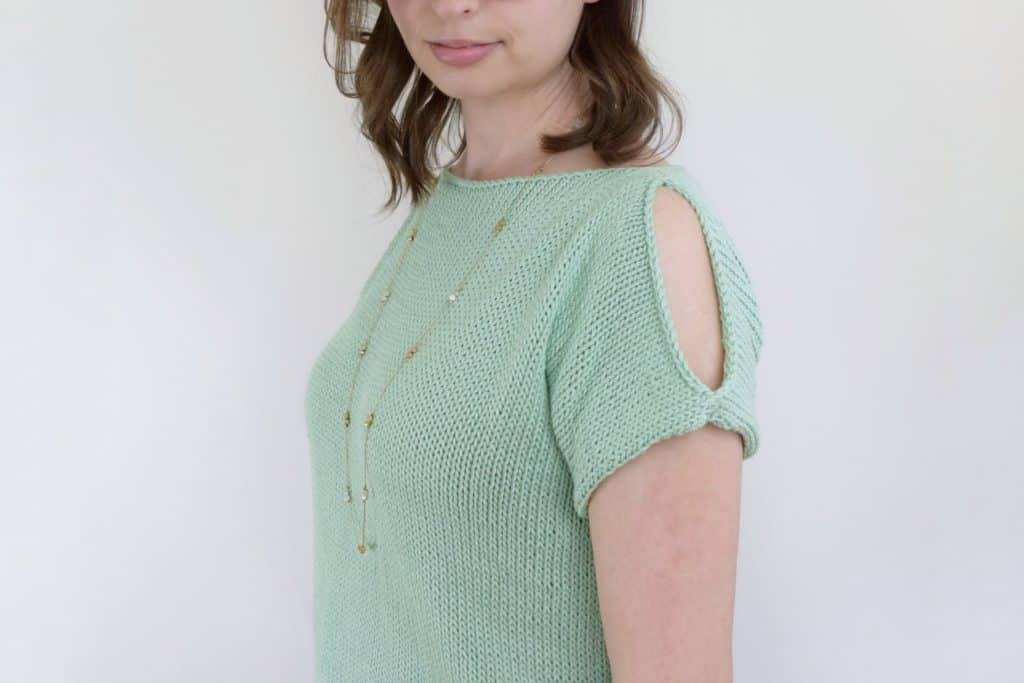
Hello again, friends! I’m so very excited to be releasing my very first garment pattern today – the Peek-A-Boo Tee! I wanted to keep it simple for my first garment, and I wanted to create something that would feel approachable even for beginners. I think this tee is just that – simple, trendy and easy to wear.

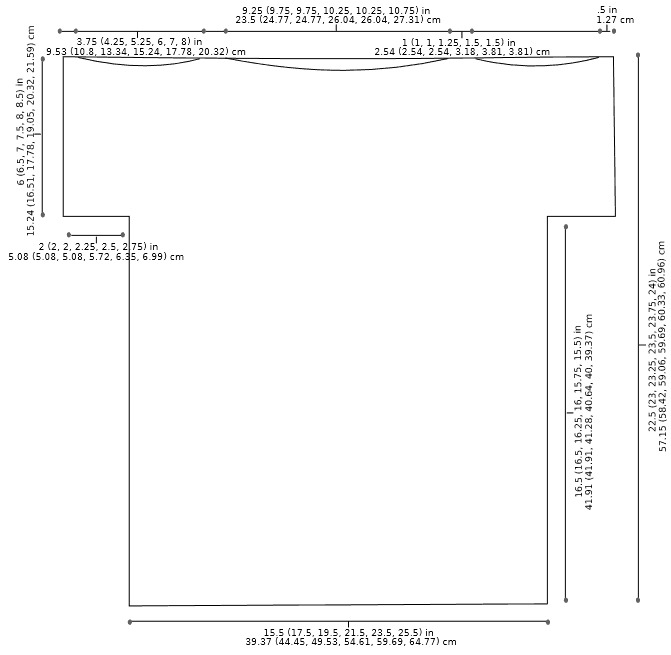
The Peek-A-Boo Tee is great for beginners because there are no increases or decreases involved, and no separate sleeves to knit. The tee is constructed from two identical T-shaped panels, and then thoughtfully seamed together.

Extra stitches are simply cast on to either end of the body to form the sleeves. Don’t let that intimidate you – there’s a full step-by-step video tutorial included that will show you just how easy this is!

I’m thrilled to say you can now find the Peek-A-Boo Tee pattern as a kit, directly from Lion Brand! You’ll receive a black and white copy of the pattern included with your kit purchase!

Find the kit from Lion Brand here

Purchase the ad-free PDF here

Add to your Ravelry queue here

The Peek-A-Boo Tee - Free knitting pattern and tutorial from www.kniftyknittings.com! #knitting #knittingpattern #freepattern
Let’s get started!

The following video tutorial has been included to demonstrate how to cast on, how to knit the body, how to cast on stitches for the sleeves, and how to seam the shirt:

Yarn

3 (4, 4, 5, 5, 5) skeins Lion Brand 24/7 Cotton (shown in Mint)
521 (600, 675, 754, 836, 920) yds/477 (549, 618, 690, 765, 842) m

Needles

US 7/4.5 mm 32 in circular needle
US 8/5 mm 32 in circular needle
*or size needed to obtain gauge

Notions

Locking stitch markers
Yarn needle for weaving in ends and seaming

Gauge

17 ¼ sts and 23 rows = 4in/10cm in Stockinette stitch with US 8/5 mm needles (blocked)
*Take time to check gauge to ensure an accurate fit

Sizes

XS (S, M, L, XL, 2X)
To fit bust: 28-30 (32-34, 36-38, 40-42, 44-46, 48-50) in
Finished shirt circumference: 31 (35, 39, 43, 47, 51) in
* Tee utilizes 1-3 inches of positive ease for a relaxed fit

Abbreviations

CO – cast on
k – knit
p – purl
RS – right side of work
sl1k – slip 1 st knitwise, with yarn in back
sl1p – slip 1 st purlwise, with yarn in front
st(s) – stitch(es)
St st – Stockinette stitch
WS – wrong side of work

The Peek-A-Boo Tee - Free knitting pattern and tutorial from www.kniftyknittings.com! #knitting #knittingpattern #freepattern


Pattern
Body (make 2):

With US 7/4.5 mm 32 in circular needles, CO 68 (78, 86, 94, 104, 112) sts with the long tail method.

Row 1 (WS): *k1, p1. Repeat from * to end of row

Repeat row 1, working in k1 p1 rib, for 10 (10, 10, 12, 12, 12) more rows.

Next row (RS): Switch to US 8/5 mm 32 in circular needles and k to end of row.

Next row (WS): p to end of row.

Repeat previous 2 rows, working in St st, until total length measures 16.5 (16.5, 16.25, 16, 15.75, 15.5) in from cast on edge, ending after a WS row.

Sleeves (see video):

Next row: k to end of row. Turn work, and cable CO 9 (9, 9, 10, 11, 12) sts onto left needle.

Next row: p to end of row. Turn work, and cable CO 9 (9, 9, 10, 11, 12) sts onto left needle.

Next row: sl1k, k to end of row.

Next row: sl1p, p to end of row.

Continue in St st, slipping the first st of each row, until sleeves measure 6 (6.5, 7, 7.5, 8, 8.5) in from cable CO edge. [total length 22.5 (23, 23.25, 23.5, 23.75, 24) in]

Bind off all sts loosely.

Repeat all steps for 2nd panel.

The Peek-A-Boo Tee - Free knitting pattern and tutorial from www.kniftyknittings.com! #knitting #knittingpattern #freepattern

Seaming (see video):

Align both panels together with WS touching. It may help to use locking st markers or safety pins to keep panels in place and mark sections for seaming.

Starting at the top edge of a sleeve, use a tail from the bound off edge and seam together the first 3 sts of each panel. Weave tail into inside of work.

Leave a shoulder opening of 16 (20, 24, 26, 31, 35) sts.

Seam top of shoulder for 5 (5, 5, 6, 7, 7) sts. Weave tail into inside of work.

Turn work around and repeat seaming, starting at the top of the other sleeve. Seam for 3 sts. Weave tail into inside of work.

Leave a shoulder opening of 16 (20, 24, 26, 31, 35) sts.

Seam top of shoulder for 5 (5, 5, 6, 7, 7) sts. Weave tail into inside of work.

There should be 38 (40, 40, 44, 44, 46) sts on each panel for the neck opening.

Flip work over and seam 9 (9, 9, 10, 11, 12) sts from each panel at both underarms.

Seam the sides of the body together using the mattress st.

Weave in all ends, and block. Optional sleeve blocking: Once dry, re-wet sleeves and hang to dry on a hanger.

The Peek-A-Boo Tee - Free knitting pattern and tutorial from www.kniftyknittings.com! #knitting #knittingpattern #freepattern

And voila! You have a flattering, trendy shirt to get you through the rest of the summer and into fall. Remember, you can purchase the ad-free PDF here, and grab the yarn from Lion Brand here!

Click here to add this pattern to your Ravelry queue. I’d love it if you’d share this with your friends by pinning the image below!

The Peek-A-Boo Tee - Free knitting pattern and tutorial from www.kniftyknittings.com! #knitting #knittingpattern #freepattern

Copyright © 2024 · Theme by 17th Avenue