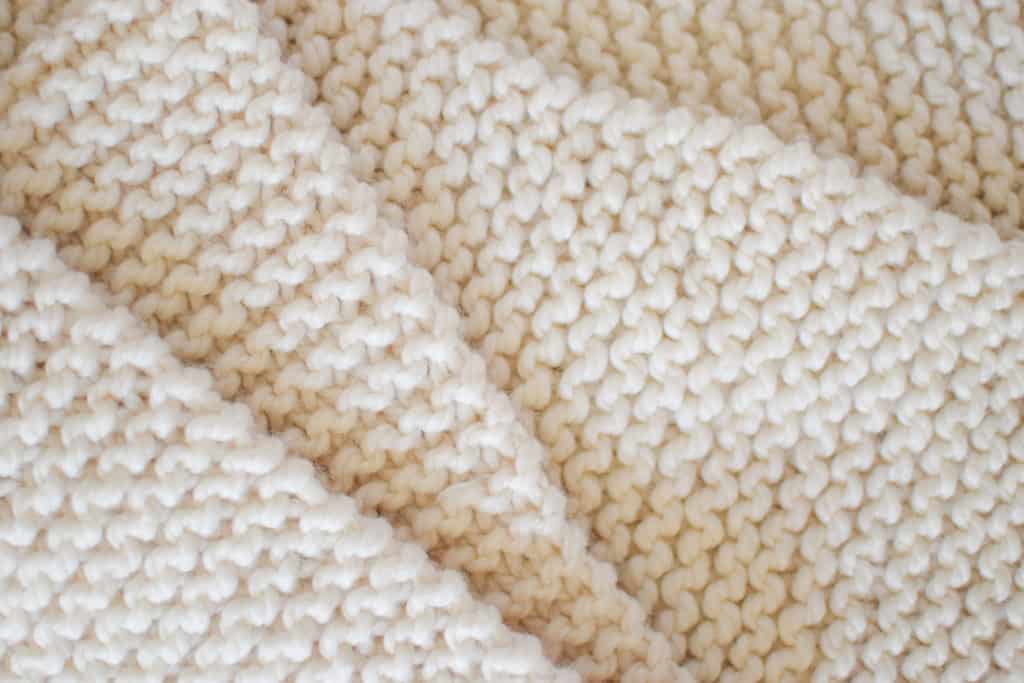
scarf

Triangle Tassel Scarf Knitting Kit – New kit and tutorial!

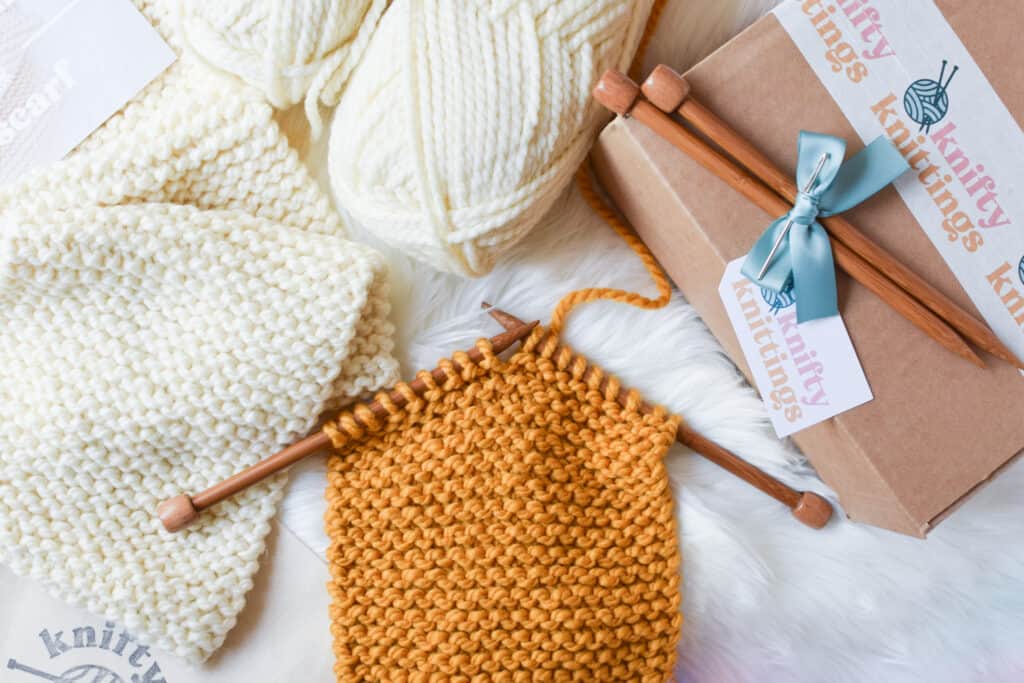
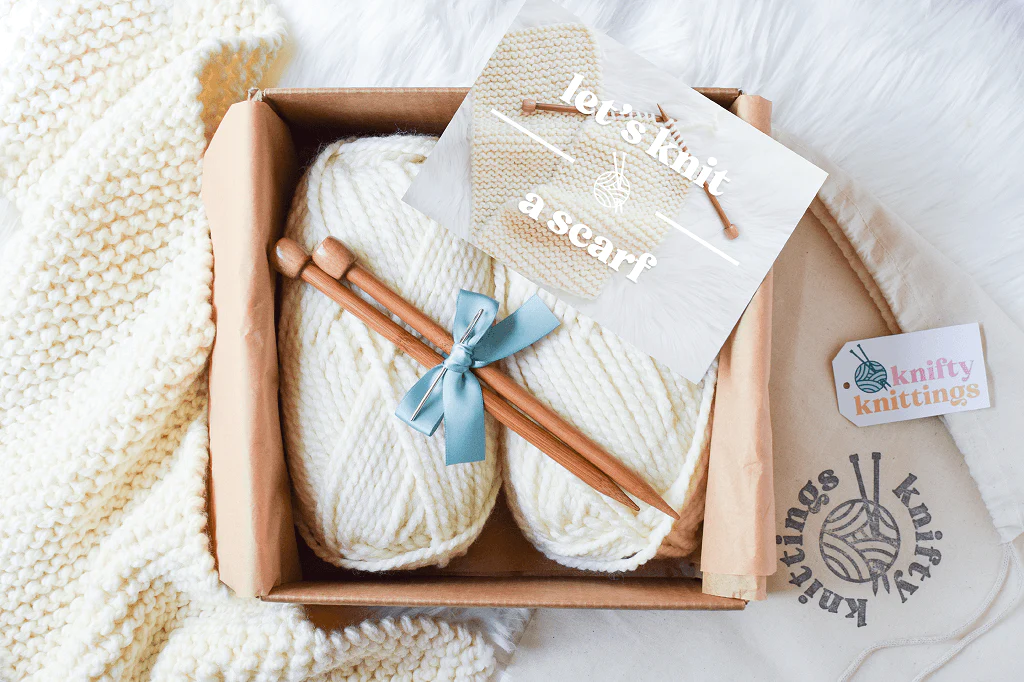
Looking for a quick and relaxing knitting project that’s both stylish and enjoyable to knit? My Triangle Tassel Scarf Knitting Kit is just for you! This kit builds on one of my classic, well-loved patterns and includes everything necessary to craft a cozy triangle-shaped scarf. Worked sideways from end to end with super bulky yarn, it’s a delight both to knit and to wear.
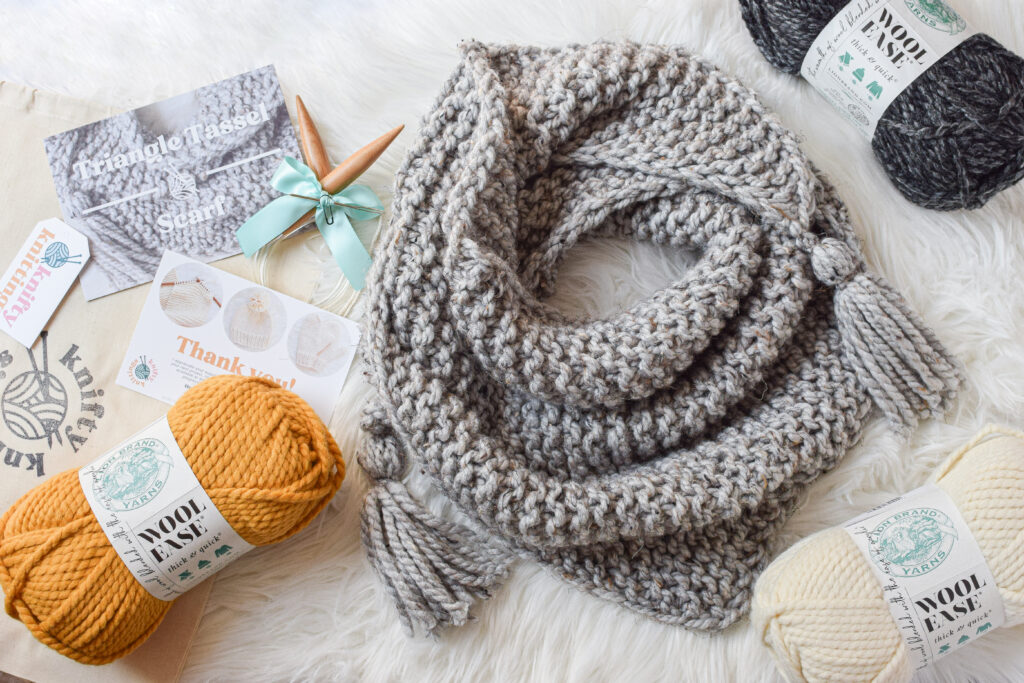
What’s Included in the Kit?

Not only does the kit provide all the materials, but it also includes an exclusive full video tutorial that walks you through every step. Additionally, the video is available only with the kit, offering tips and tricks to make the process even easier. Whether you’re new to knitting or an experienced crafter, this tutorial will ensure you complete the scarf with confidence. If you’re a new knitter, make sure you already know how to do the knit stitch. You can easily refresh those skills in my Learn to Knit section!

In each kit, you’ll find:

  • 2 skeins of yarn
  • Knitting needles
  • Stitch marker
  • Yarn needle (for weaving in ends)
  • Written pattern
  • Video tutorial
  • Hand-stamped project bag

Why You’ll Love the Triangle Tassel Scarf

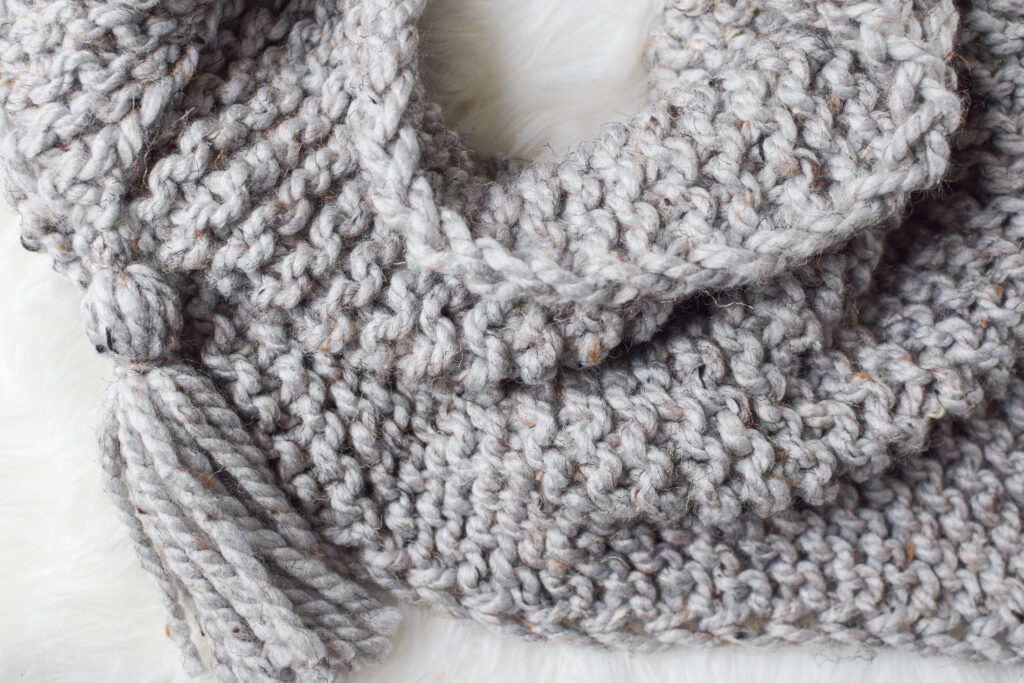
This cozy accessory is perfect for cold weather. The super bulky yarn and simple garter stitch make the project both quick and relaxing to knit. In short, the finished scarf is warm, stylish, and versatile. With its triangle shape and playful tassels, the Triangle Tassel Scarf adds a touch of fun to any outfit. Whether you’re wrapping it around yourself on a cool evening or wearing it to complete a casual look, it’s bound to become a favorite piece in your wardrobe.
Ready to Knit Your New Favorite Scarf?

Don’t miss out on this exciting new kit! Grab the Triangle Tassel Scarf Knitting Kit today and enjoy a fun, relaxing knitting experience with my exclusive video tutorial. Visit the links below to purchase your Triangle Tassel Scarf Kit or pattern today!ngle Tassel Scarf Kit or pattern today!
Crossroads Wrap – Free Pattern

Crossroads Wrap - free knitting pattern and tutorial from www.kniftyknittings.com                                       #knitting #lionbrandyarn #knittingtutorial

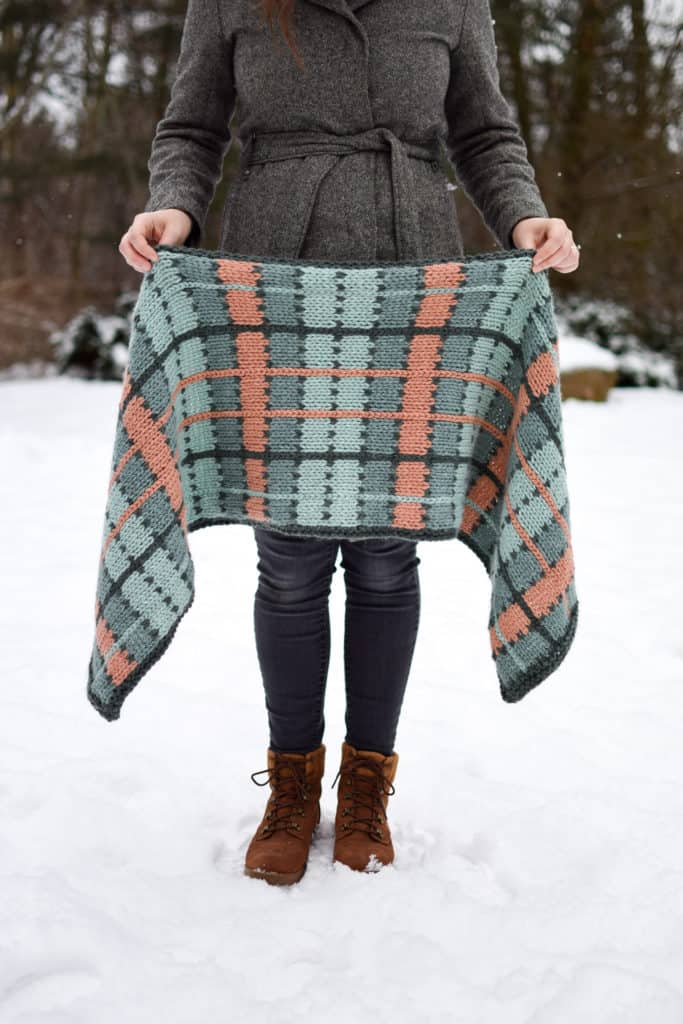
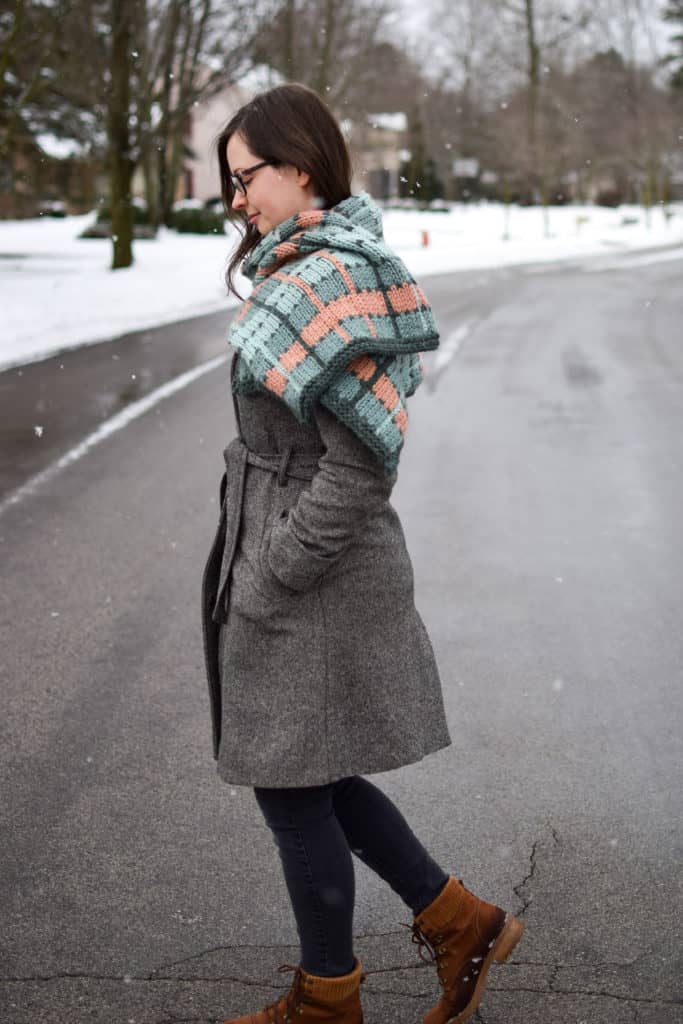
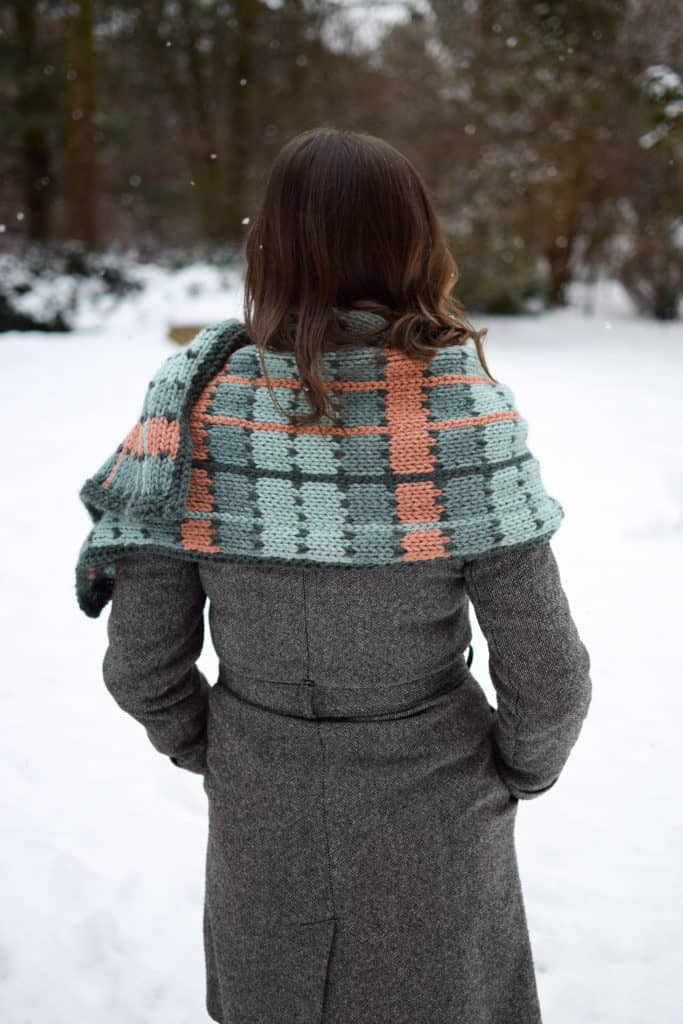
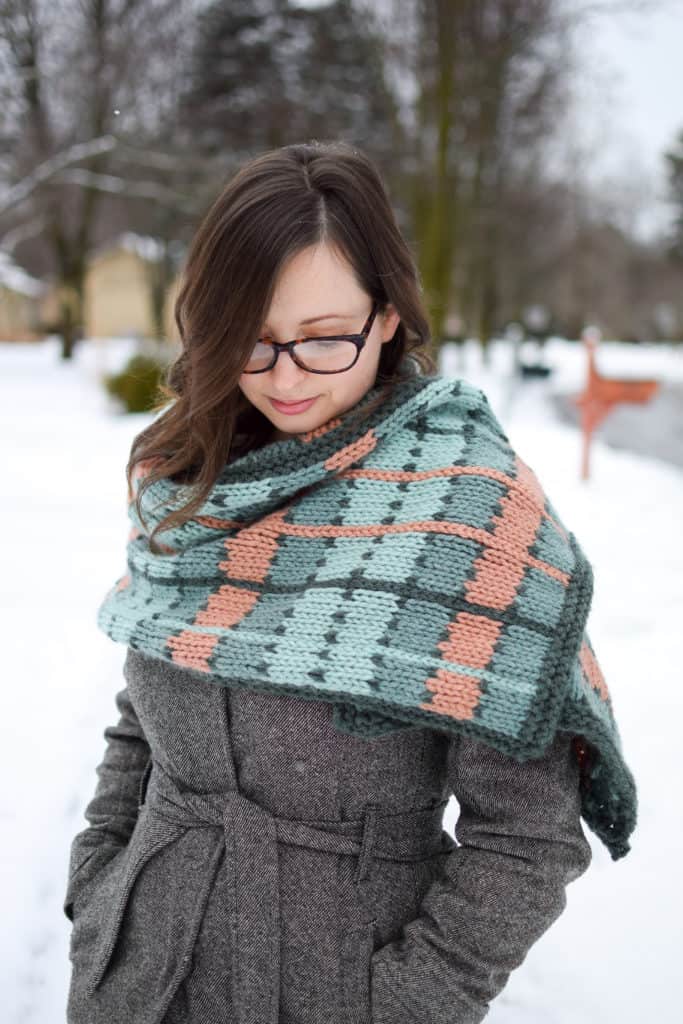
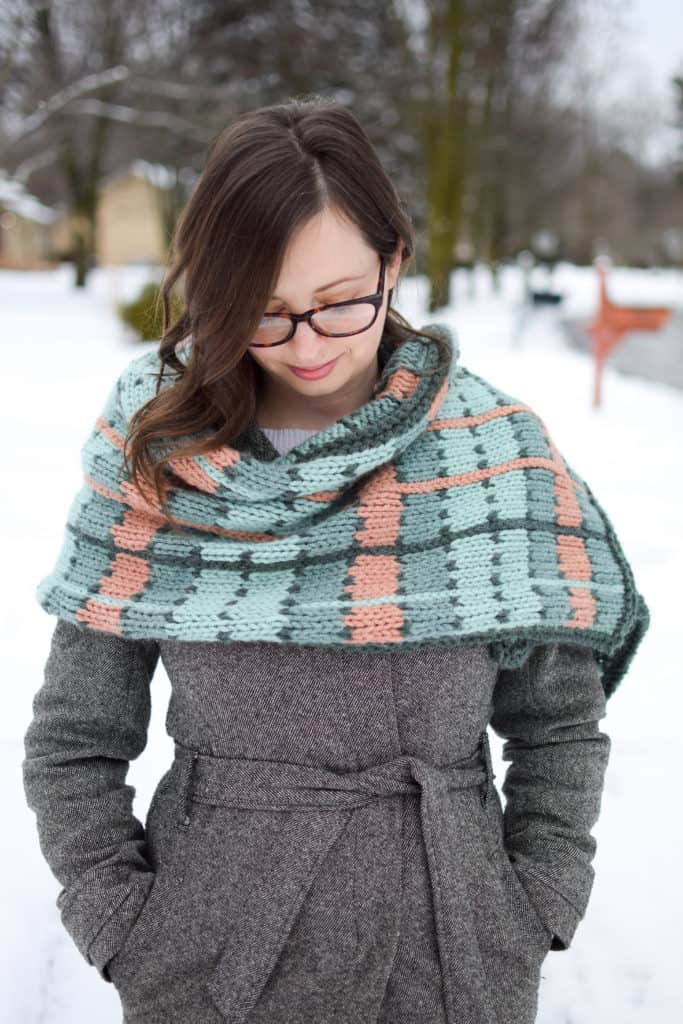
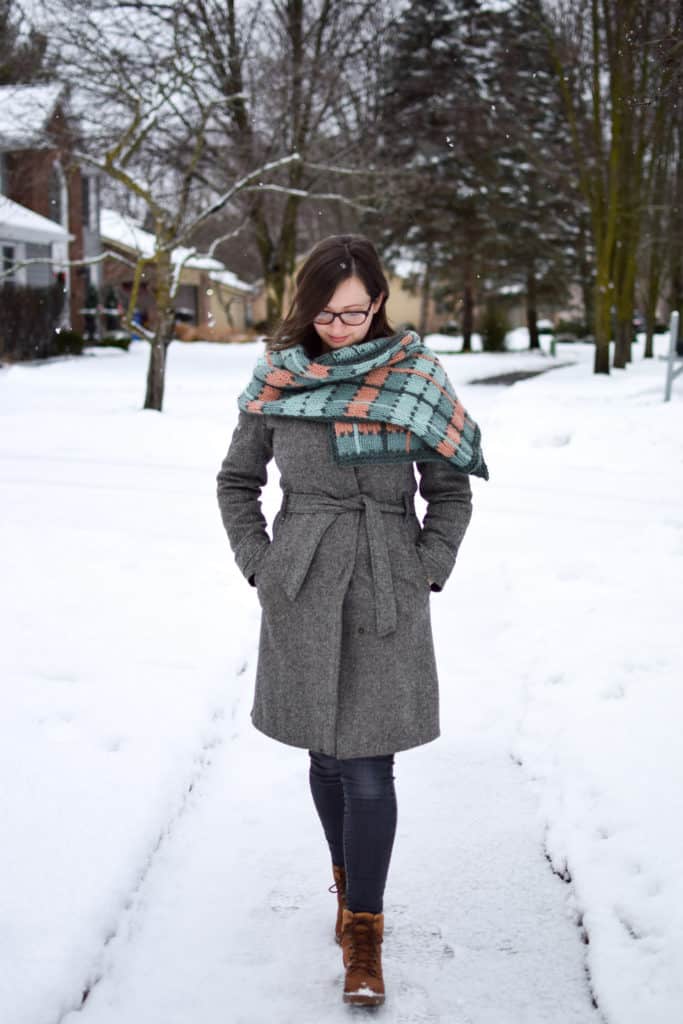
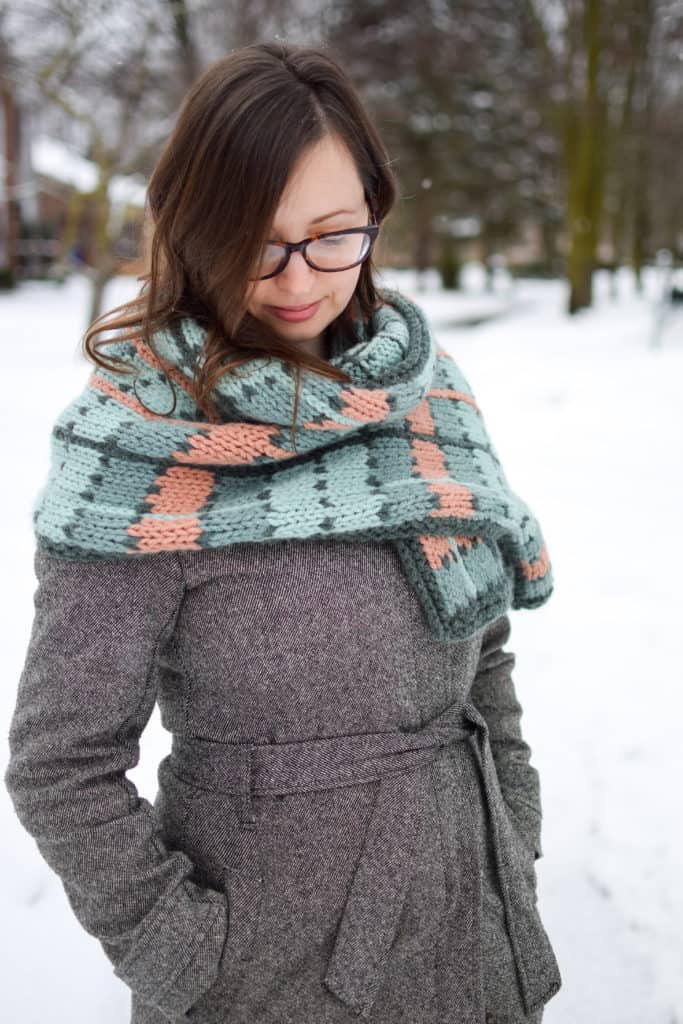
Oh hey, who’s ready for my first free pattern of the new year? Meet the Crossroads Wrap!

Crossroads Wrap - free knitting pattern and tutorial from www.kniftyknittings.com #knitting #lionbrandyarn #knittingtutorial

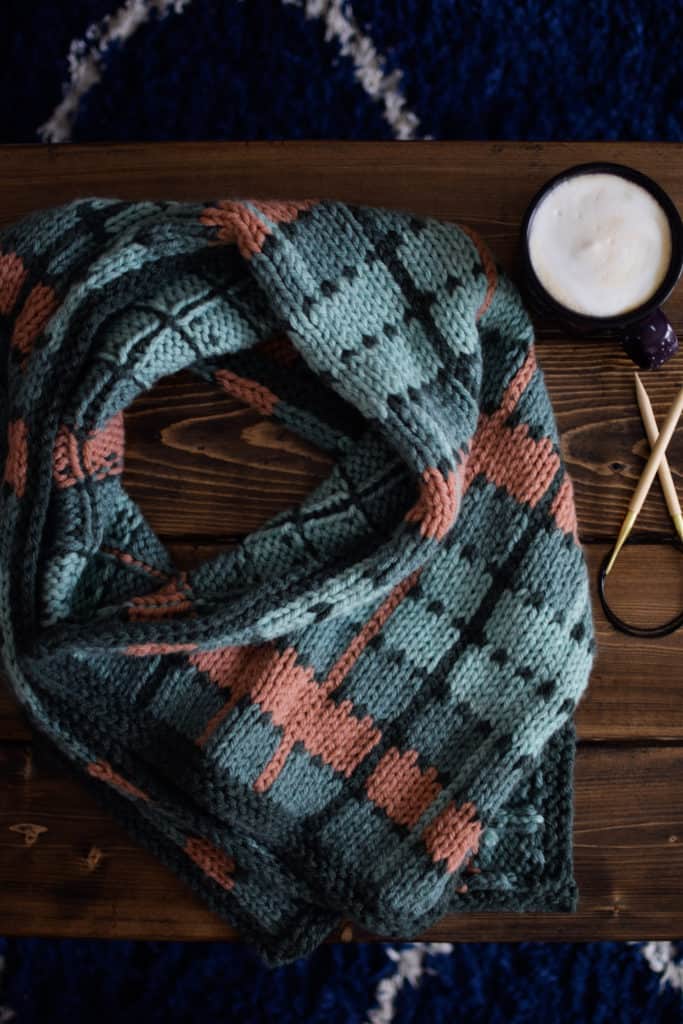
The Crossroads Wrap uses 4 skeins of Lion Brand Yarn’s new yarn line in collaboration with Two of Wands – Hue + Me! If you haven’t tried this yarn yet, you should rectify that immediately. It’s a bulky weight, a pleasure to work with, and most importantly it comes in the most beautiful shades! All of the colors work so well together, so really you can’t go wrong when choosing colors for your Crossroads Wrap.

Crossroads Wrap - free knitting pattern and tutorial from www.kniftyknittings.com #knitting #lionbrandyarn #knittingtutorial

Lion Brand has put together a handy little kit for the Crossroads Wrap which includes all the yarn you’ll need plus a digital PDF of the pattern! You can find the kit in the link below. You can also purchase the ad-free printable PDF if you like, or continue scrolling for the free pattern.

Crossroads Wrap - free knitting pattern and tutorial from www.kniftyknittings.com #knitting #lionbrandyarn #knittingtutorial

The Crossroads Wrap is worked flat, mostly in color blocks, and features surface crochet for the vertical stripes which are added onto the finished piece. Yes, I said crochet – but don’t be scared! You do not need to know how to crochet to make this pattern. I can crochet a decent chain, and that’s about it, so you can handle this.

Here’s what you’ll need:

Yarn
4 x skeins Lion Brand Hue + Me 80% acrylic 20% wool 125 g, 137 yds/125 m
Juniper (C1) – 124 yds/114 m
Agave (C2) – 121 yds/111 m
Bellini (C3) – 75 yds/69 m
Sea Glass (C4) – 114 yds/105 m

Needles
US 11/8 mm 32 in/80 cm circular needle
(or size needed to obtain gauge)

Notions
Tapestry needle
8 mm Crochet hook

Gauge
11 sts and 14 rows = 4 in/10 cm in Stockinette st, unblocked
10.5 sts and 12.5 rows = 4 in/10 cm in Stockinette st, blocked

*Please take time to check your gauge to ensure you’ll have enough yarn for this project. We’ll use almost all of two of the colors, so an accurate gauge is essential.

Sizes
One: 60 in/152 cm x 15.5 in/39 cm

Abbreviations
C – color
CO – cast on
k – knit
p – purl
Rep – repeat
st(s) – stitch(es)

Crossroads Wrap - free knitting pattern and tutorial from www.kniftyknittings.com #knitting #lionbrandyarn #knittingtutorial

In the following video, I’ll walk you through how to use surface crochet for the vertical stripes, and how to pick up and knit stitches along the edge.

Let’s get started!

Pattern

With C1, CO 41 sts using the long-tail method. Work 3 rows in garter st (knitting every row).

Begin colorwork chart or follow the written directions below. The repeat, outlined in red, is worked 6 times per row. Rows 1-30 are worked a total of 5 times.

Crossroads Wrap - free knitting pattern and tutorial from www.kniftyknittings.com #knitting #lionbrandyarn #knittingtutorial


Row 1 (RS): [(k1 C1, k1 C2) x 2, k1 C1, p1 C2] x 6, [k1 C1, k1 C2] x 2, k1 C1
Row 2 (WS): with C2, p5, [k1, p5] x 6
Row 3: with C2, [k5, p1] x 6, k5
Row 4: with C2, p5, [k1, p5] x 6
Row 5: with C2, [k5, p1] x 6, k5
Row 6: with C2, p5, [k1, p5] x 6
Row 7: [(k1 C1, k1 C3) x 2, k1 C1, p1 C3] x 6, [k1 C1, k1 C3] x 2, k1 C1
Row 8: with C3, p5, [k1, p5] x 6
Row 9: with C3 [k5, p1] x 6, k5
Row 10: with C3, p5, [k1, p5] x 6
Row 11: with C3 [k5, p1] x 6, k5
Row 12: with C3, p5, [k1, p5] x 6
Row 13 – 18: Rep rows 1-6
Row 19: [(k1 C1, k1 C4) x 2, k1 C1, p1 C4] x 6, [k1 C1, k1 C4] x 2, k1 C1
Row 20: with C4, p5, [k1, p5] x 6
Row 21: with C4, [k5, p1] x 6, k5
Row 22: with C4, p5, [k1, p5] x 6
Row 23: with C4, [k5, p1] x 6, k5
Row 24: with C4, p5, [k1, p5] x 6
Row 25 – 30: Rep rows 19-24

End of repeat

Crossroads Wrap - free knitting pattern and tutorial from www.kniftyknittings.com #knitting #lionbrandyarn #knittingtutorial

Row 31 – 36: Rep rows 1-6
Row 37 – 42:
Rep rows 7-12
Row 43 – 48: Rep rows 1-6

With C1, work 3 rows in garter stitch. Bind off stitches loosely.

Finishing:

Use a crochet hook to surface crochet vertical lines in the columns of purl stitches in the following color order (see video): C4, C1, C3, C3, C1, C4.

Crossroads Wrap - free knitting pattern and tutorial from www.kniftyknittings.com #knitting #lionbrandyarn #knittingtutorial

For the edging on both long sides, use C1 to pick up and knit 3 sts for every 4 rows (approximately 133 sts). Work 2 rows in garter stitch. Bind off loosely.

Weave in all ends. Wet block the wrap to dimensions and enjoy!

Crossroads Wrap - free knitting pattern and tutorial from www.kniftyknittings.com #knitting #lionbrandyarn #knittingtutorial

Thanks for reading! I hope you enjoyed this pattern. Feel free to share with your friends by pinning the image below, and tag me on Instagram @kniftyknittings #crossroadswrap!

Crossroads Wrap - free knitting pattern and tutorial from www.kniftyknittings.com #knitting #lionbrandyarn #knittingtutorial

How to Knit – Part 1

Hello new knitters! I’m so glad you’re here. In this new beginner series, I will show you the very basics of how to knit, from start to finish. We will create a simple chunky scarf that will have you addicted to knitting in no time!

Knitting is a wonderful craft that offers endless possibilities and allows you to create beautiful, cozy pieces with just a pair of needles and some yarn. Whether you’re a complete beginner or have dabbled in knitting before, this beginner series is designed to teach you the fundamentals of how to knit, step by step. By the end of this journey, you’ll have the skills to create your very own chunky scarf, so grab your favorite yarn and let’s get started!

Just a note, all of the videos in this how to knit series were originally created for my Beginner Knitting Kit, which is available in my shop here. You do not need the kit to learn to knit as long as you can find all of the supplies needed. It may be a good option for you if you’d like to have everything you need to get started included in one kit!

A note on supplies:

To begin learning how to knit, you’ll need a few basic supplies. First, you’ll need a pair of knitting needles. For beginners, I recommend starting with medium-large sized wooden or bamboo needles, around size US 11-15, as they are easier to handle. Bamboo needles and smooth and also keep a nice grip on the yarn so your stitches don’t accidentally slide of the needles.

Next, you’ll need some yarn. Choose a chunky or super bulky weight yarn for your first project, as it will knit up quickly and give you a chance to practice your stitches without getting overwhelmed.

Here’s what I recommend to get started:
The pattern details:

Gauge: 9.5 sts and 13 rows = 4 in/10cm

Finished size: 72 in (183 cm) long and 7.5 in (19cm) wide

Pattern

Using the long tail method, loosely cast on 18 stitches.

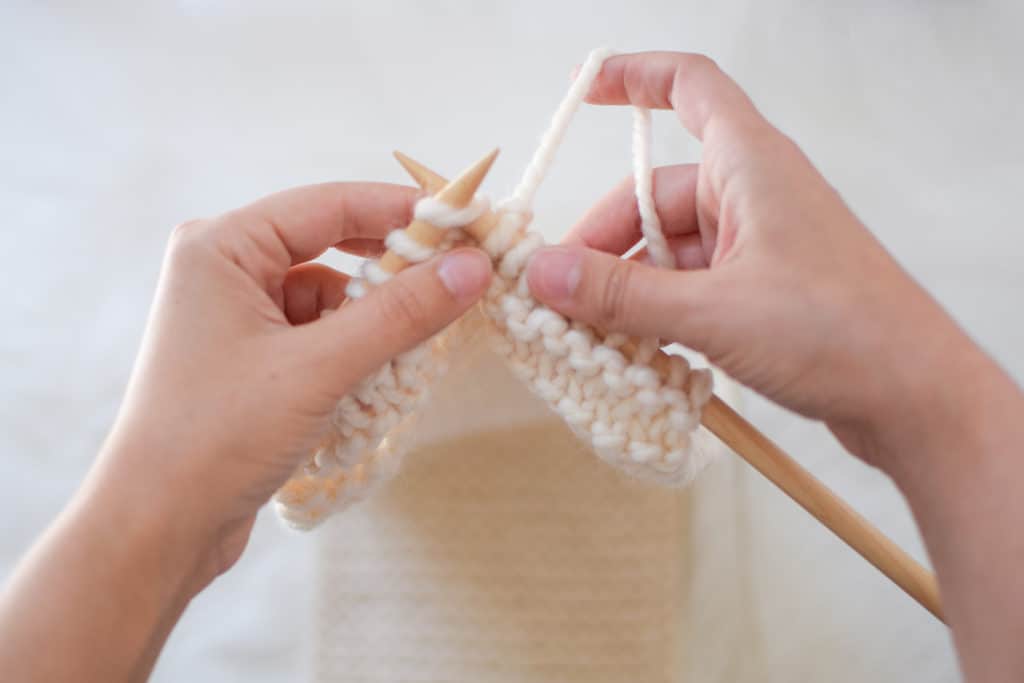
Row 1: Slip 1 stitch knitwise, knit to end of row.

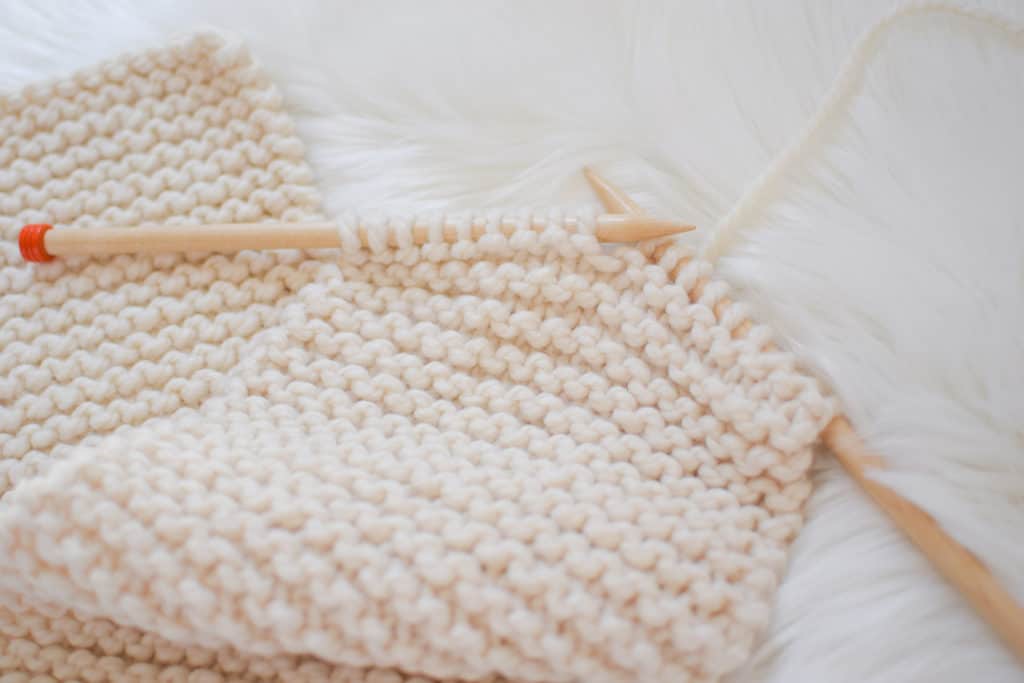
As you practice the knit stitch, you’ll notice the fabric taking shape. It’s important to maintain a consistent tension in your stitches to ensure an even-looking finished product. Don’t worry if your first few attempts don’t turn out perfectly. Knitting is a skill that improves with practice, so embrace any mistakes as learning opportunities and keep going.

Keep on knitting until you run out of yarn from your first skein. In the next video of this how to knit series, I’ll show you how to join your next skein!

I’d love it if you’d share this series with a friend you think might enjoy it. Feel free to pin the image below!

How to knit for beginners - Learn to knit a scarf from start to finish with free video tutorials! #knitting #howtoknit #kniftyknittings #knittingtutorials

How to Knit – Part 2

Welcome back! By now, you’ve learned how to cast on and knit and hopefully your scarf is going swimmingly. In this lesson, I’ll go over how to join a new skein of yarn.

How to knit for beginners - Learn to knit a scarf from start to finish with free video tutorials! #knitting #howtoknit #kniftyknittings #knittingtutorials
Pattern

Join a new skein of yarn: leave approximately an 8 in tail from both skeins of yarn (these will be woven into the scarf when finished). Drop the first skein yarn and begin knitting with the second skein.

Repeat row 1 until scarf measures 72 in (183 cm) long, or desired length.

Keep on knitting, and I’ll see you at the next lesson where we will learn how to bind off our scarf!

How to Knit – Part 3

Welcome back! Who’s ready to finish up this scarf? In this lesson, we’ll be going over how to bind off our stitches.

Pattern

Bind off loosely: Knit 2 stitches, then pass the 1st stitch over the 2nd. Repeat until 1 stitch remains. Cut yarn and draw through remaining stitch.

In the next lesson, we’ll weave in those ends and finish her up!

How to knit for beginners - Learn to knit a scarf from start to finish with free video tutorials! #knitting #howtoknit #kniftyknittings #knittingtutorials

Copyright © 2025 · Theme by 17th Avenue