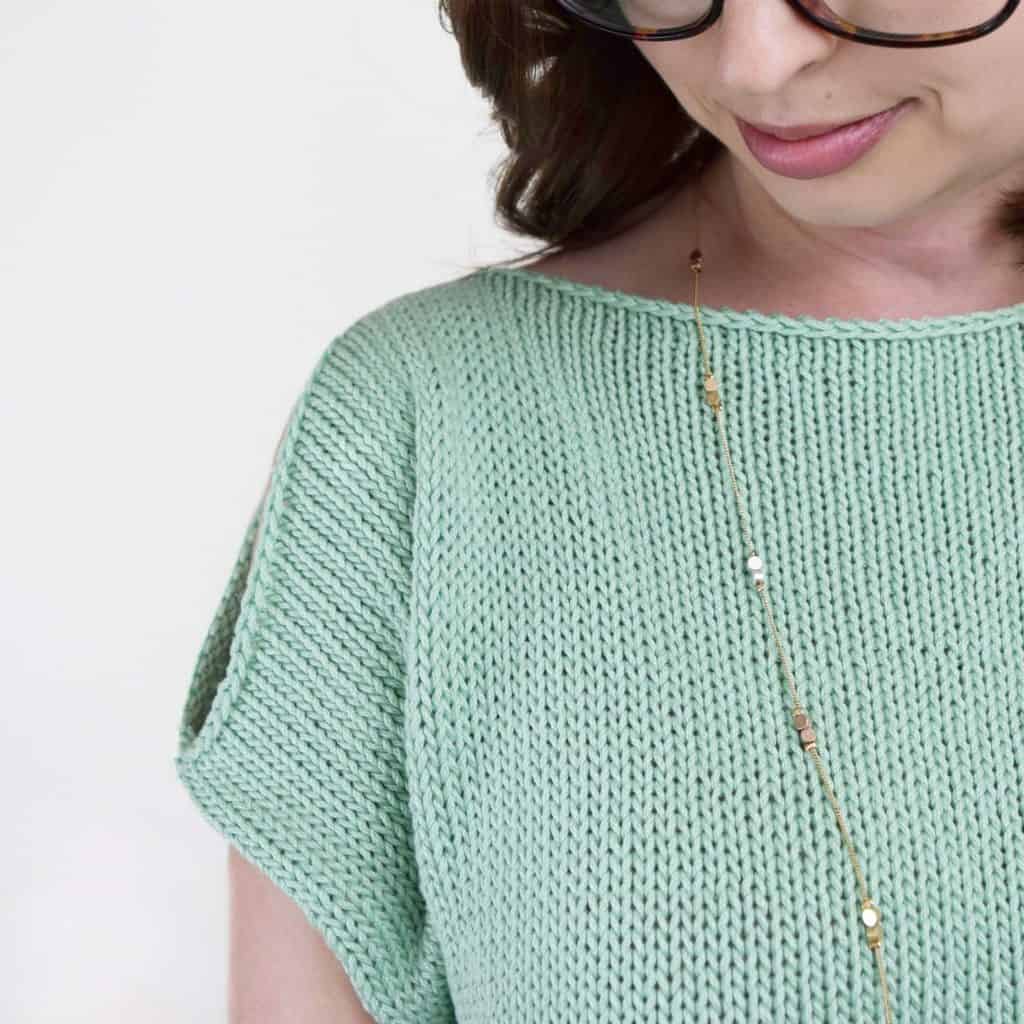
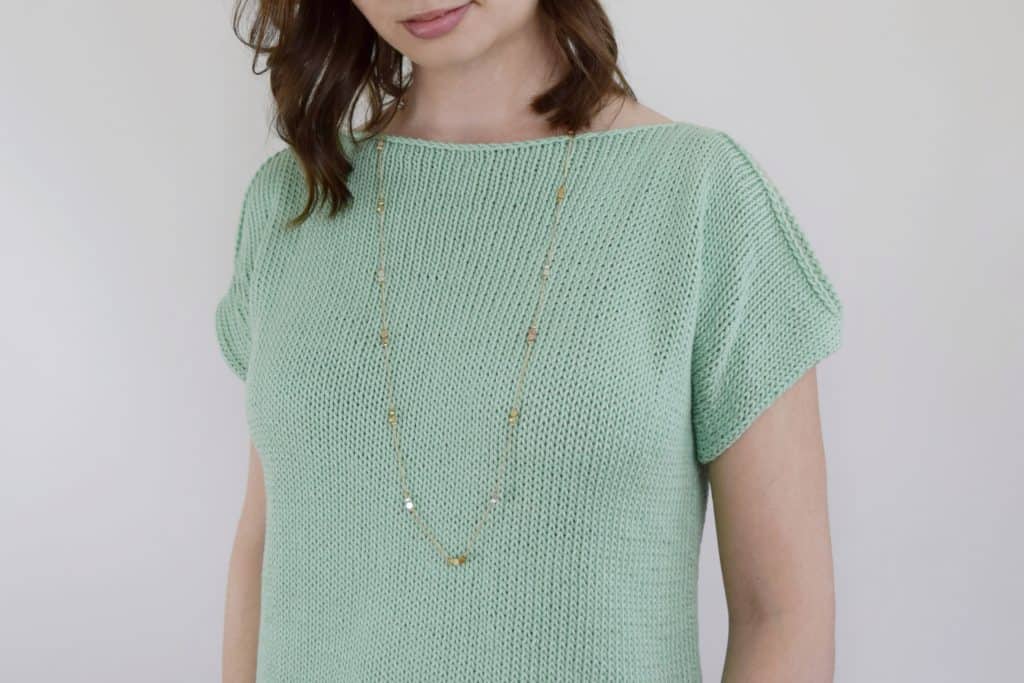
Hello again, friends! I’m so very excited to be releasing my very first garment pattern today – the Peek-A-Boo Tee! I wanted to keep it simple for my first garment, and I wanted to create something that would feel approachable even for beginners. I think this tee is just that – simple, trendy and easy to wear.
The Peek-A-Boo Tee is great for beginners because there are no increases or decreases involved, and no separate sleeves to knit. The tee is constructed from two identical T-shaped panels, and then thoughtfully seamed together.
Extra stitches are simply cast on to either end of the body to form the sleeves. Don’t let that intimidate you – there’s a full step-by-step video tutorial included that will show you just how easy this is!
I’m thrilled to say you can now find the Peek-A-Boo Tee pattern as a kit, directly from Lion Brand! You’ll receive a black and white copy of the pattern included with your kit purchase!
Find the kit from Lion Brand here
Add to your Ravelry queue here
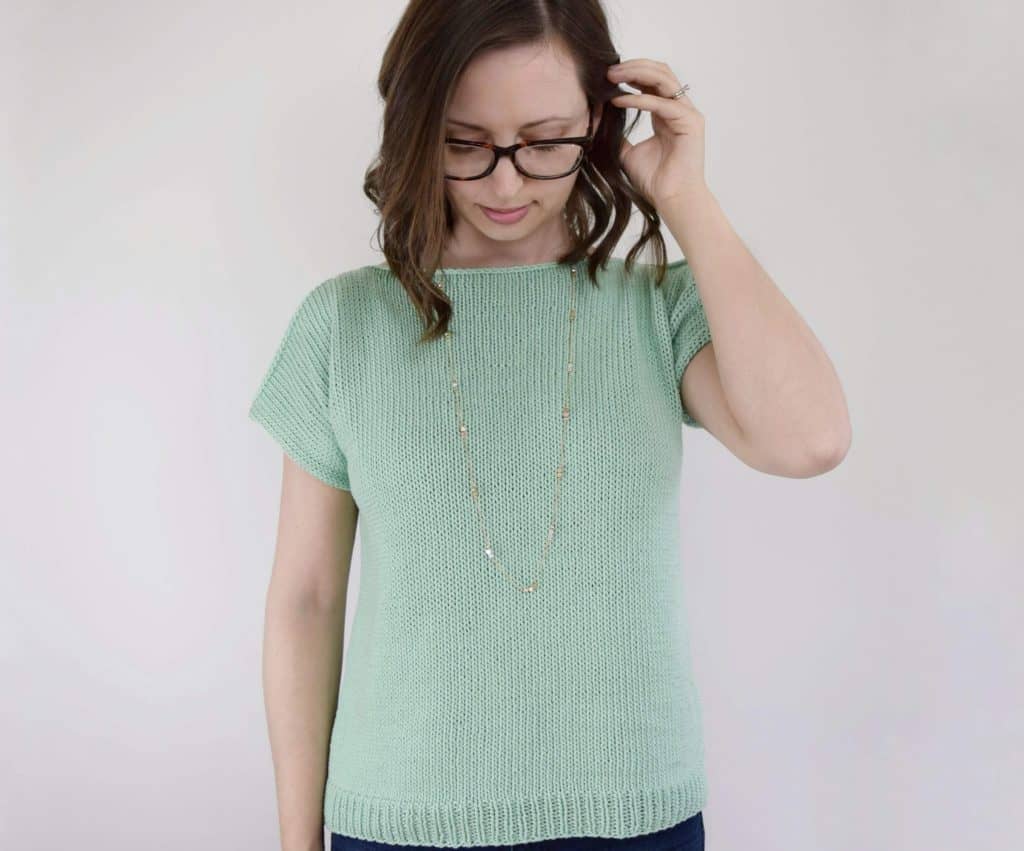
Let’s get started!
The following video tutorial has been included to demonstrate how to cast on, how to knit the body, how to cast on stitches for the sleeves, and how to seam the shirt:
Yarn
3 (4, 4, 5, 5, 5) skeins Lion Brand 24/7 Cotton (shown in Mint)
521 (600, 675, 754, 836, 920) yds/477 (549, 618, 690, 765, 842) m
Needles
US 7/4.5 mm 32 in circular needle
US 8/5 mm 32 in circular needle
*or size needed to obtain gauge
Notions
Locking stitch markers
Yarn needle for weaving in ends and seaming
Gauge
17 ¼ sts and 23 rows = 4in/10cm in Stockinette stitch with US 8/5 mm needles (blocked)
*Take time to check gauge to ensure an accurate fit
Sizes
XS (S, M, L, XL, 2X)
To fit bust: 28-30 (32-34, 36-38, 40-42, 44-46, 48-50) in
Finished shirt circumference: 31 (35, 39, 43, 47, 51) in
* Tee utilizes 1-3 inches of positive ease for a relaxed fit
Abbreviations
CO – cast on
k – knit
p – purl
RS – right side of work
sl1k – slip 1 st knitwise, with yarn in back
sl1p – slip 1 st purlwise, with yarn in front
st(s) – stitch(es)
St st – Stockinette stitch
WS – wrong side of work
Pattern
Body (make 2):
With US 7/4.5 mm 32 in circular needles, CO 68 (78, 86, 94, 104, 112) sts with the long tail method.
Row 1 (WS): *k1, p1. Repeat from * to end of row
Repeat row 1, working in k1 p1 rib, for 10 (10, 10, 12, 12, 12) more rows.
Next row (RS): Switch to US 8/5 mm 32 in circular needles and k to end of row.
Next row (WS): p to end of row.
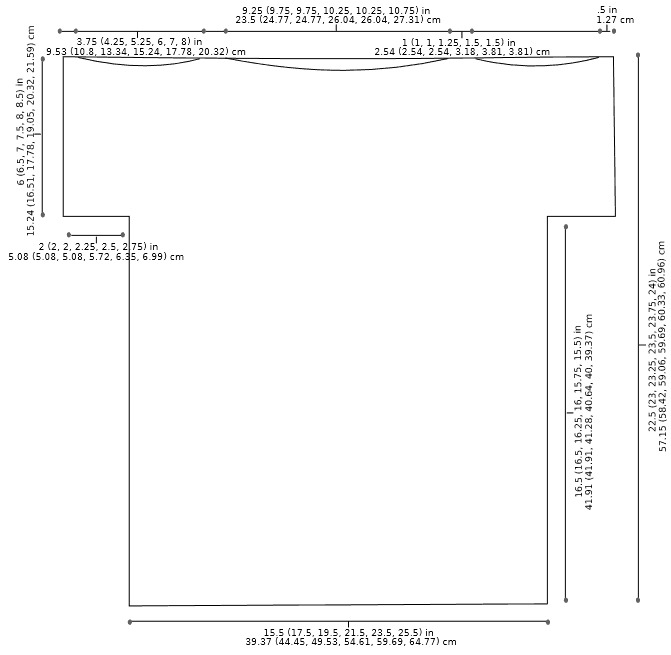
Repeat previous 2 rows, working in St st, until total length measures 16.5 (16.5, 16.25, 16, 15.75, 15.5) in from cast on edge, ending after a WS row.
Sleeves (see video):
Next row: k to end of row. Turn work, and cable CO 9 (9, 9, 10, 11, 12) sts onto left needle.
Next row: p to end of row. Turn work, and cable CO 9 (9, 9, 10, 11, 12) sts onto left needle.
Next row: sl1k, k to end of row.
Next row: sl1p, p to end of row.
Continue in St st, slipping the first st of each row, until sleeves measure 6 (6.5, 7, 7.5, 8, 8.5) in from cable CO edge. [total length 22.5 (23, 23.25, 23.5, 23.75, 24) in]
Bind off all sts loosely.
Repeat all steps for 2nd panel.
Seaming (see video):
Align both panels together with WS touching. It may help to use locking st markers or safety pins to keep panels in place and mark sections for seaming.
Starting at the top edge of a sleeve, use a tail from the bound off edge and seam together the first 3 sts of each panel. Weave tail into inside of work.
Leave a shoulder opening of 16 (20, 24, 26, 31, 35) sts.
Seam top of shoulder for 5 (5, 5, 6, 7, 7) sts. Weave tail into inside of work.
Turn work around and repeat seaming, starting at the top of the other sleeve. Seam for 3 sts. Weave tail into inside of work.
Leave a shoulder opening of 16 (20, 24, 26, 31, 35) sts.
Seam top of shoulder for 5 (5, 5, 6, 7, 7) sts. Weave tail into inside of work.
There should be 38 (40, 40, 44, 44, 46) sts on each panel for the neck opening.
Flip work over and seam 9 (9, 9, 10, 11, 12) sts from each panel at both underarms.
Seam the sides of the body together using the mattress st.
Weave in all ends, and block. Optional sleeve blocking: Once dry, re-wet sleeves and hang to dry on a hanger.
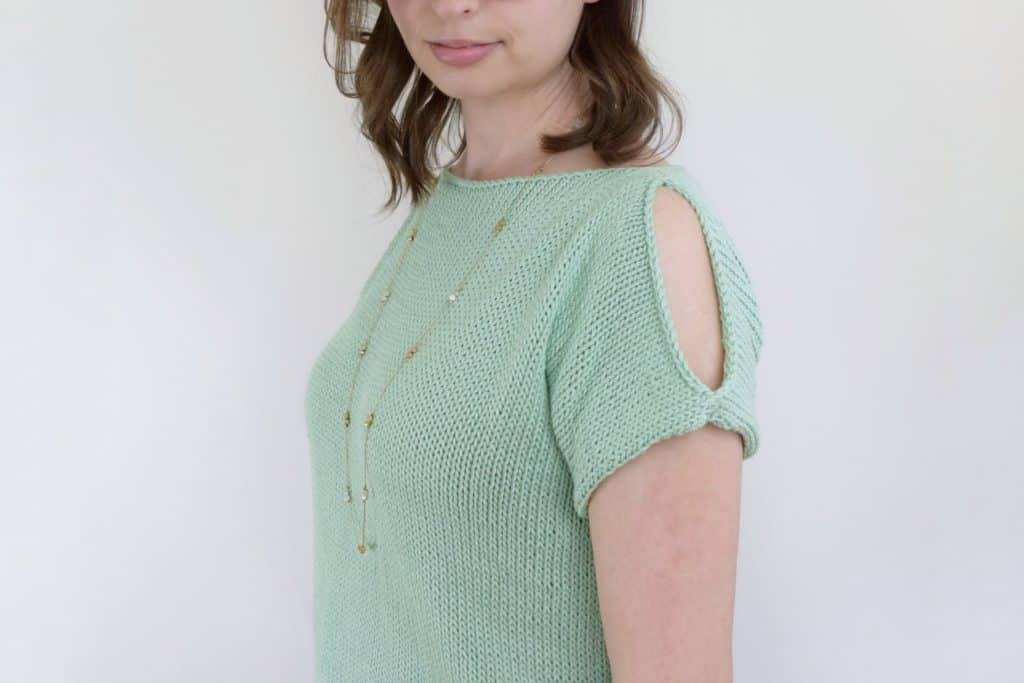
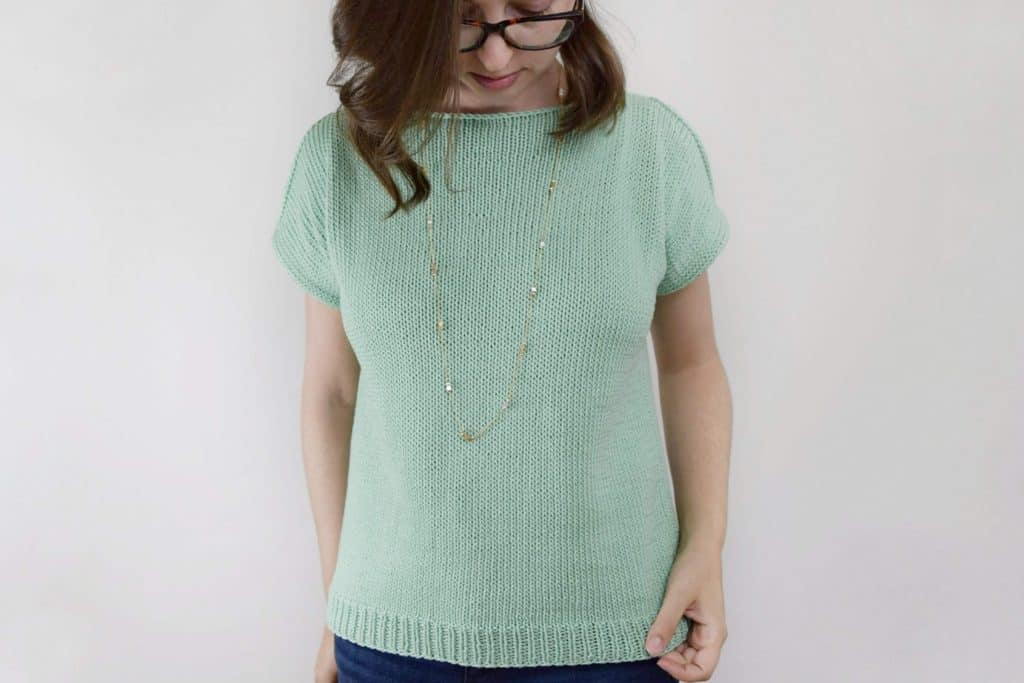
And voila! You have a flattering, trendy shirt to get you through the rest of the summer and into fall. Remember, you can purchase the ad-free PDF here, and grab the yarn from Lion Brand here!
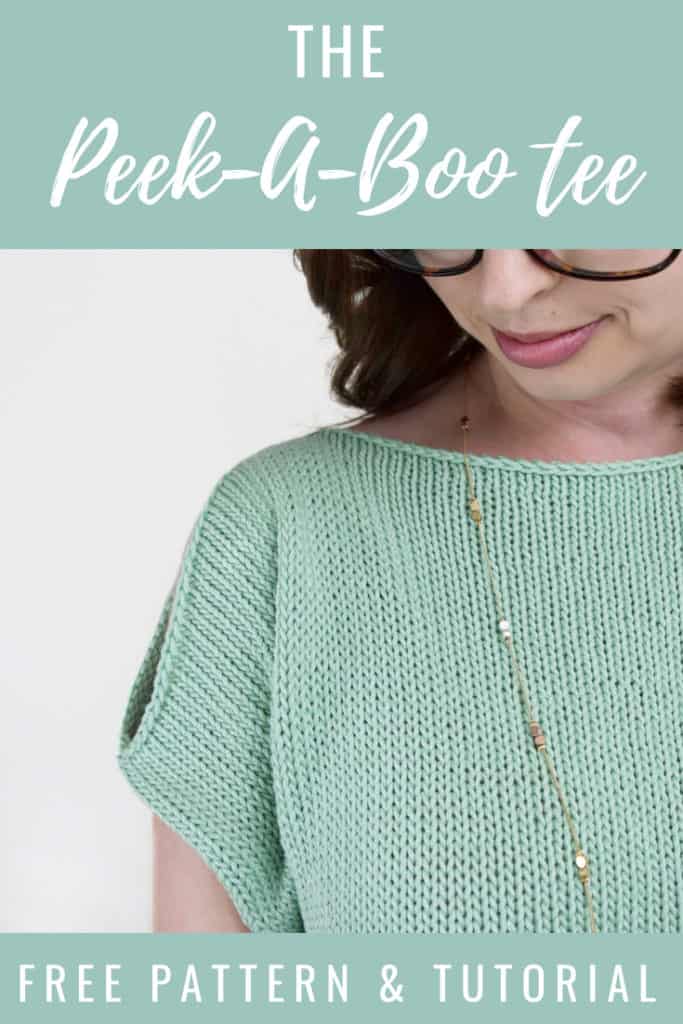
Click here to add this pattern to your Ravelry queue. I’d love it if you’d share this with your friends by pinning the image below!





This is such a cute top! I am a new knitter and was excited to come across your pattern, especially since you believe beginners can handle it 🙂 Question – do you know of any stores that carry Lion Brand 24/7 cotton? I am finding some online, but wasn’t able to find it in Michael’s, Joann, or Hobby Lobby. I can order it, but I always like looking at colors in person if I can. Also, would this pattern work with a lighter weight wool/acrylic yarn?
Hi Sarah! I’ve seen 24/7 cotton at my local Joann’s, but not a huge selection of colors. Your best bet might be ordering online. I think this top would work well with a wool/acrylic blend, but I would stick to a medium worsted weight if you can! 🙂
Hi Love the pattern but I am lost on :cable CO 9 (9, 9, 10, 11, 12) and can’t open the Video.
I am a beginner but if I am understanding the pattern I will succeed. Can you helped me Thanks
Hi Clair, You’ll be casting on extra stitches at the ends of your needles to create the sleeves. Maybe opening the video directly in youtube would help? Try this link: https://youtu.be/wxYj4rE2F_Y
Is this part of the body directions correct (Repeat previous 2 rows, working in St st, until total length measures 16.5 (16.5, 16.25, 16, 15.75, 15.5) in from cast on edge, ending after a WS row.)? It seems like it should be the opposite – the length increasing with the size.
Hi Alison, yes it’s correct. I know it sounds counter-intuitive, but the sleeves are longer with each size, which adds to the total length. I hope that helps!